Sponsored by
Bloom Flower Farm
Bloom is a small flower farm in Northeast Iowa run by Jen Opheim and family. At Bloom, we love to watch things grow and to be creative. It all begins with a vision. Maybe you want fresh locally grown flowers for your DIY wedding bouquets. Maybe you want to promote your business with a petite posy giveaway. Or maybe you have a flower friend who would love a unique gift of blooms through our seasonal CSA. Whatever your flower needs are, we’re happy to help. Let’s create something beautiful together!
Make It: Paper Boats!
Sponsored by
Bloom Flower Farm
Bloom is a small flower farm in Northeast Iowa run by Jen Opheim and family. At Bloom, we love to watch things grow and to be creative. It all begins with a vision. Maybe you want fresh locally grown flowers for your DIY wedding bouquets. Maybe you want to promote your business with a petite posy giveaway. Or maybe you have a flower friend who would love a unique gift of blooms through our seasonal CSA. Whatever your flower needs are, we’re happy to help. Let’s create something beautiful together!
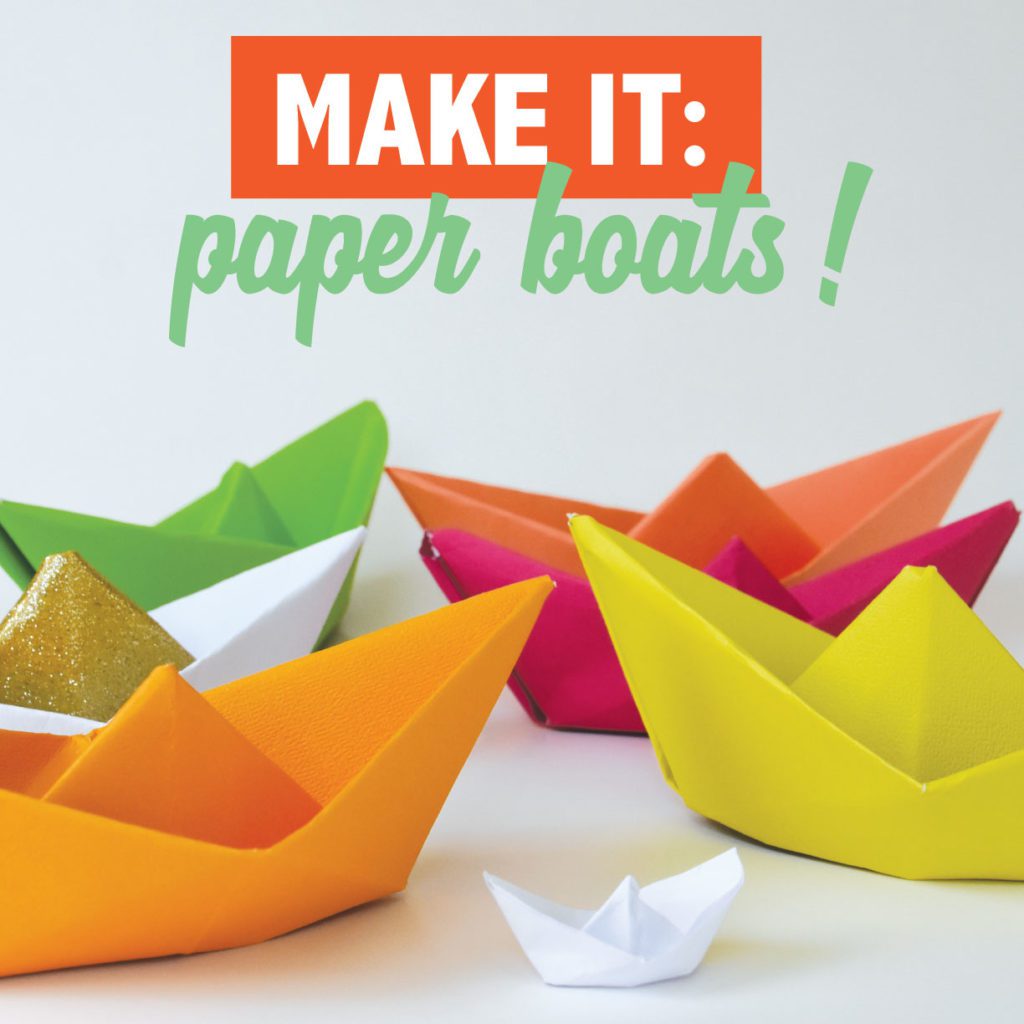
In this paper project, Roxie will show you how to fold origami paper boats… and maybe, like her, you’ll make nearly 100 of them! She entered some of her paper boats into the hobby collections for the Winneshiek County Fair this summer, and she got a first place ribbon! She was so excited. We wanted to show off her skills this fall with the Inspire(d) Paper Project! Use your boats as place cards at Thanksgiving or make a fleet like Roxie did as a fun activity on a cool day!
Supplies:
8.5 x 11 paper sheet (or any rectangle piece of paper of most any size)
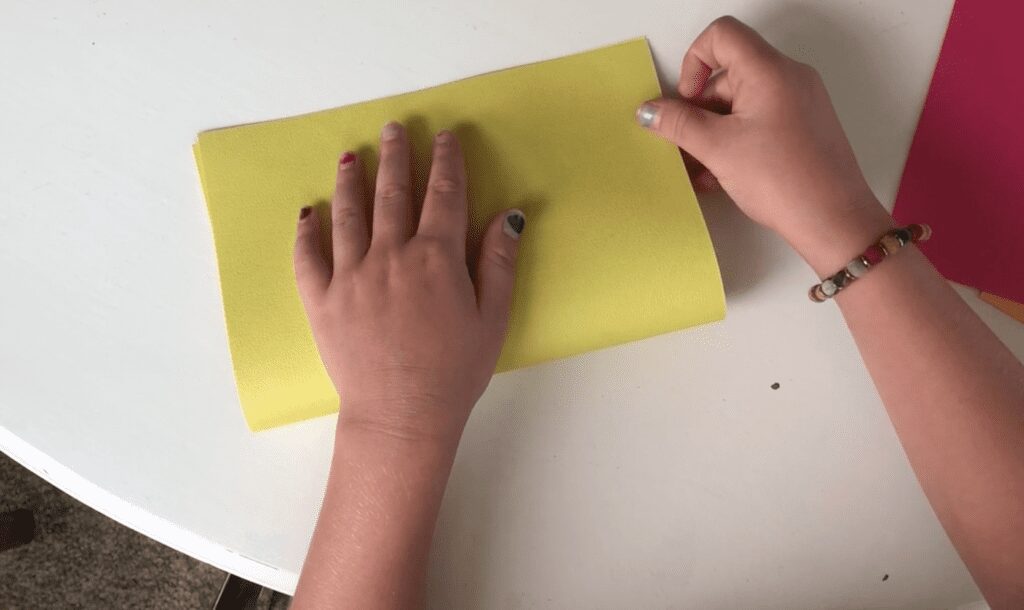
1. Take an 8.5 x 11 sheet of paper and fold it in half.
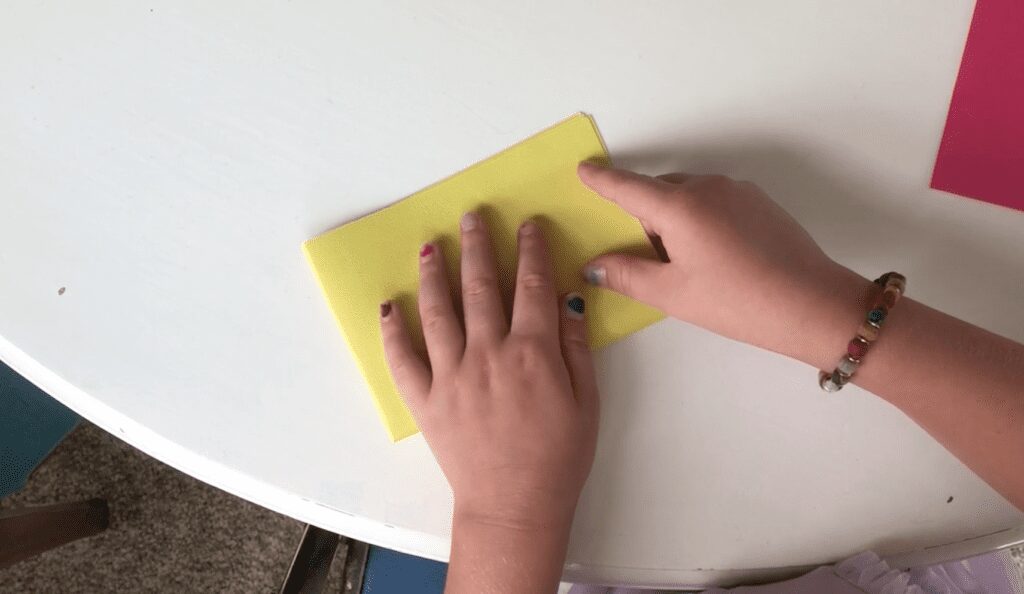
2. Fold in half again.
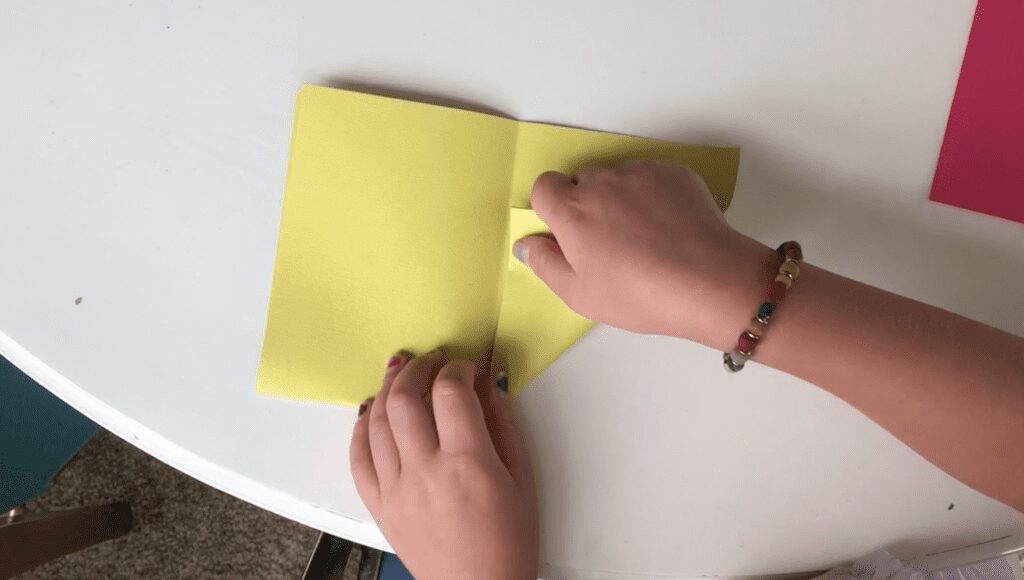

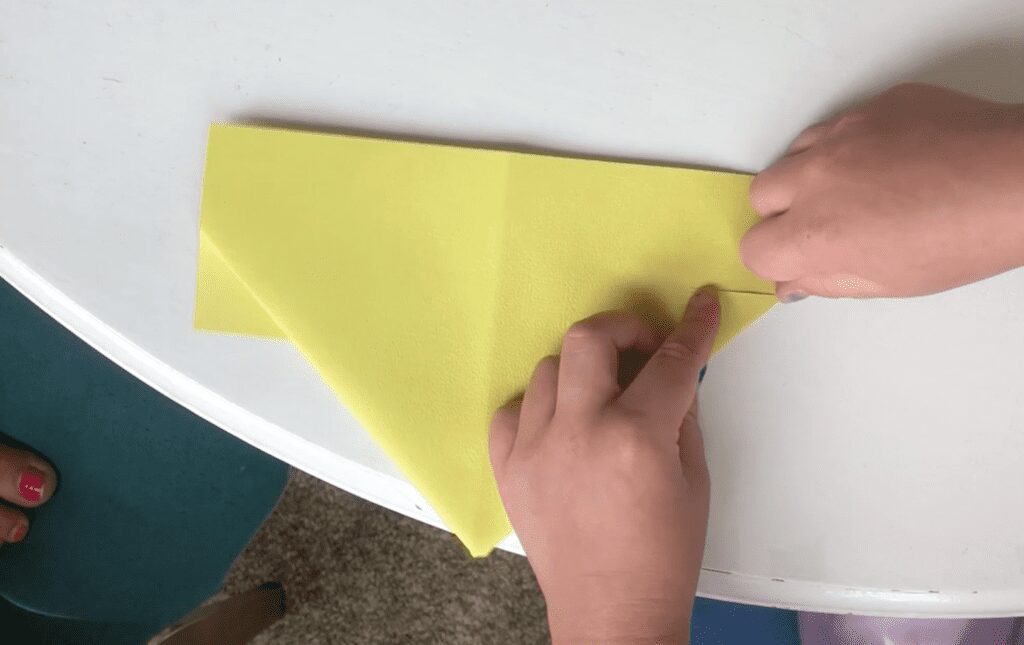
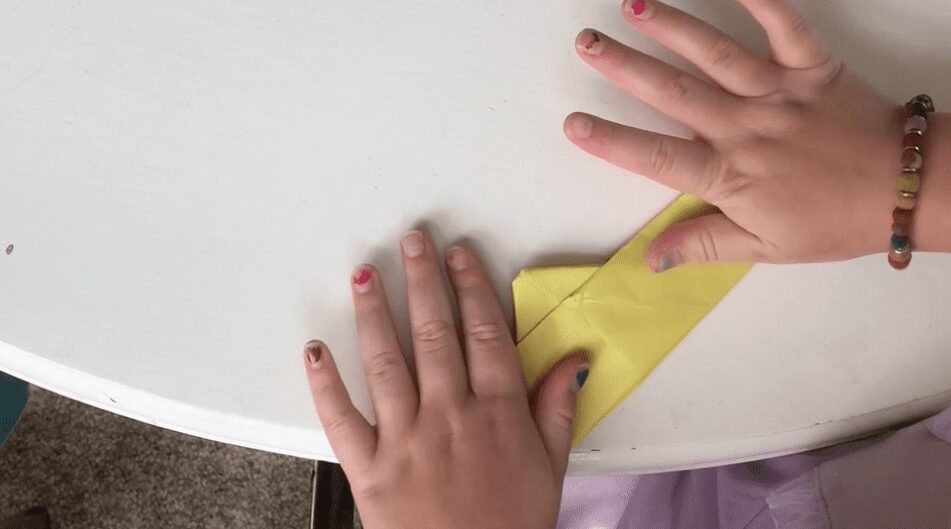
3. Open it back up and then, with the crease at the bottom, fold the corners in to the crease (like you’re making a paper airplane).
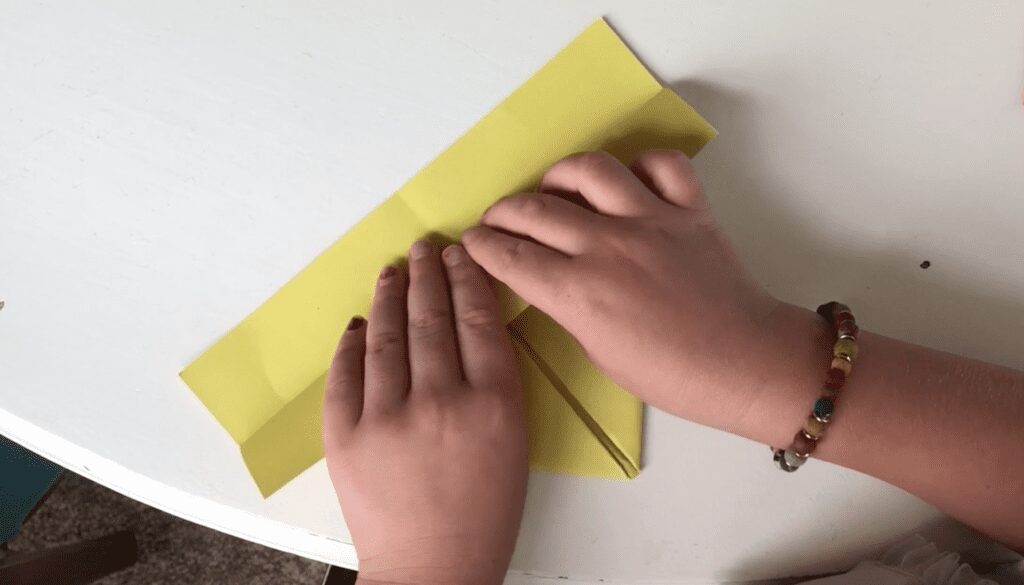
4. Fold the top piece of excess paper over the folded corners.
5. Flip the paper over and fold the excess corners over the back.
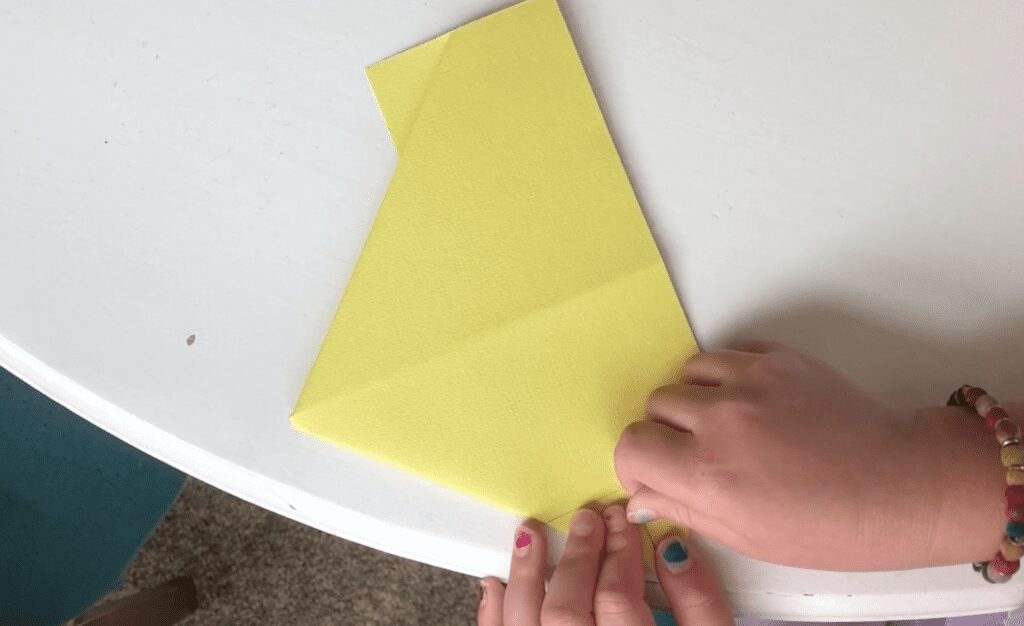
6. Fold the facing corner in as well.
7. Repeat on the other side.
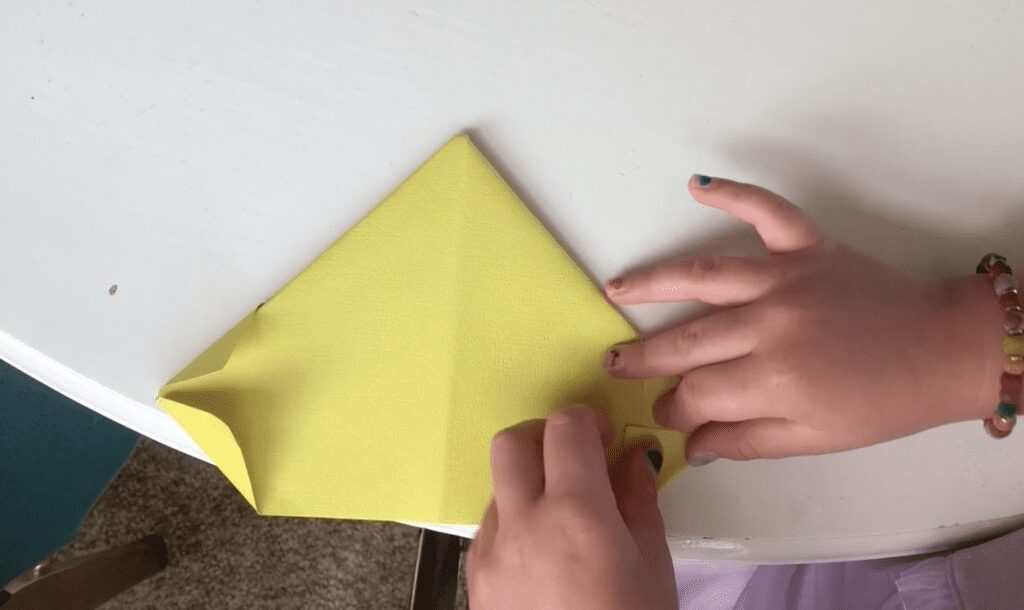
8. Now fold the excess bottom up over the boat (it’ll look like a little hat).

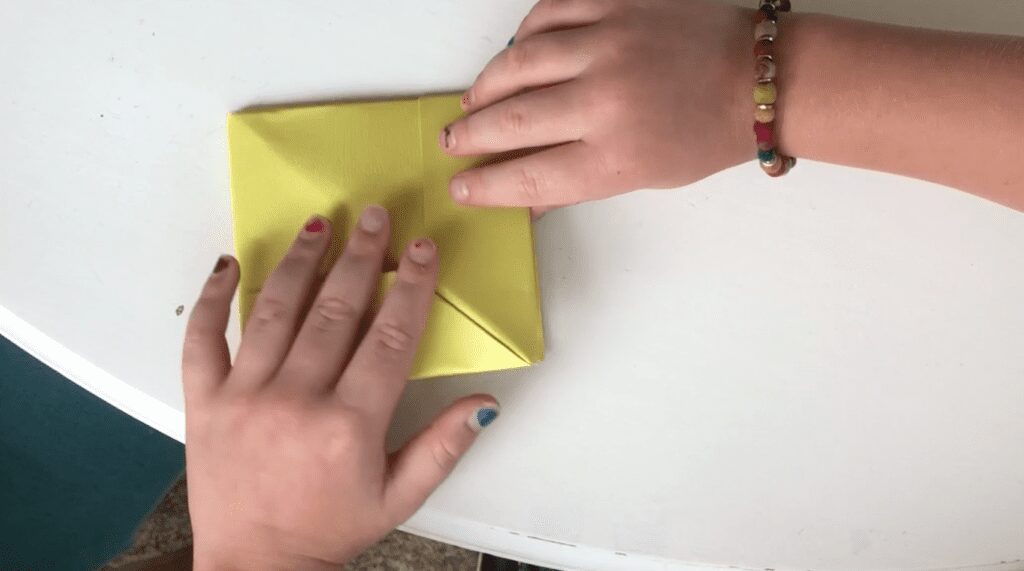
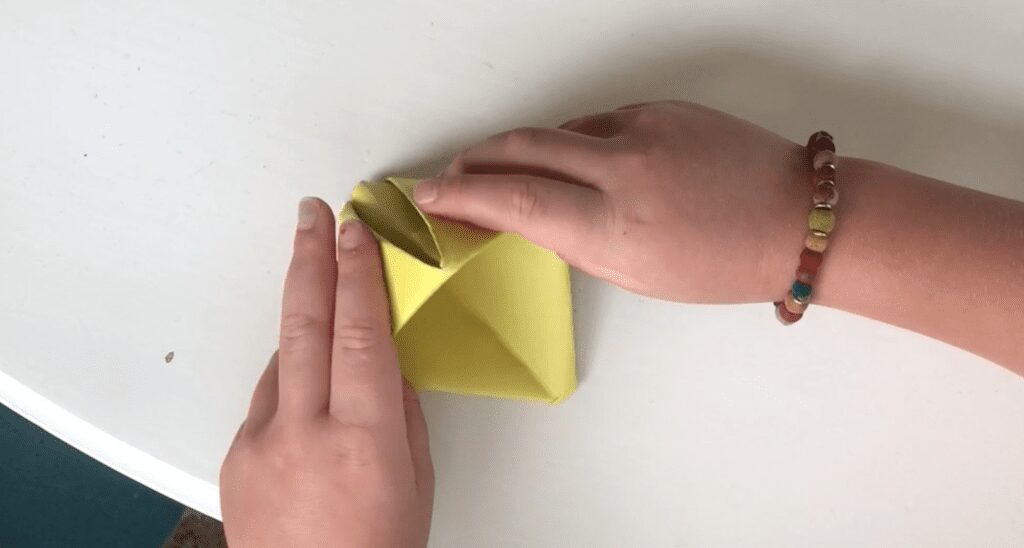
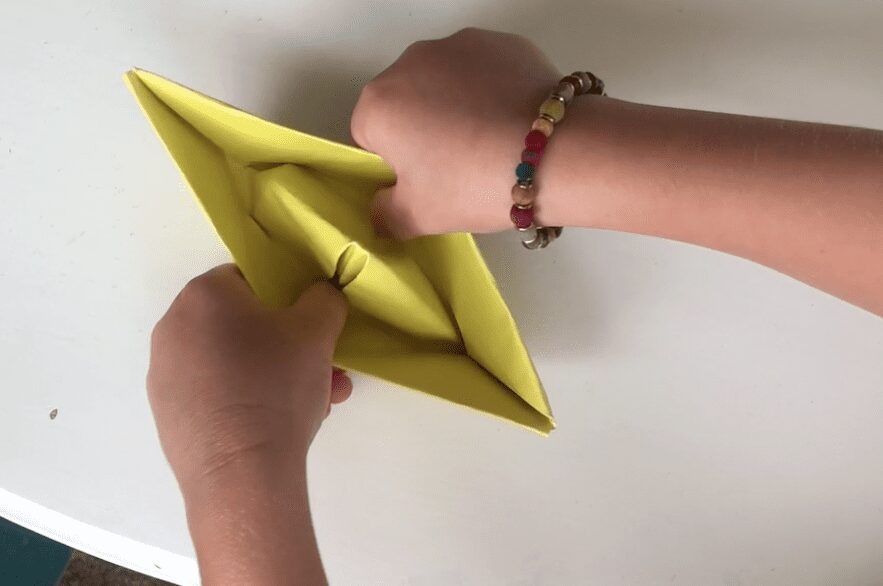
9. Grab the two middle points and open the hat like a pocket – keep opening, then flatten…it’ll be a diamond shape now.

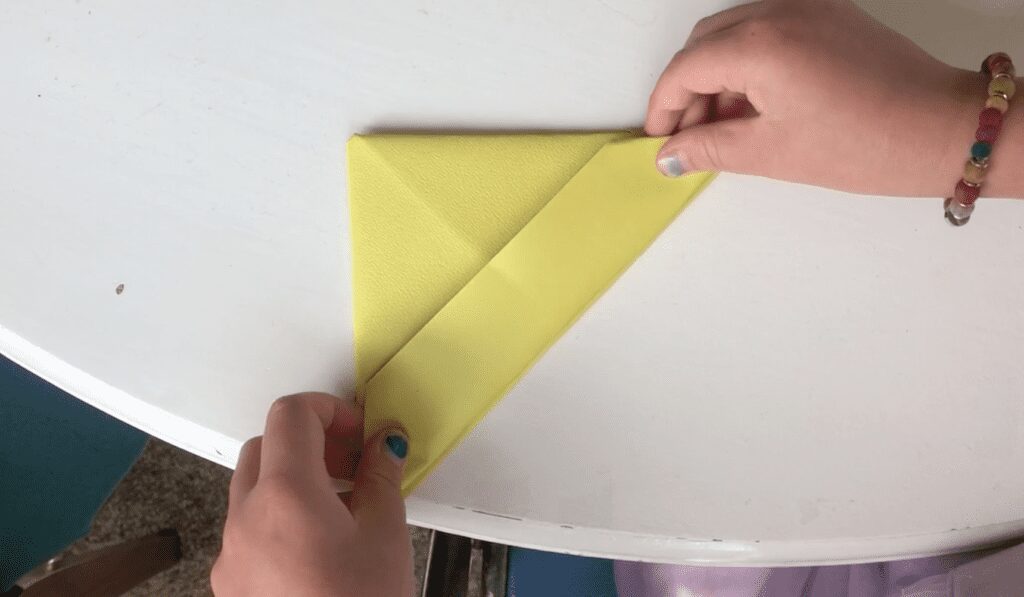
10. With the open pieces facing you, fold the top piece up to the tip.

11. Flip it over and do the same on the opposite side.
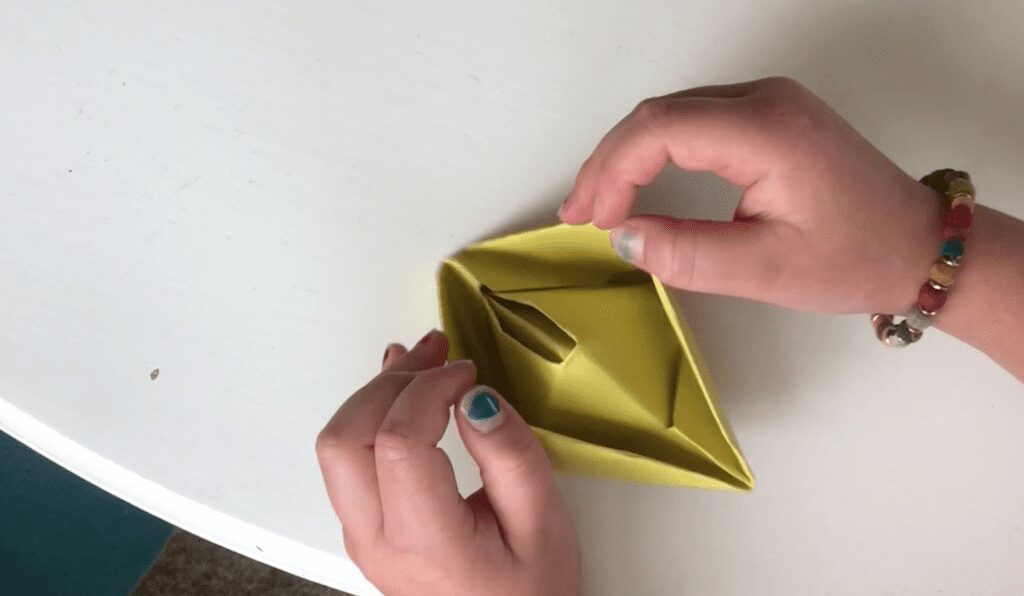
12. Open the pocket again (the same way you did before), and make another (now smaller) diamond.
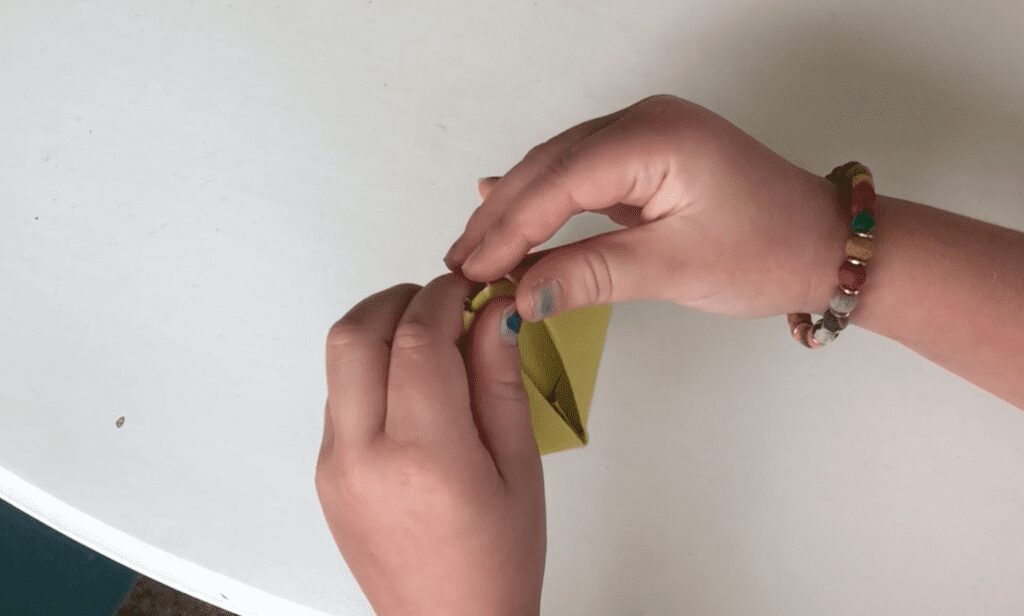
13. With the open part of the diamond facing up, pinch the two pieces on each side of the point.
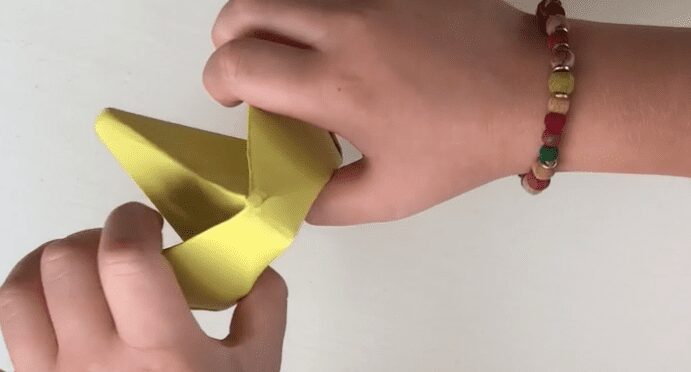
14. Pull those parts open, and the boat will start to form. It might not open perfectly (like Roxie’s didn’t in the video at the top of the page), but once you pull it should flatten out to make the boat shape. Puff up the middle and adjust the sides to form the boat as you would like it to look, and you’re done! Enjoy!