Sponsored by
Cardboard Robot
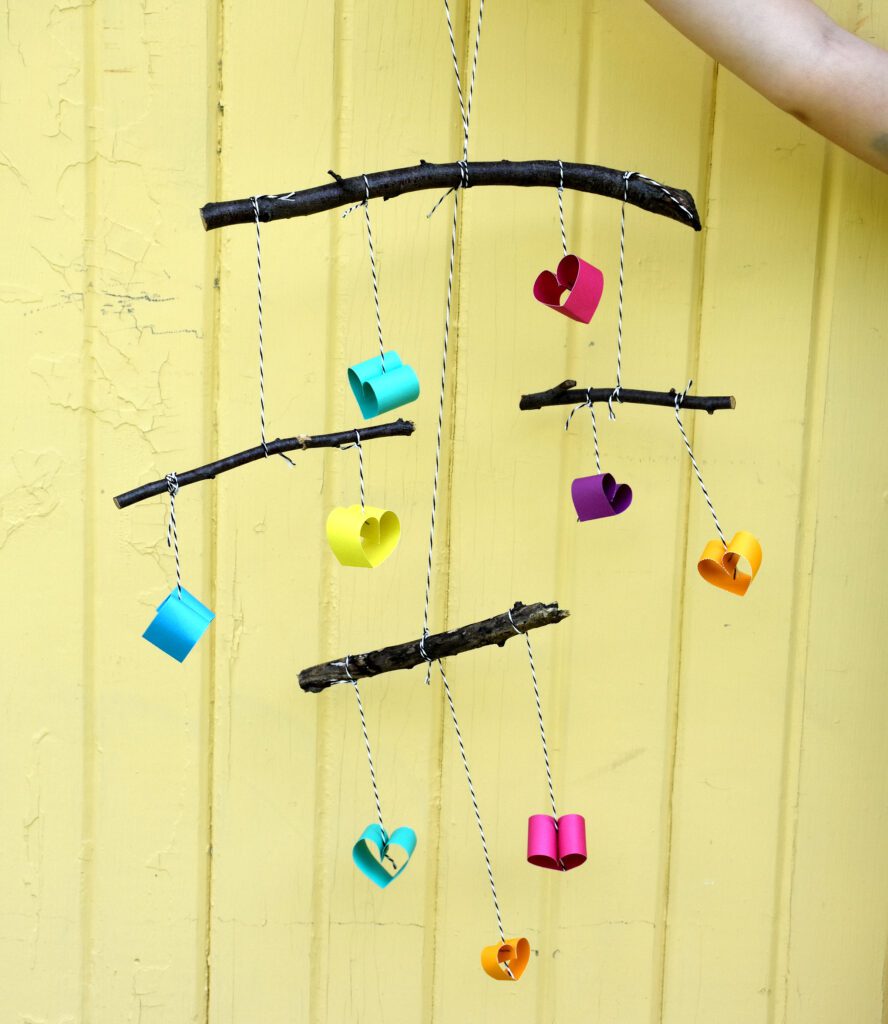
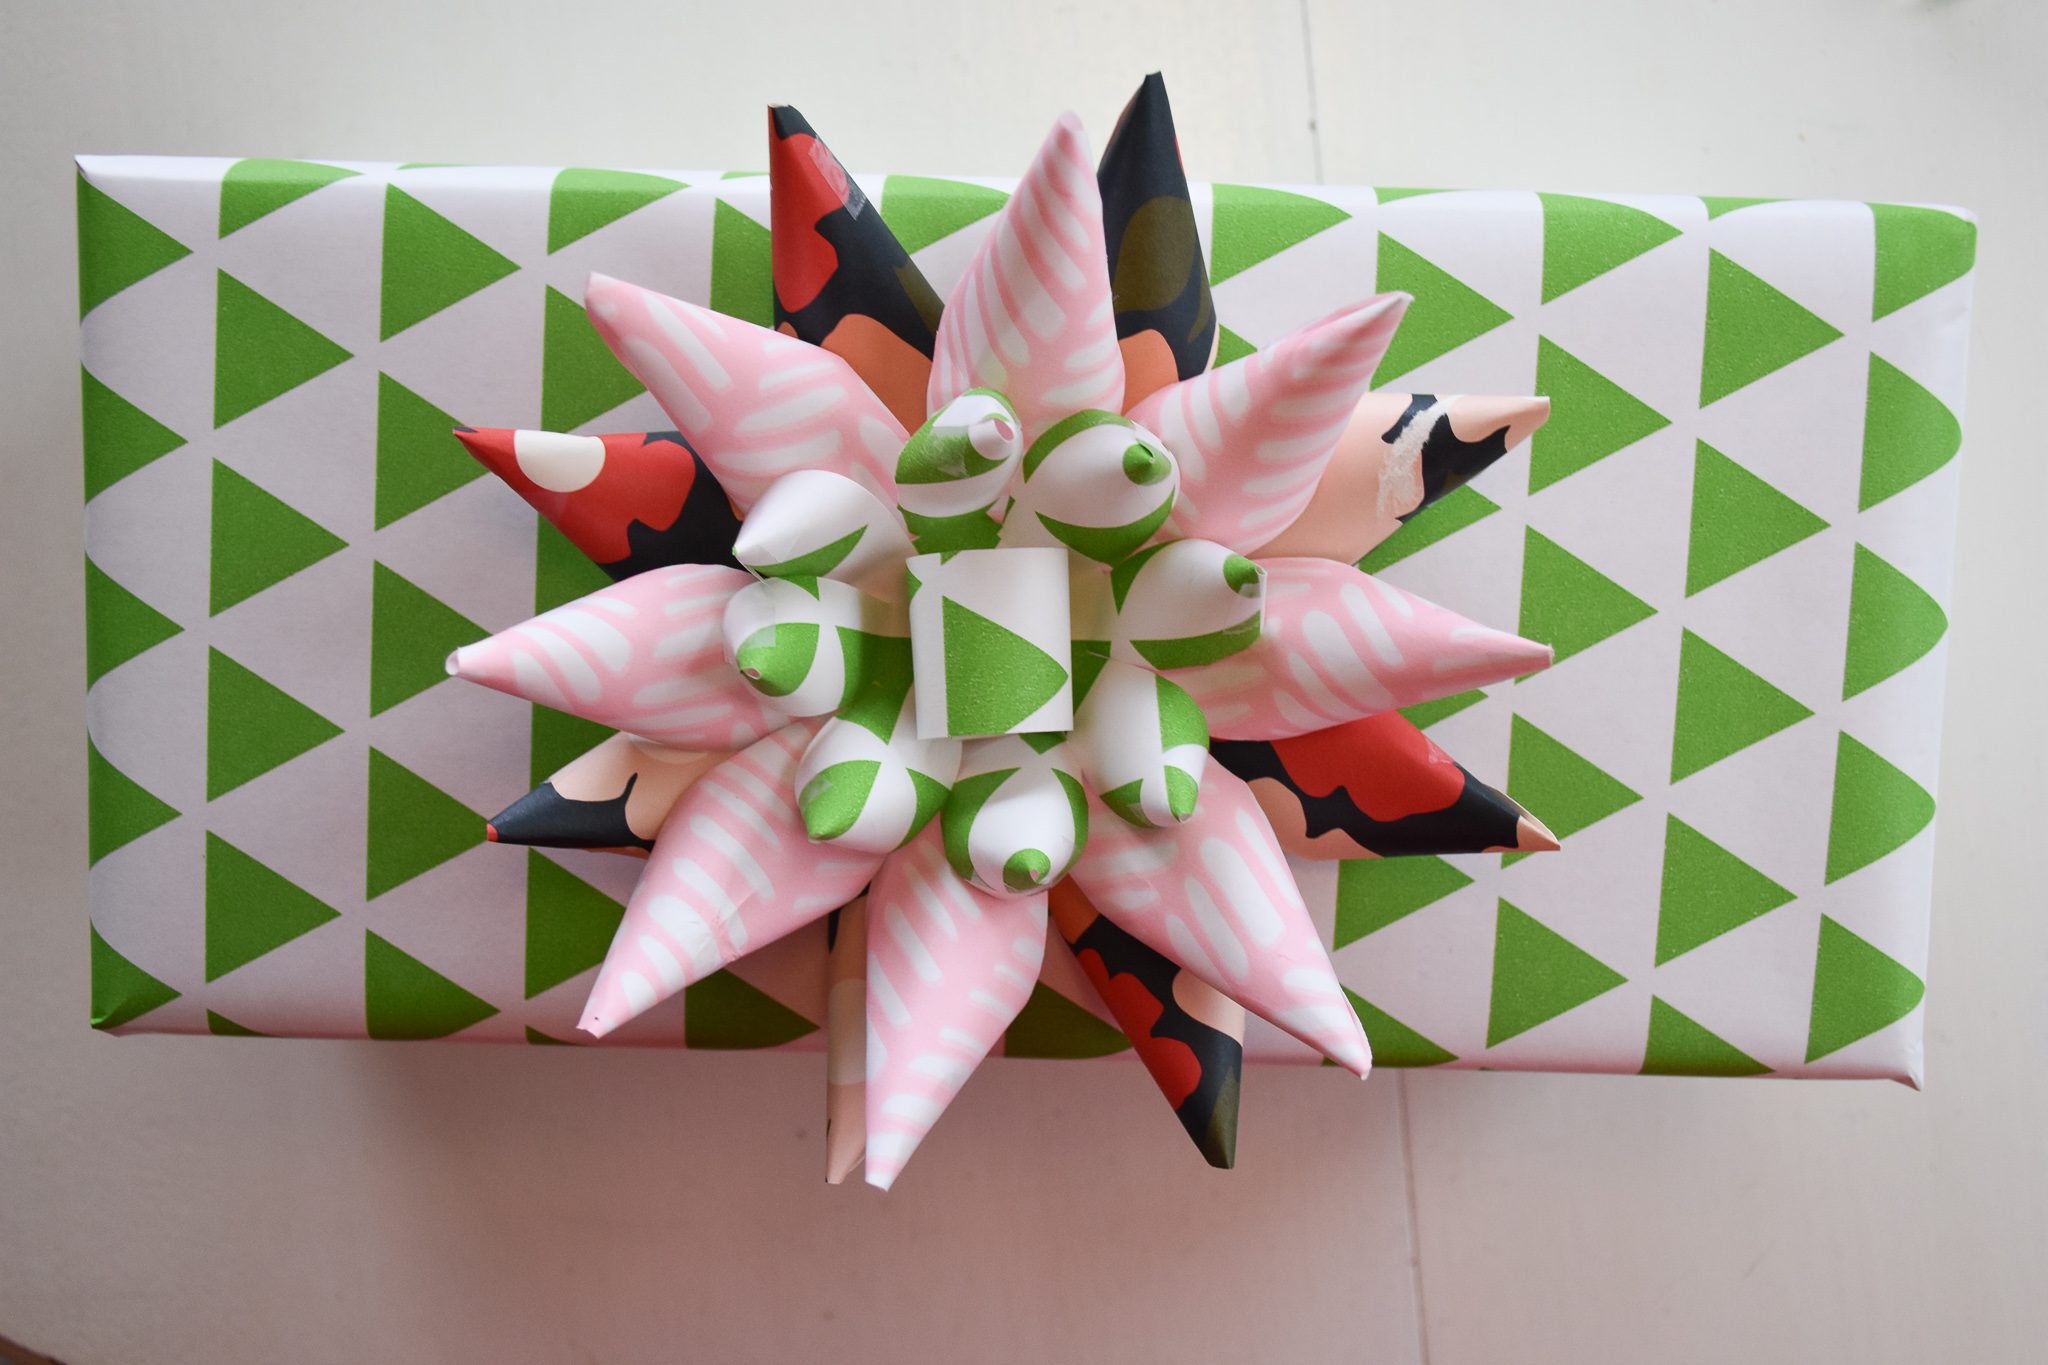
Do you have bored kids? Do you need a gift for the creative weirdo in your life? Are you the creative weirdo and you’re just now admitting it? At Cardboard Robot, we can help you get what you need to feed your inner maker. We carefully select the best art supplies, craft kits, nice paper, and clever toys for all of your creative, brain-building needs. So…what are you going to make today?
How to: Make a Turkey Hat!
Sponsored by
Cardboard Robot
Do you have bored kids? Do you need a gift for the creative weirdo in your life? Are you the creative weirdo and you’re just now admitting it? At Cardboard Robot, we can help you get what you need to feed your inner maker. We carefully select the best art supplies, craft kits, nice paper, and clever toys for all of your creative, brain-building needs. So…what are you going to make today?
What you’ll need:
Inspire(d) Turkey Page 29 from the Fall 2011 issue (Get it here!)
Scissors
Brown paper bag
Cardboard (optional – cereal boxes work well)
Glue (stick, Elmer’s, whatever works…but probably NOT Super Glue)

1. Out of the paper bag, cut a band wide enough to fit your (or your friend’s, child’s, spouse’s) head.

2. Wrap the paper bag band around your head and mark or make note of where it needs to be glued. Then, of course, glue it!

3. Next, cut a circle for your turkey’s face. You can use the template on the Inspire(d) page if you like, just cut out the whole circle and trace.


4. Cut out pieces, as directed, from Inspire(d) Magazine (you may choose to back the “feathers” and “wings” with cardboard if you want them to not flop. If so, and if you’re smarter than me, glue the cereal box cardboard sheet to the entire turkey page before step 4, then cut just once).


5. Glue the feathers in place – they go on the inside back of the headband, and it might help to line them up along the back so you know how you want them spaced.


6. Glue the eyes and wattle to the paper bag circle. Fold the beak where it says “fold here,” and glue just the side with the writing (it will read upside down) to the turkey face. This way the beak can open and shut. Now on the opposite and outside of the band, glue the face in place.

7. Center the wings around the face, and glue on each side.

8. You’re done! Place on head. Maybe do a dance. Happy Thanksgiving! XO – A & B