Sponsored by
Bloom Flower Farm
Bloom is a small flower farm in Northeast Iowa run by Jen Opheim and family. At Bloom, we love to watch things grow and to be creative. It all begins with a vision. Maybe you want fresh locally grown flowers for your DIY wedding bouquets. Maybe you want to promote your business with a petite posy giveaway. Or maybe you have a flower friend who would love a unique gift of blooms through our seasonal CSA. Whatever your flower needs are, we’re happy to help. Let’s create something beautiful together!
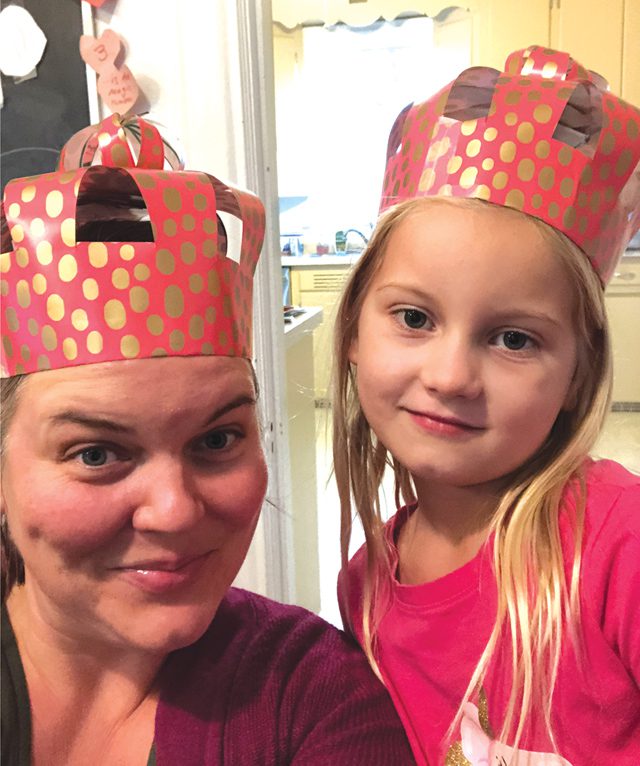
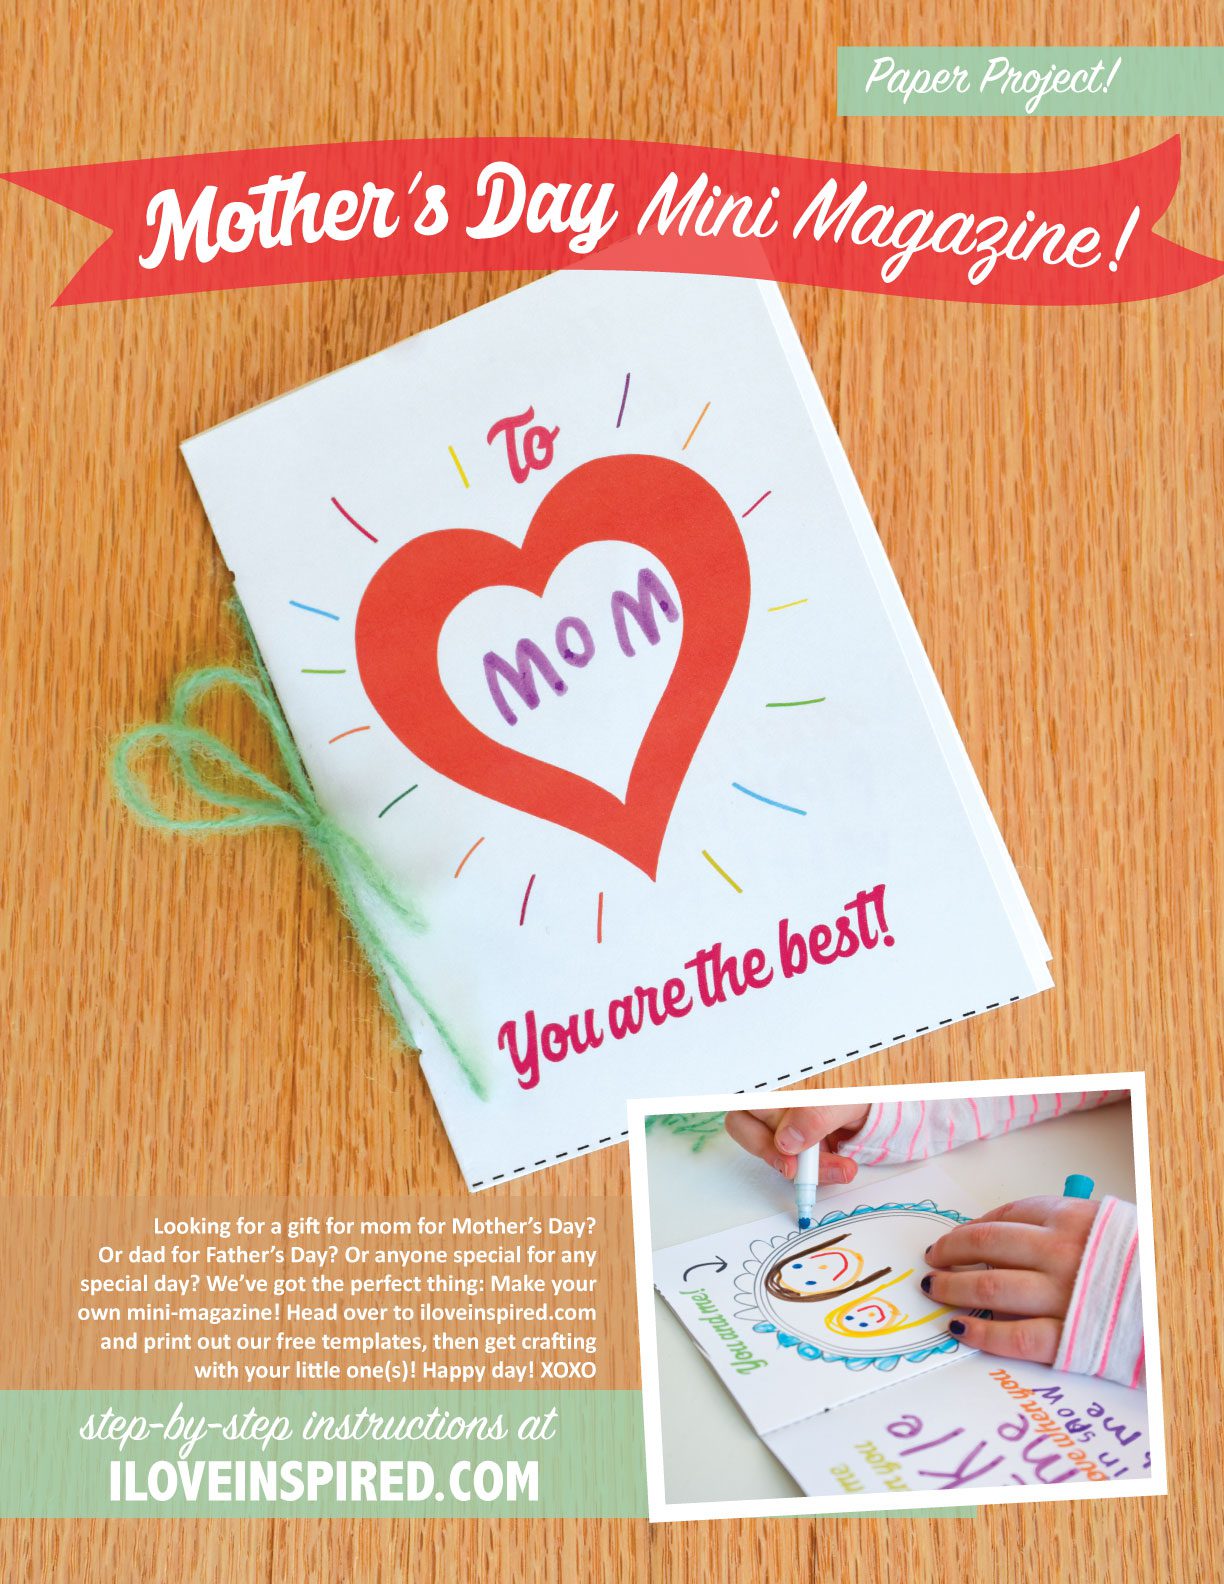
Make it: Paper Crowns!
Sponsored by
Bloom Flower Farm
Bloom is a small flower farm in Northeast Iowa run by Jen Opheim and family. At Bloom, we love to watch things grow and to be creative. It all begins with a vision. Maybe you want fresh locally grown flowers for your DIY wedding bouquets. Maybe you want to promote your business with a petite posy giveaway. Or maybe you have a flower friend who would love a unique gift of blooms through our seasonal CSA. Whatever your flower needs are, we’re happy to help. Let’s create something beautiful together!
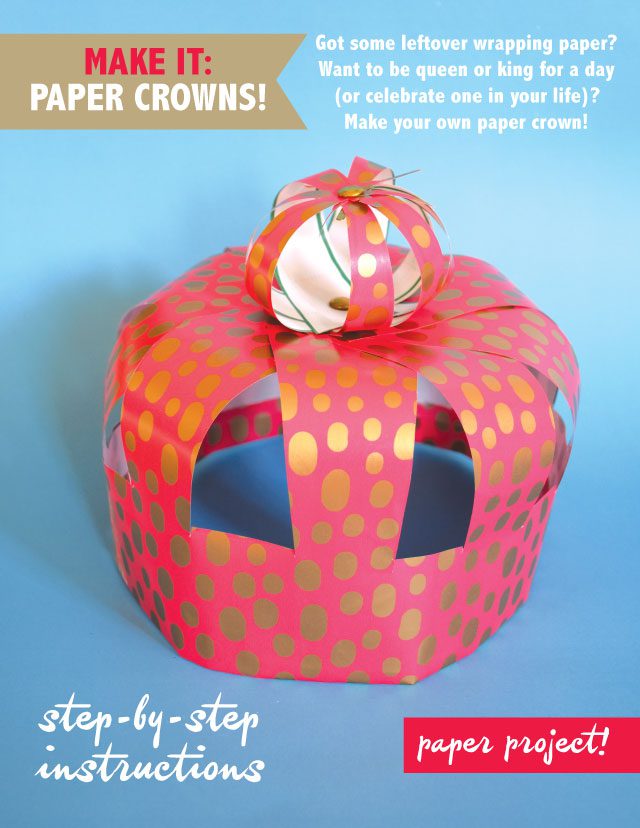
There always seems to be extra wrapping paper around during winter. Wondering what to do with it? How about you make yourself a crown! Or honor some king or queen in your life with a crown you’ve crafted just for them! These are easy and fun. Just download the template, print it on cardstock, gather your supplies, and you’re off! Cheers to your royal selves!
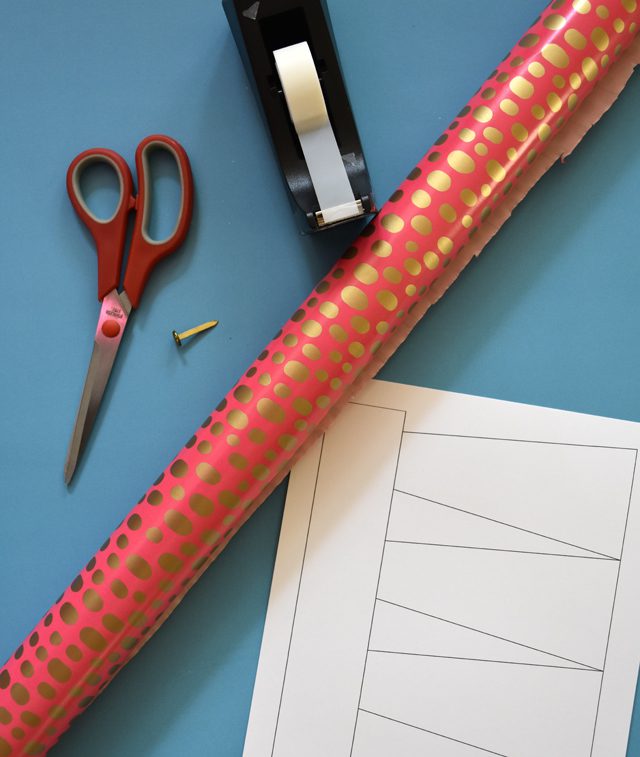
Supplies:
Template (download here)
Two brad fasteners (only one pictured here)
Scissors
Tape
Wrapping paper of your choice
Hole-puncher (not pictured)
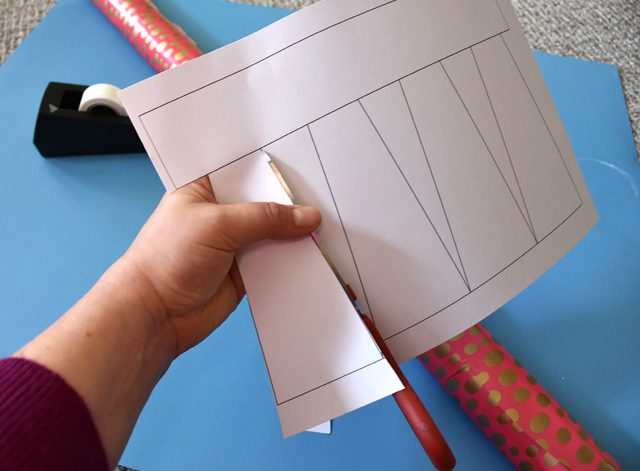
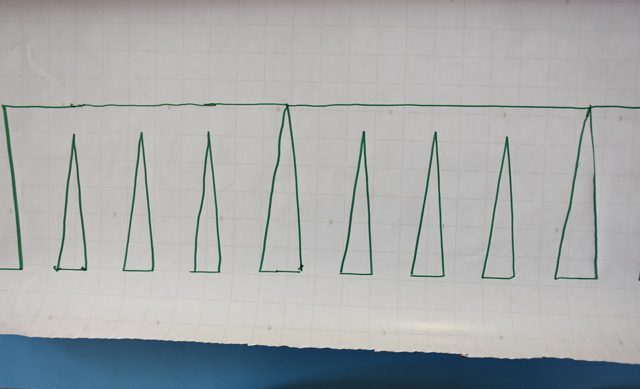
Print the template and cut it out.
I left the extra paper at the top and bottom for a bigger crown. Feel free to adjust as your head sees fit!
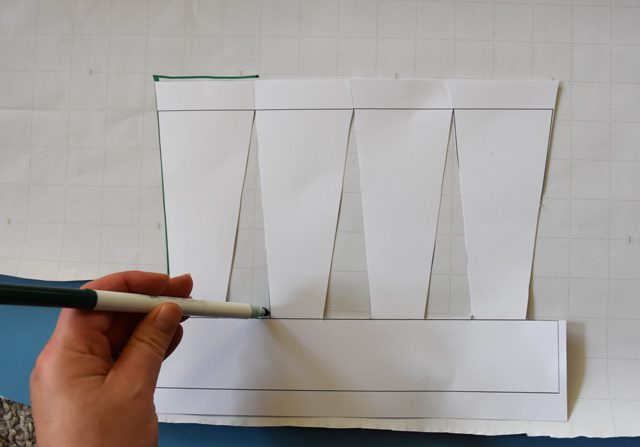
Trace the template onto the back of the wrapping paper.
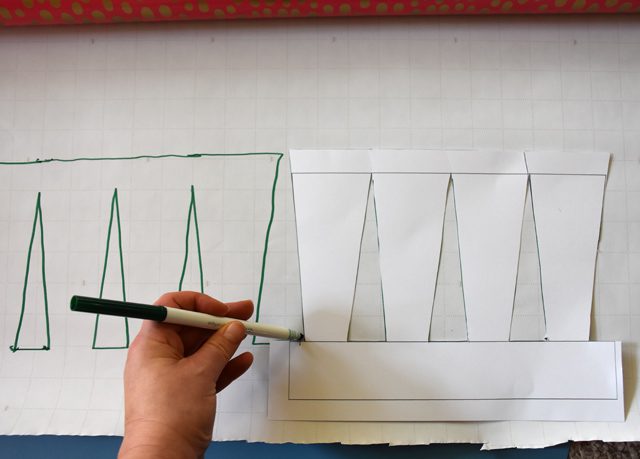
I had to do it twice to accommodate for my large noggin.
Here’s what it looks like finished. It’s not perfect, but that’s okay! Perfect is overrated.
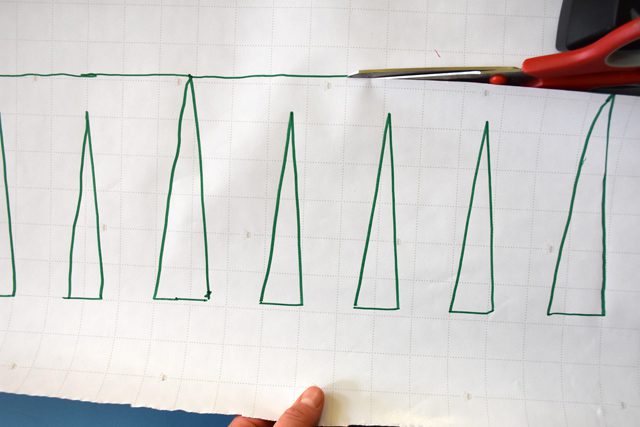
Cut on the lines.
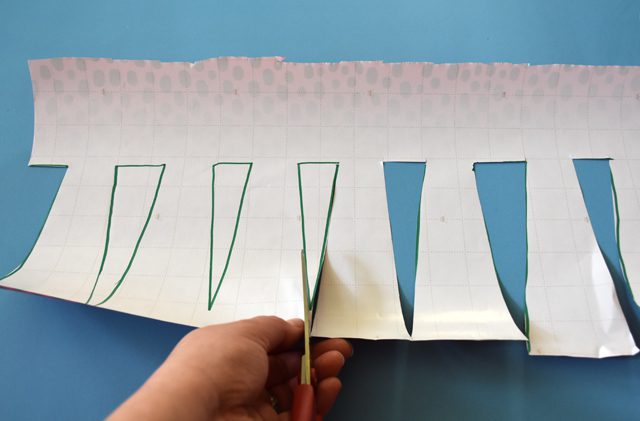
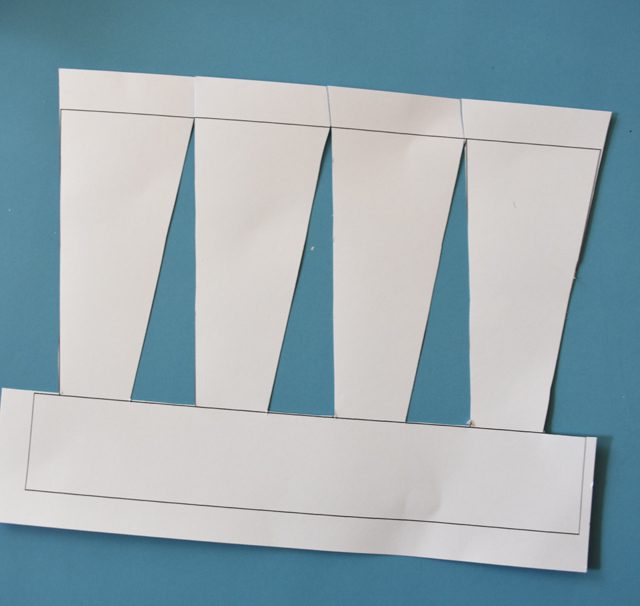
Cut out each triangle and save them for the top ball.
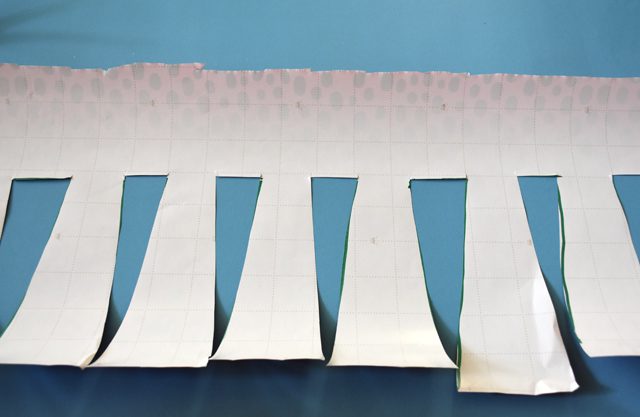
So it’ll look something like this.
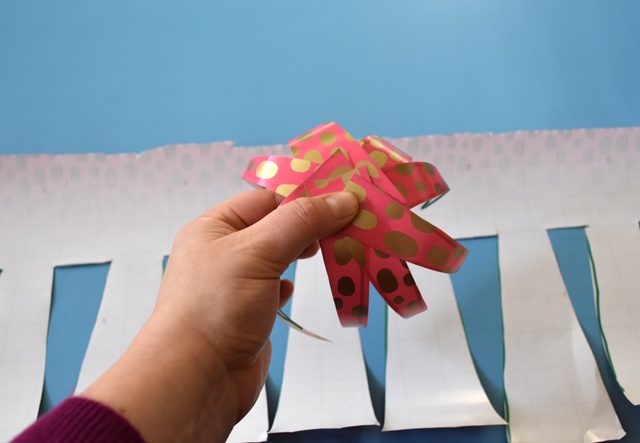
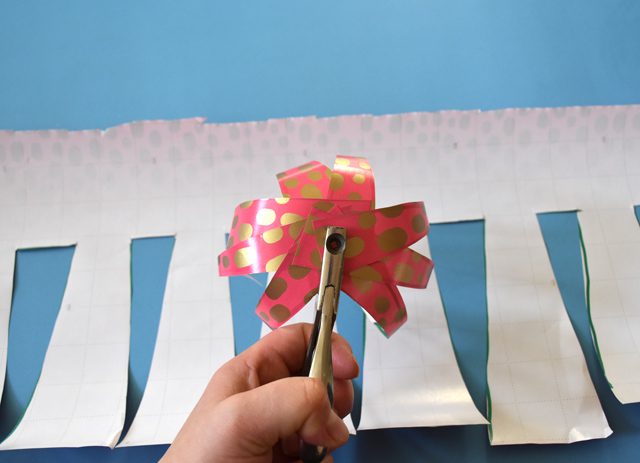
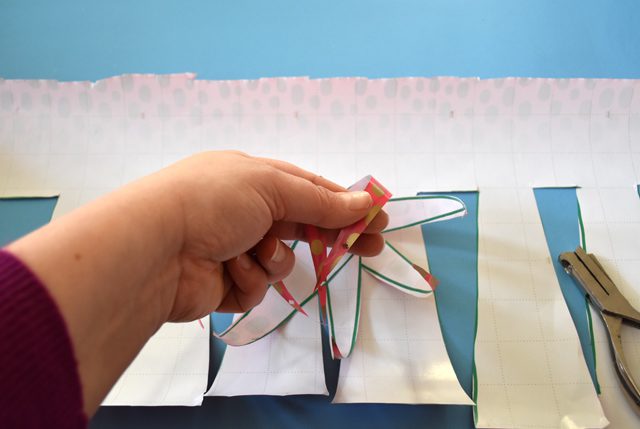
Gather up those triangles and join them at the flat ends.
Like so. Keep holding that spot as you grab your hole-puncher.
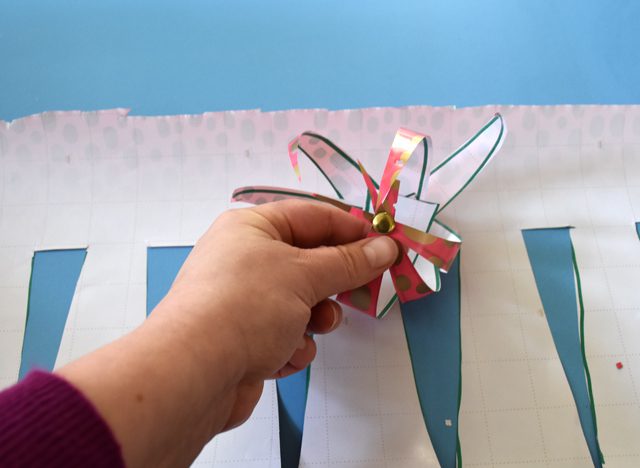
Punch a hole in the middle of the flat ends and put the first brad fastener in with the end on the inside.
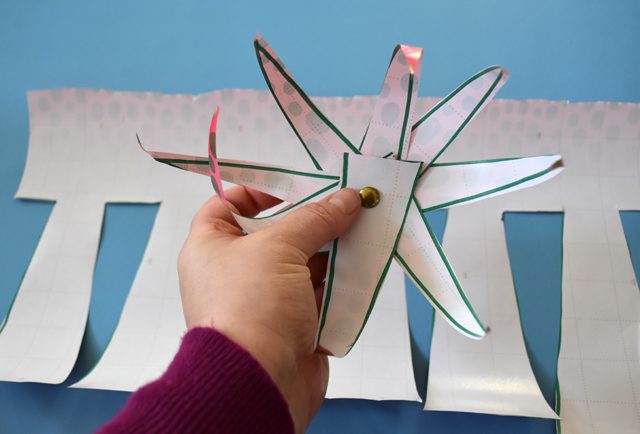
It’ll look something like this. Keep the end open – it will attach to the crown part!
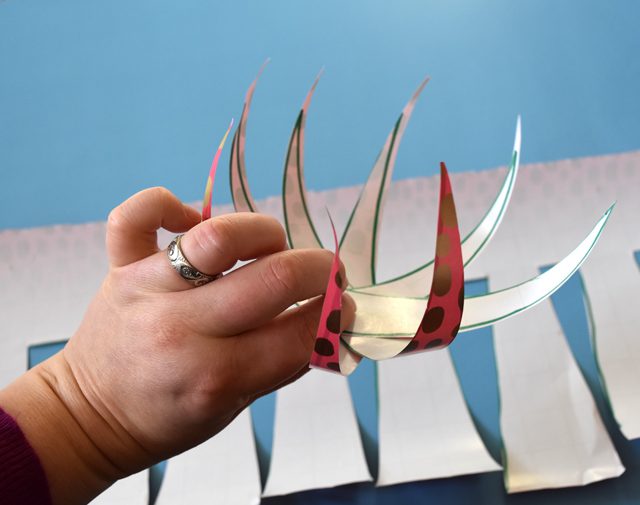
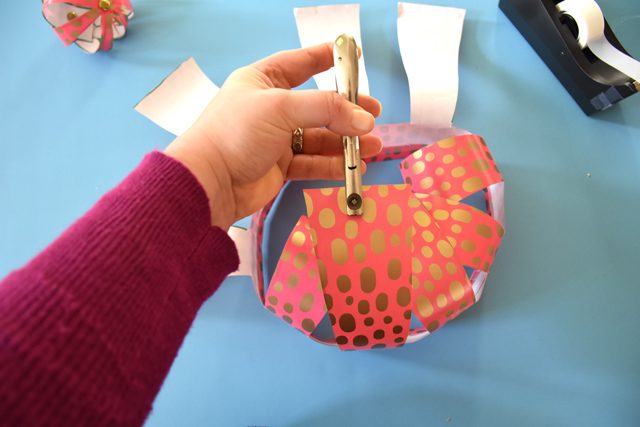
Grab your hole puncher and punch a hole in each of the points.
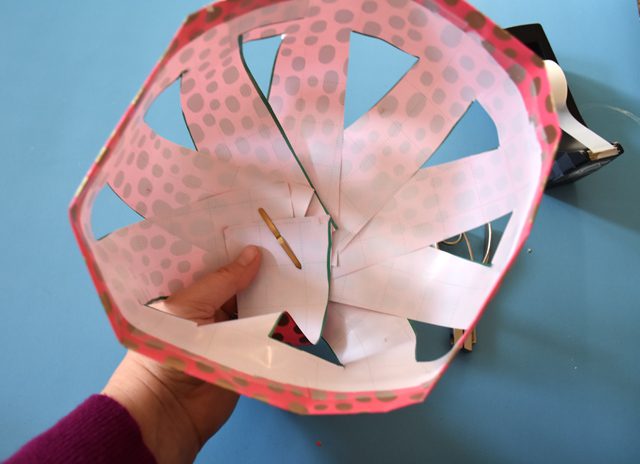
Gather the punched holes together onto the second brad (with the end facing out this time), sliding one hole onto the brad at a time.
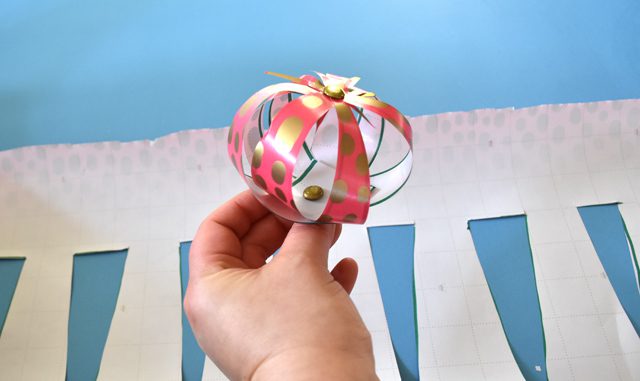
Close the brad on that top end and set the ball you just made aside.
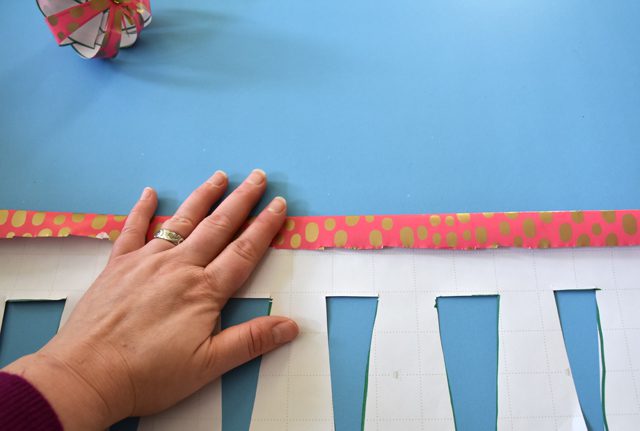
Now on to the crown section! Fold the unfinished edge of the wrapping paper up (this will make a sturdier crown).
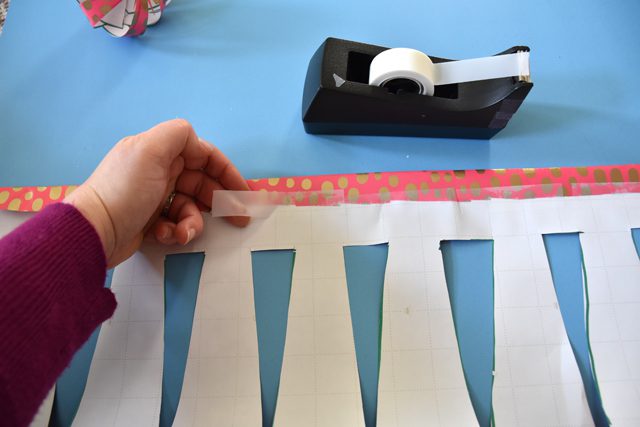
Tape along that entire edge (also contributes to the study factor).

Measure it for your head, and trim off the excess. Tape the bottom section together to form the circle that will go on your head.
Paper punch the middle of the flat side of each piece of the crown, just like you did with the pointed parts of the top ball.
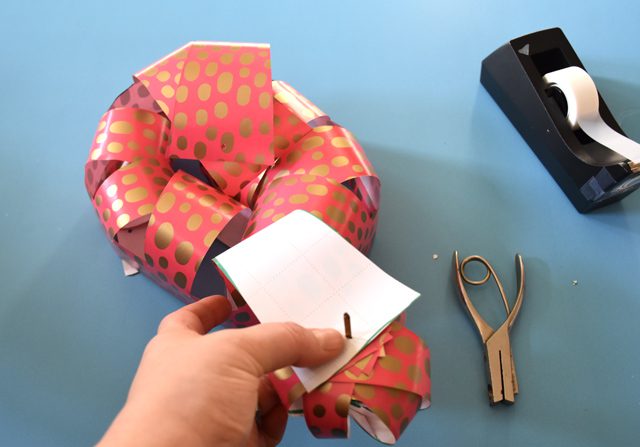
Now pick up your ball top again. The bottom brad will attach to the crown! Slide each punched hole over the brad.
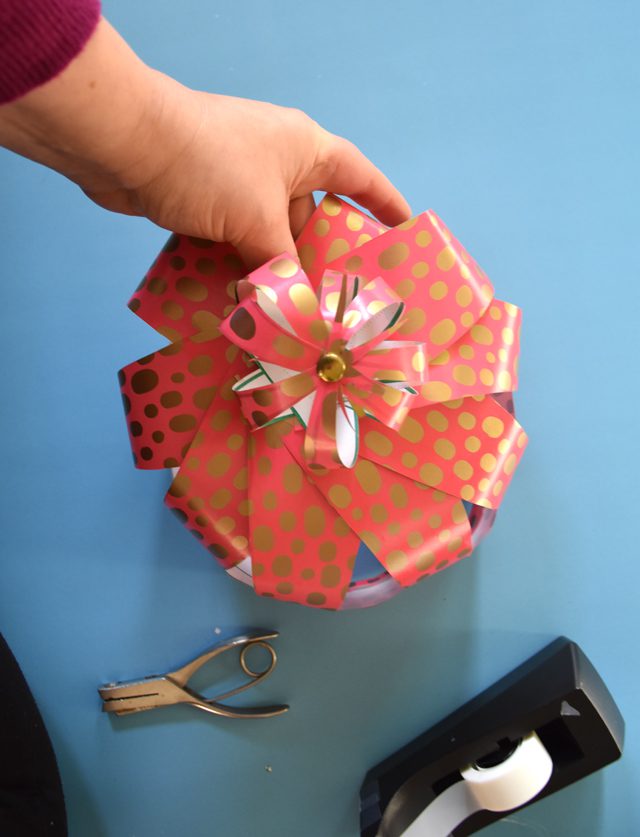
It’ll look like this from the top. Now it’s time to close the brad and finish up!
It’ll look like this from the bottom. Adjust the sections of the crown on the ball and the main part so it’s all arranged the way you like it, then make sure all the brads are nice and tight, and you’re done! Enjoy your crowns! Time for a tea party, perhaps!