Sponsored by

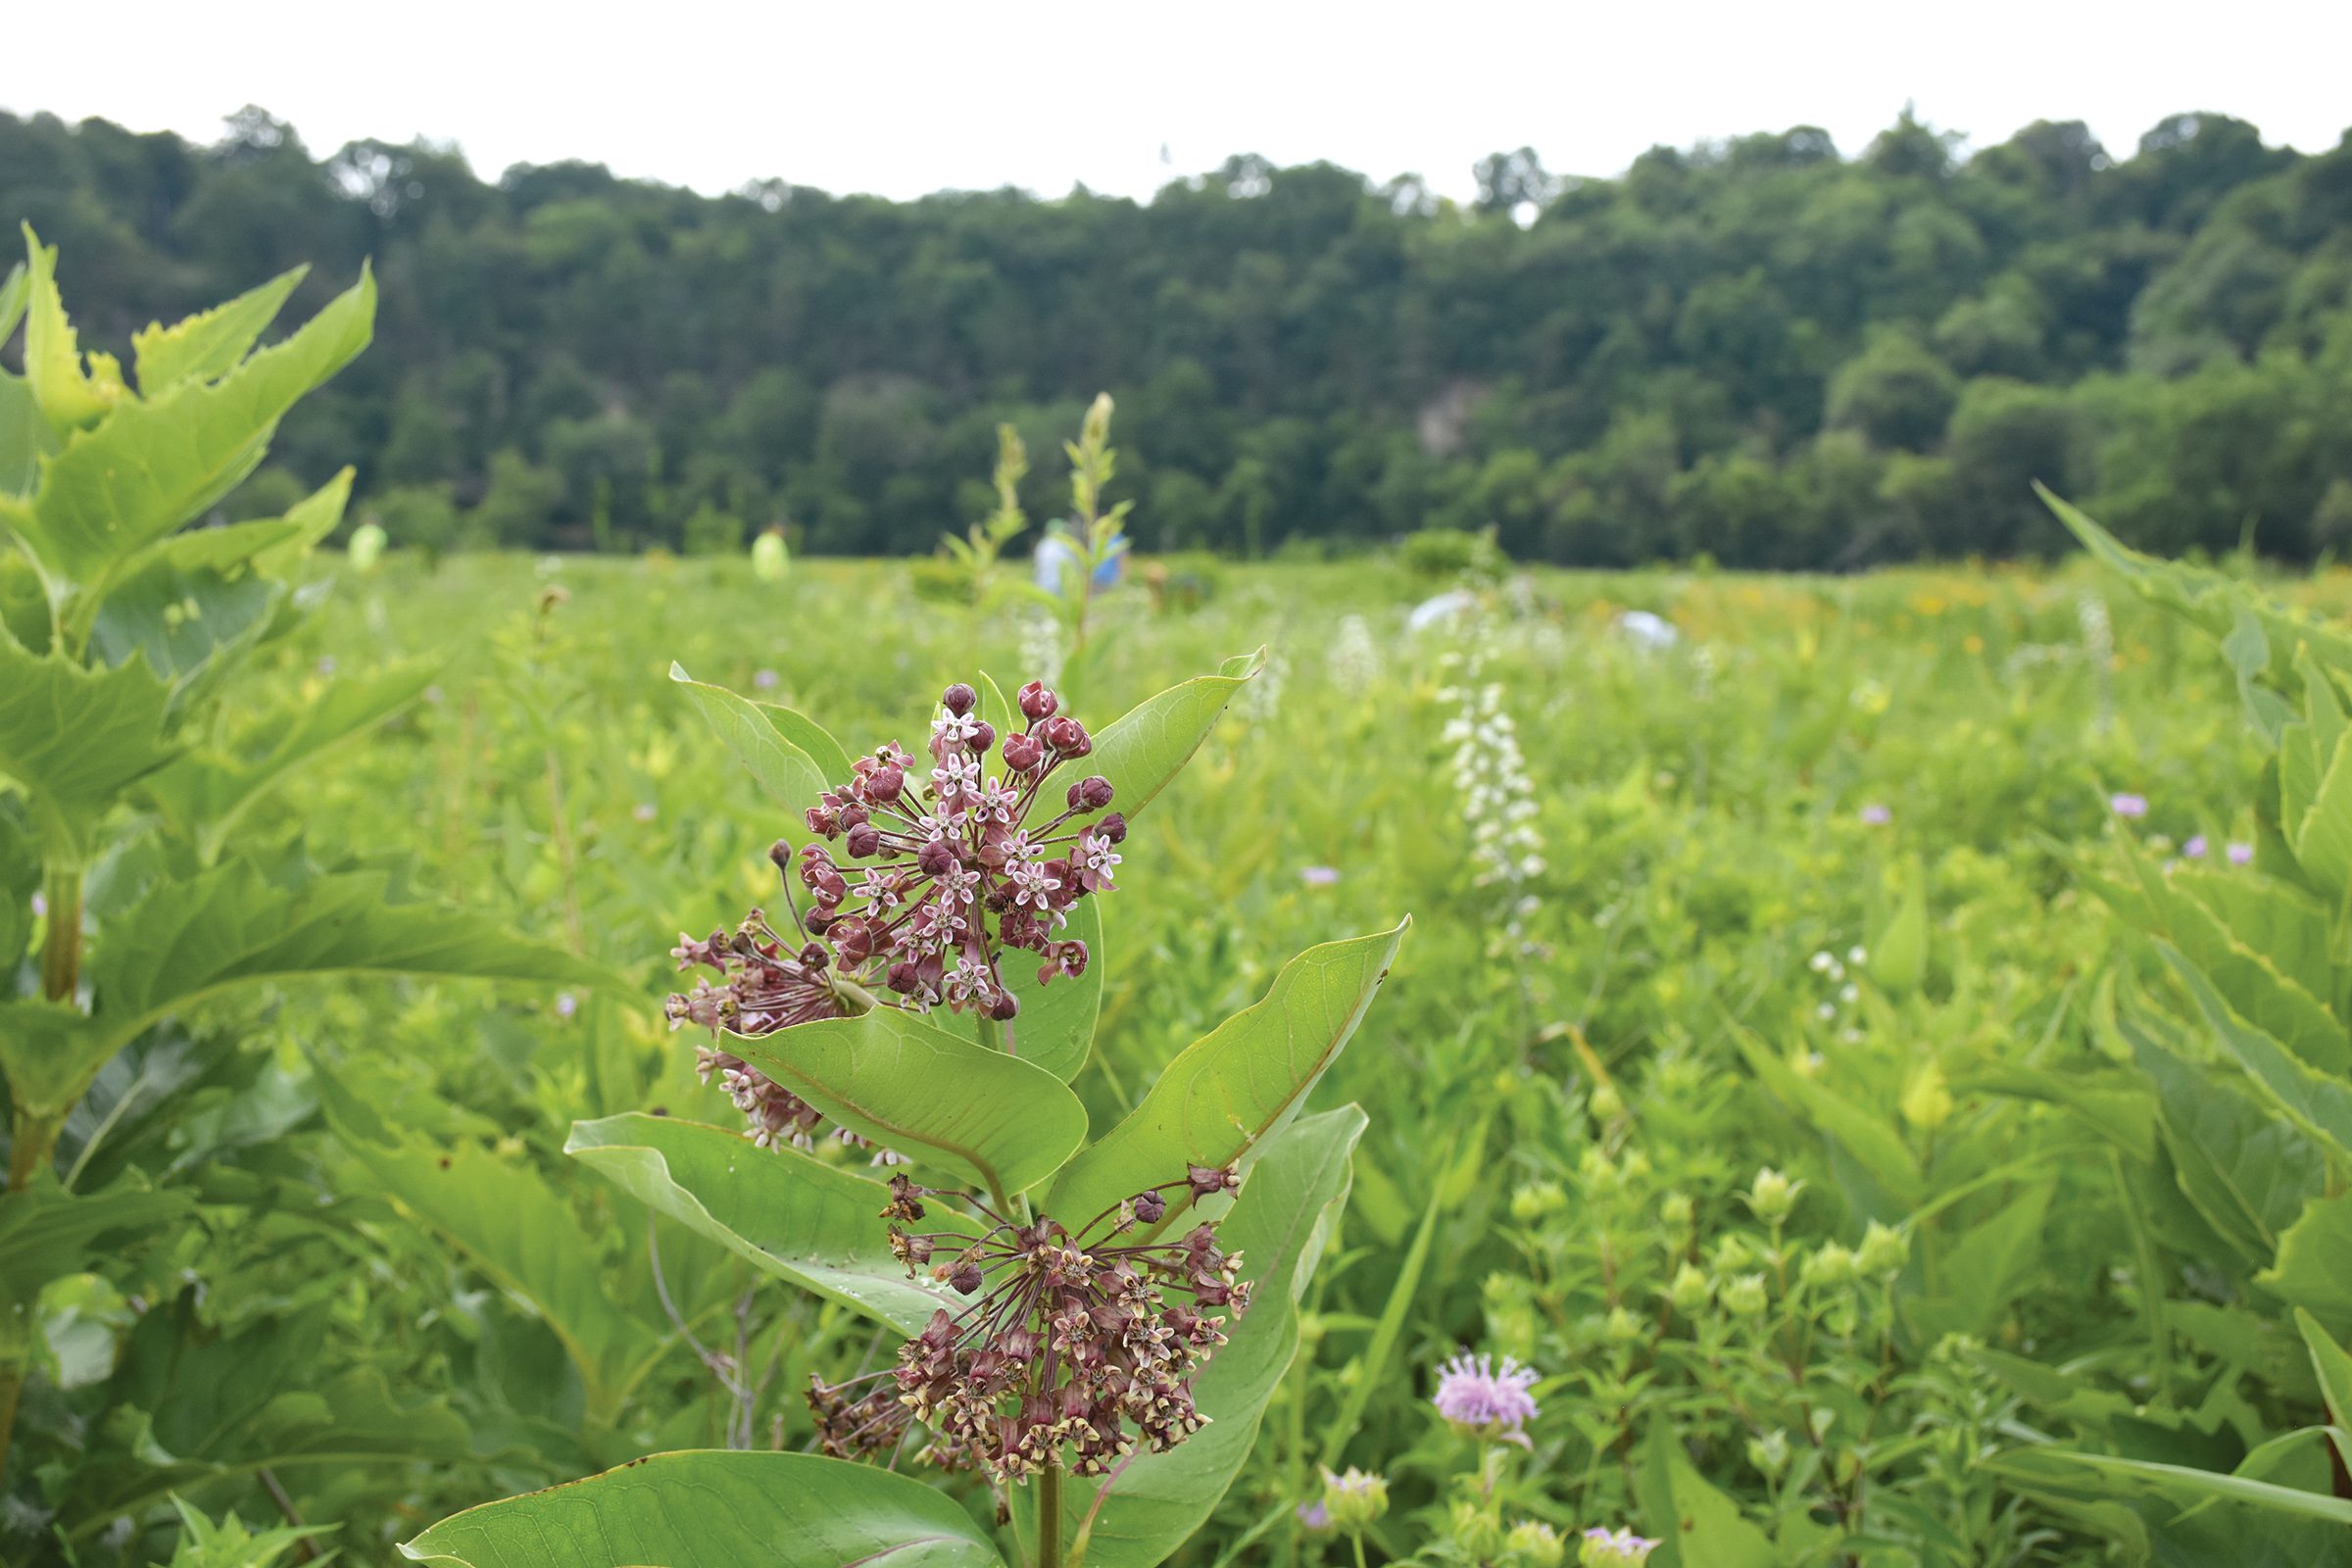
Bloom Flower Farm
Bloom is a small flower farm in Northeast Iowa run by Jen Opheim and family. At Bloom, we love to watch things grow and to be creative. It all begins with a vision. Maybe you want fresh locally grown flowers for your DIY wedding bouquets. Maybe you want to promote your business with a petite posy giveaway. Or maybe you have a flower friend who would love a unique gift of blooms through our seasonal CSA. Whatever your flower needs are, we’re happy to help. Let’s create something beautiful together!
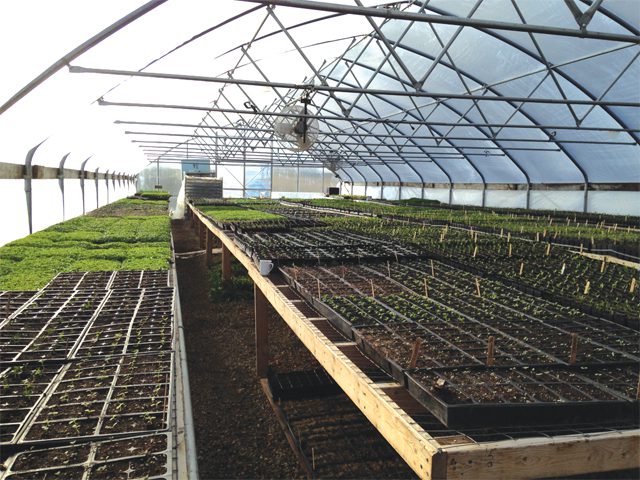
River Root Farm: Seed Starting 101
Sponsored by
Bloom Flower Farm
Bloom is a small flower farm in Northeast Iowa run by Jen Opheim and family. At Bloom, we love to watch things grow and to be creative. It all begins with a vision. Maybe you want fresh locally grown flowers for your DIY wedding bouquets. Maybe you want to promote your business with a petite posy giveaway. Or maybe you have a flower friend who would love a unique gift of blooms through our seasonal CSA. Whatever your flower needs are, we’re happy to help. Let’s create something beautiful together!
Seed Starting: Get your plants growing like a pro
By Kristine Jepsen • Photos courtesy River Root Farm
It begins mid-winter, when the seed catalogs start landing in your mailbox. Any gardener knows all that green abundance is as riveting as, well, garden porn on those cold nights of frost.
But for all their seeming perfection, the strength of those lovely fruits or flowers was determined months ago through the successful germination and early care of the young plants, says professional grower Katie Prochaska.
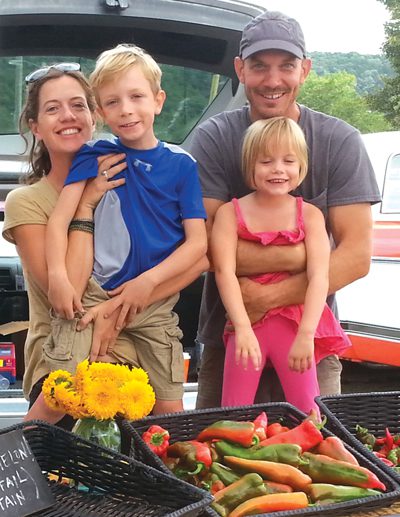 Katie – alongside her husband, Mike Bollinger – starts thousands of microgreens and vegetable and flower varieties every year at River Root Farm in Decorah.
“There are about six things you really have to address,” says Katie. “Soil, type of container, light and warmth, watering, and, well, human error – or, just paying attention.”
Katie, a Luther College grad who first dug into gardening as a sustainable farming volunteer in the Peace Corps in Mali, West Africa, has had plenty of opportunity to dial in those basics. She and Mike put in time with the Seed Savers Exchange garden crew, managed the one-acre sustenance garden at the Good Life Center, founded by Helen and Scott Nearing in rural Maine, and later the four-acre market garden of Four Season Farm, the Maine showplace of organic innovators Eliot Coleman and Barbara Damrosch. Before moving to Decorah to start their own farm, which features moveable greenhouses pioneered by Coleman and engineered by a sister business, Four Season Tools, Katie and Mike managed gardens and programming for the Chicago Botanic Garden.
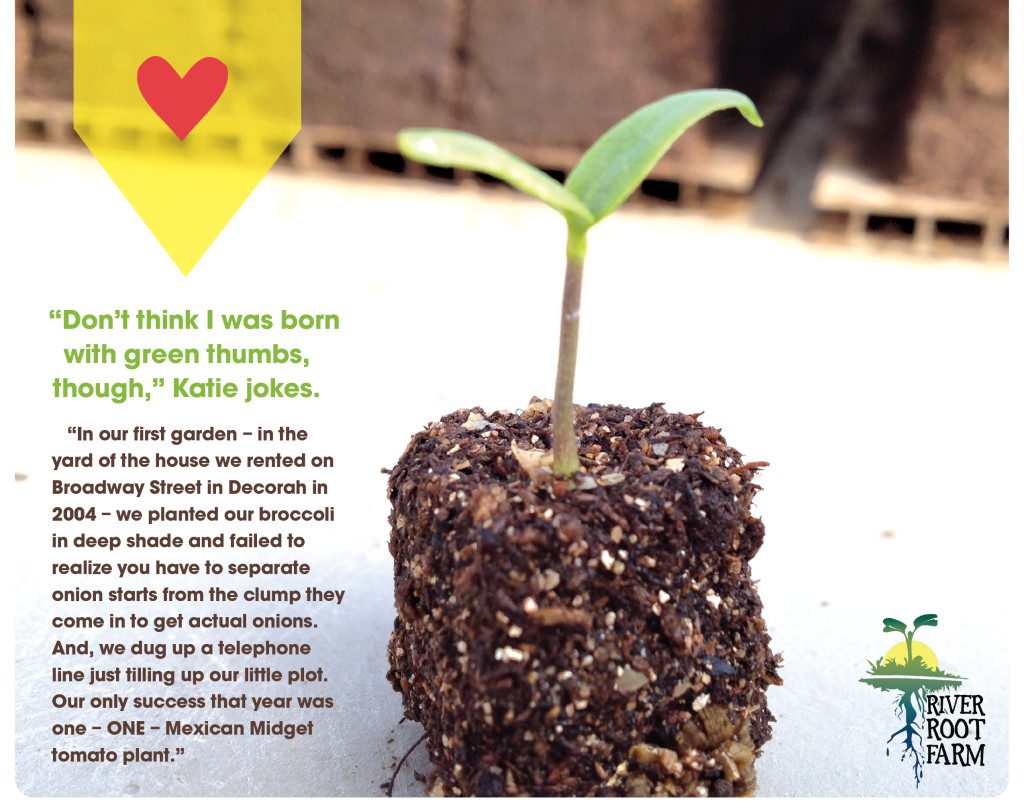
“Don’t think I was born with green thumbs, though,” Katie jokes. “In our first garden – in the yard of the house we rented on Broadway Street in Decorah in 2004 – we planted our broccoli in deep shade and failed to realize you have to separate onion starts from the clump they come in to get actual onions. And, we dug up a telephone line just tilling up our little plot. Our only success that year was one – ONE – Mexican Midget tomato plant.”
Here’s how to master the six keys to seedling success:
SOIL
By nature, seeds contain everything they need to sprout, so they don’t require nutrient-dense, bulky soil for germination. Choosing a potting medium that’s light and fluffy makes it easy for roots to find traction and sprouts to push up into the light of day. “Sterile” mixes are best to prevent mold or disease, Katie says. “A lot of times, people might use soil from outside, or compost from their garden, but these are too dense – literally overkill.”
Once emerged, plan to “pot up,” or transplant, seedlings into a combination of sterile potting soil and homemade or purchased compost, or a purchased soil with fertilizer mixed in. The goal is to give your starts easily accessible nutrients – baby food – for 4-6 weeks, prior to planting in the garden, Mike says.
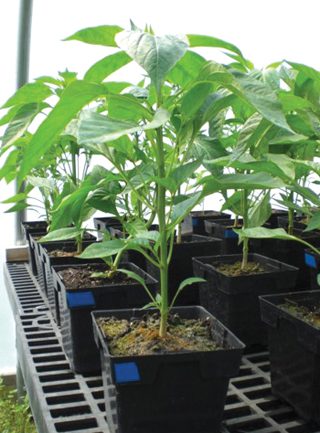
TYPE OF CONTAINER
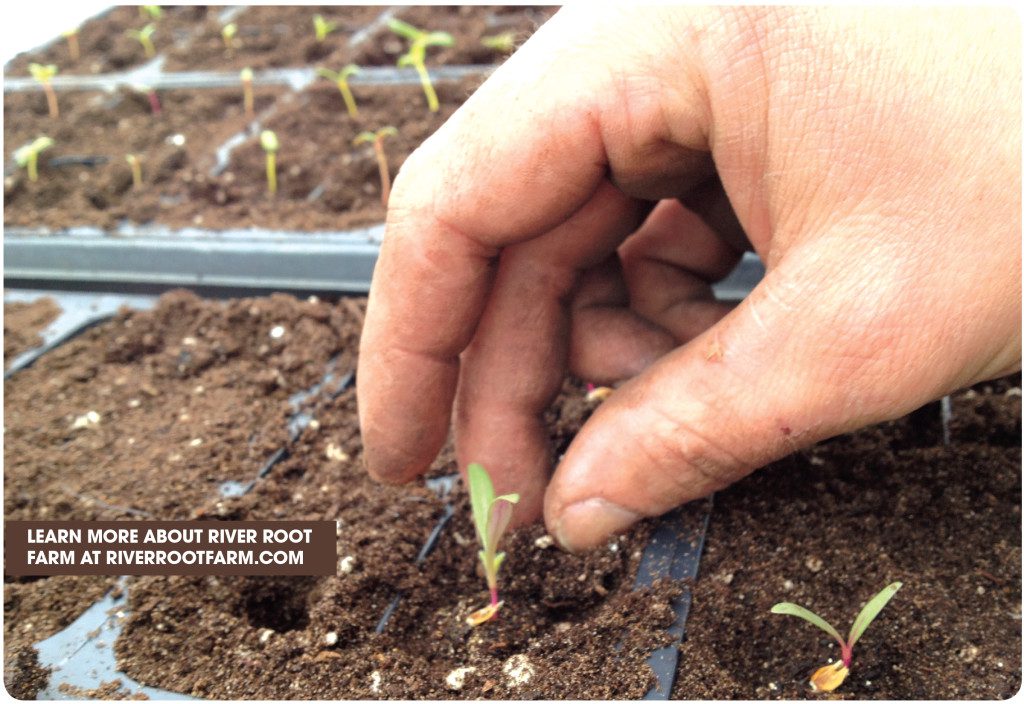
“Use any old container – just make sure it has holes in the bottom for drainage,” Katie says. Plants won’t need more than 3-4 inches in height or width before they’re planted outdoors, so keep containers small. Individual yogurt cups work well, in addition to biodegradable peat or coconut containers that can be planted directly in the ground. When setting up your seed starting area, it’s a good idea to put all containers in a shallow tray because you’ll want to bottom-water them once the seedlings send out roots,” Katie suggests. (More on that later.)
In planting the actual seeds, use the size of seed as a rule of thumb, she says. “I often see people ‘burying’ seed, when most need to be only as deep as they are long – hardly covered with dirt, in most cases.”
Another key tip: moisten soil before planting. “It should be uniformly damp but not soggy or dripping,” Katie says, “more like a rag that’s been wrung out.”
WARMTH & LIGHT
“Warmth and light are the biggies, and they go hand-in-hand,” Katie says, nodding solemnly to make her point. For most seeds, germination doesn’t require any light at all, but gentle heat is necessary to keep things at a constant 70 to 80 degrees until the seedlings emerge. “You can put them on top of the refrigerator, above a radiator, on top of your dryer. Or, you can buy an electric heat mat designed for starts.”
The trick, she says, is to keep the soil uniformly moist and warm until seeds “pop,” which is why many seed-starting kits include a plastic dome that fits on top. You can create this ‘greenhouse effect’ yourself by covering containers in plastic cling wrap, Katie says. “We sow [seeds] in trays on freestanding shelving, then cover the whole thing in a clear mattress bag.” Just be sure to keep the soil surface moist using a hand pump mist sprayer, or even a hand-held bottle with squeeze sprayer, Mike adds.
 When the tiny seedlings poke through the soil surface – this is pivotal – you MUST move them into bright, full spectrum light before they’re 1/2” tall, often within just hours of emerging. If covered in plastic, seedlings will suffocate as they use up the oxygen sealed into their ‘greenhouse,’ and they will stretch and get spindly or ‘leggy,’ searching for daylight. The result is irreparably weak plants, Katie says.
“If you have a really sunny south-facing window, that can work, but honestly, the best thing is to put plants under standard shop lights,” with one cool white fluorescent bulb and the other giving warmer/orange light,” she explains. “You want the plant to be within 3-4 inches of the light source as it grows, which means setting up your growing area so the light can be moved up as the plants get taller.”
This phase of growth requires less heat – most plants don’t need more than 60-70 degrees. It’s important to honor nature’s cycle of light and dark, too, Katie says. “Give them 16-18 hours of light to mimic the length of day in warmer climates, where these seed varieties are native. Then, turn it off. The plants need ‘nighttime’ even though they’re not outdoors yet.”
WATERING
Bottom-watering, or letting soil take up water through holes in the bottom of containers, is recommended once the seedlings pop up, Katie explains. This cuts down on soil splash, or the splattering of potentially fungus-bearing soil onto the stem and leaves when watered from above. In addition, bottom-watering does not shift the fragile plants around at the soil surface.
PAYING ATTENTION
“A lot of your success comes in just paying attention – starting with reading the seed packet,” Katie says with a laugh. “The information might vary from company to company, but it’s there for a reason, and each vegetable or flower is unique in its own way.” To plan your garden’s productivity, look at the number of days to maturity. Is it given from seeding or from transplant? And keep in mind that some species really do best with direct seeding outdoors, as suggested, including beets, beans, cucumbers, squash, and pumpkins.
Another important directive? Thinning. “Don’t be afraid to thin,” Katie says. “I understand the temptation: people see that they’ve grown this little green thing, and they don’t want to kill it, but plants need space to grow. Always plant more than you need so you’ll have your target number of the strongest plants after thinning.”
And then there’s the importance of good lighting, again. “Check on your germinating seeds a couple times a day,” she repeats. “Stuff will pop up and be an inch tall in the blink of an eye.” Then, when seedlings are under bright lights, make sure plants don’t burn by growing tall enough to touch the bulbs.
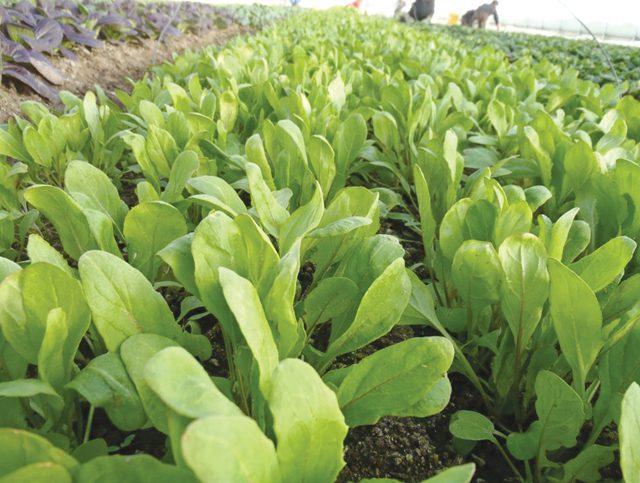
Within just a few short weeks, your greenlings will be ready to join the profusion of plant life known as the growing season in the Midwest. “Moral of the story? Keep at it,” Katie says. “We learn something new from the garden every year.”
_______________
 After whole decades of tangled tomatoes and limp lettuces, Kristine Jepsen has finally thinned her gardening proclivity to the handful of things her family will readily eat fresh from the garden. She is otherwise happy pay local professionals for their expertise. Read more of her misadventures at kristinejepsen.com.