Sponsored by
Bloom Flower Farm
Bloom is a small flower farm in Northeast Iowa run by Jen Opheim and family. At Bloom, we love to watch things grow and to be creative. It all begins with a vision. Maybe you want fresh locally grown flowers for your DIY wedding bouquets. Maybe you want to promote your business with a petite posy giveaway. Or maybe you have a flower friend who would love a unique gift of blooms through our seasonal CSA. Whatever your flower needs are, we’re happy to help. Let’s create something beautiful together!
How to Make a Pirate Hat
Sponsored by
Bloom Flower Farm
Bloom is a small flower farm in Northeast Iowa run by Jen Opheim and family. At Bloom, we love to watch things grow and to be creative. It all begins with a vision. Maybe you want fresh locally grown flowers for your DIY wedding bouquets. Maybe you want to promote your business with a petite posy giveaway. Or maybe you have a flower friend who would love a unique gift of blooms through our seasonal CSA. Whatever your flower needs are, we’re happy to help. Let’s create something beautiful together!
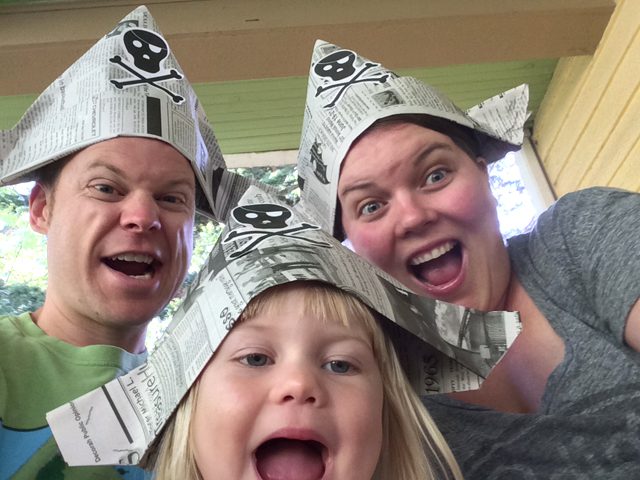 Who doesn’t love to have a little pirate-y fun in the summer? The resident Inspire(d) HQ toddler loves to role play Jake and the Neverland Pirates pretty much 24/7, so making some pirate hats seemed like the perfect addition to the excitement. So grab a newspaper from the recycling bin and get to folding (and playing)! Argh you ready?! Here goes:
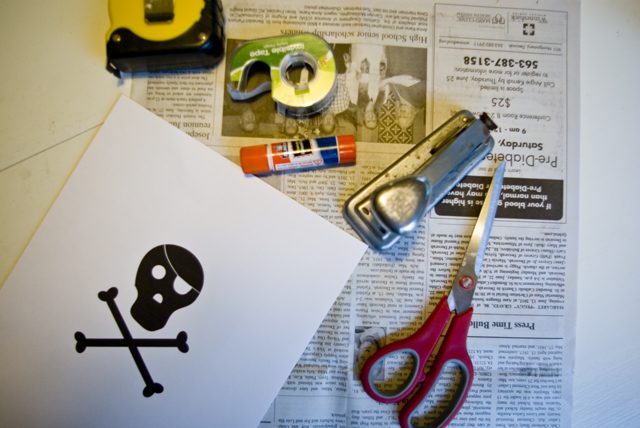
Supplies:
One full sheet of newspaper (a whole spread – black and white looks best in my opinion)
Skull and crossbones printout (download here)
Scissors
Glue or glue stick
Tape
Ruler or tape measure
Stapler
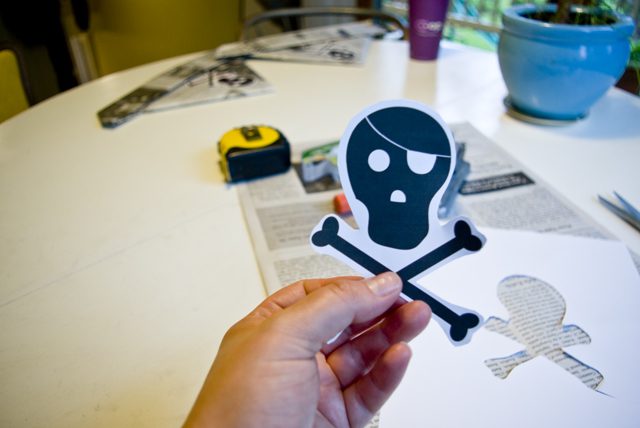
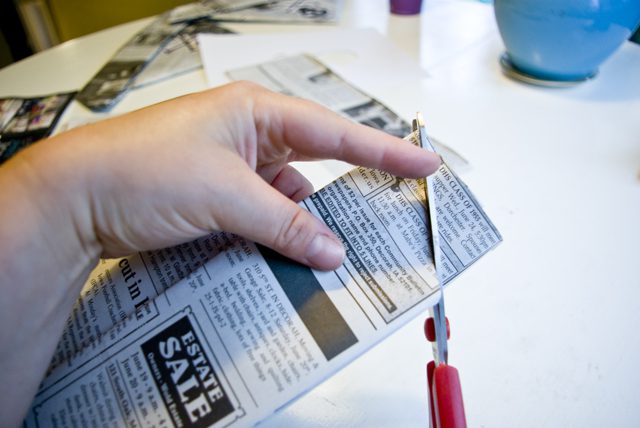
Cut out your skull and crossbones
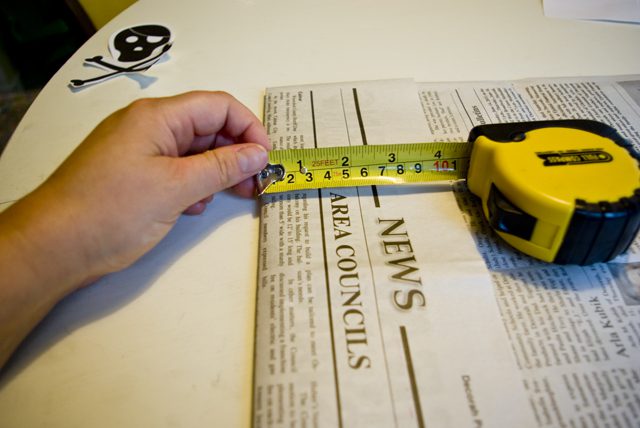
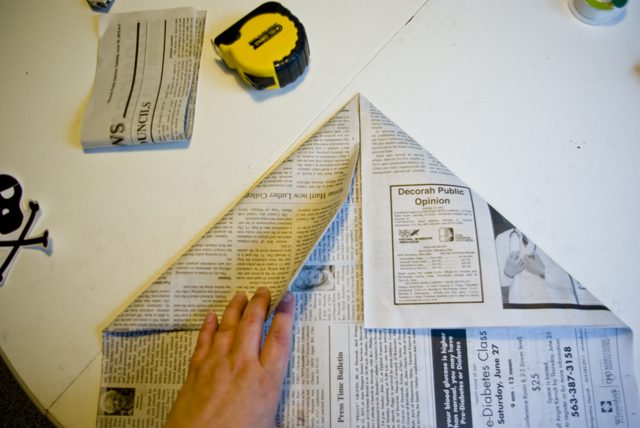
Fold your newspaper in half the short way (over the natural fold) Now for sizing: Fold in the left edge. For an adult-sized hat, about four inches is good. Go to 6 or 7 for a kid-sized hat). Trim at the fold mark.
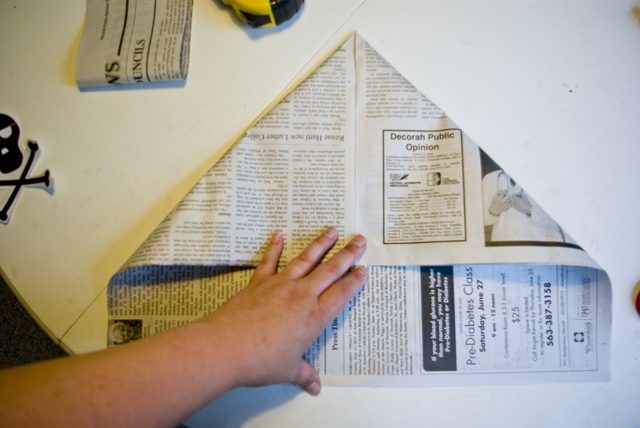
Fold in the top corners so they meet in the center of the page. Tape the folds together.
There will be two pieces hanging off the bottom. We will work with these separately to make the “brim”.

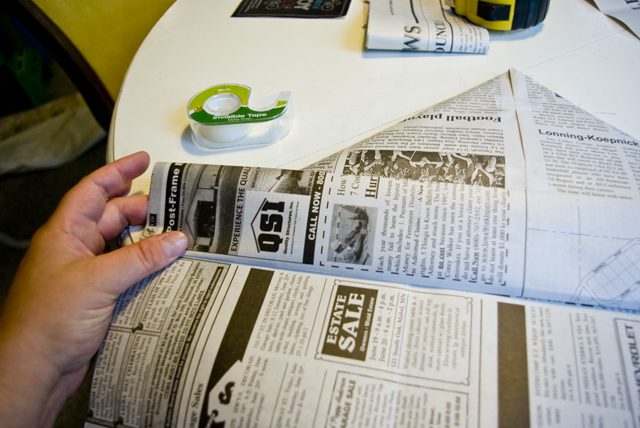
Fold the top piece of the brim section up in half, and then over itself again.
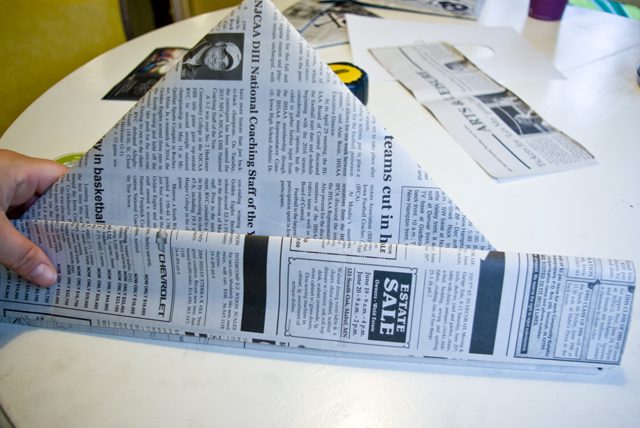
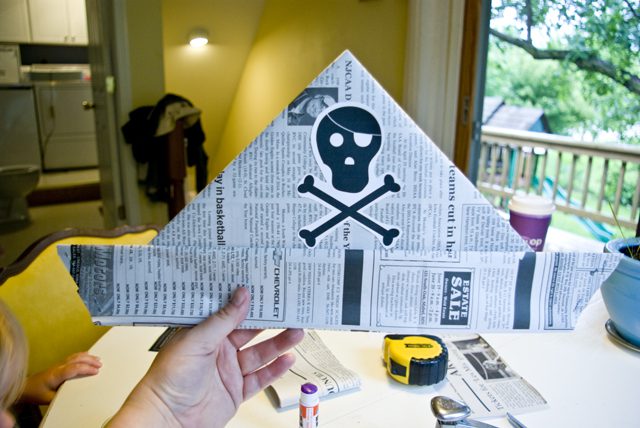
Repeat on the other side. Yay! It looks like a hat now!
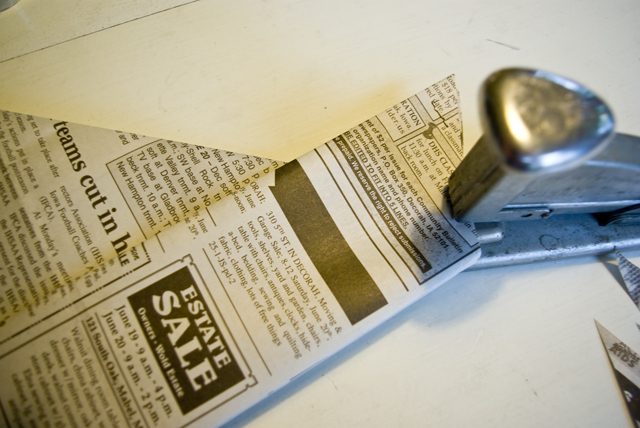
To add accent to the pirate hat, trim the edges of the brim to come to a point. Staple to hold it together. Repeat on the other side.
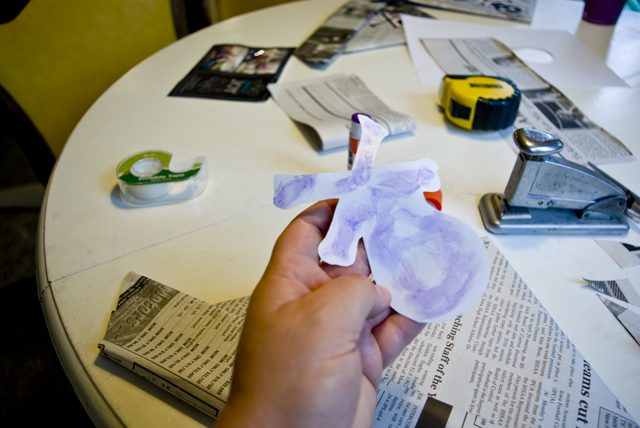
Glue the back of the skull and crossbones.
Stick it on the middle of the hat!
Tip: We found that the hats stay on better if you size them to the wearer’s head a bit too. Place the hat on the wearer’s head, pinch the sides close in to the head. Mark those spots, if you wish, then staple on each side. This makes the hat more “fitted” (you can see how that works on Aryn’s hat below).
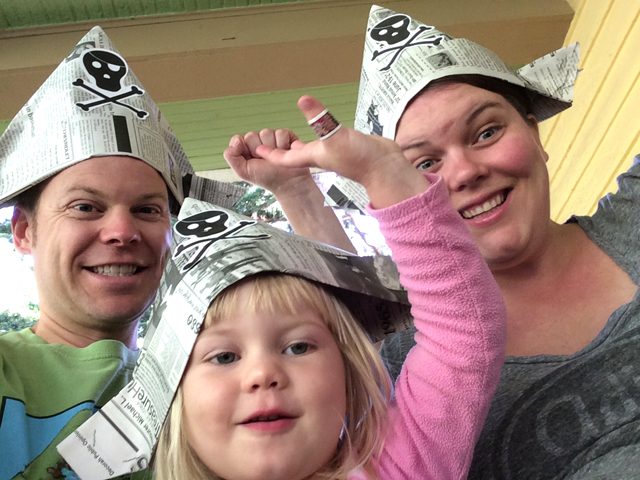
Argh we done yet? Yes! Hooray! Enjoy!
Looking for more paper projects? Check out these fun ideas!