Sponsored by

Bloom Flower Farm
Bloom is a small flower farm in Northeast Iowa run by Jen Opheim and family. At Bloom, we love to watch things grow and to be creative. It all begins with a vision. Maybe you want fresh locally grown flowers for your DIY wedding bouquets. Maybe you want to promote your business with a petite posy giveaway. Or maybe you have a flower friend who would love a unique gift of blooms through our seasonal CSA. Whatever your flower needs are, we’re happy to help. Let’s create something beautiful together!
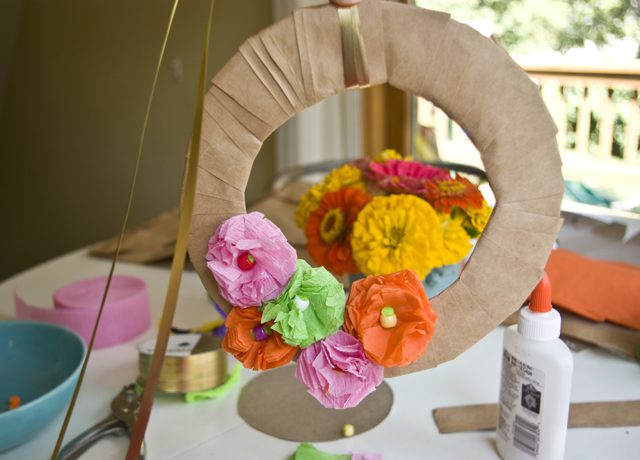
How to Make a Paper Wreath
Sponsored by
Bloom Flower Farm
Bloom is a small flower farm in Northeast Iowa run by Jen Opheim and family. At Bloom, we love to watch things grow and to be creative. It all begins with a vision. Maybe you want fresh locally grown flowers for your DIY wedding bouquets. Maybe you want to promote your business with a petite posy giveaway. Or maybe you have a flower friend who would love a unique gift of blooms through our seasonal CSA. Whatever your flower needs are, we’re happy to help. Let’s create something beautiful together!
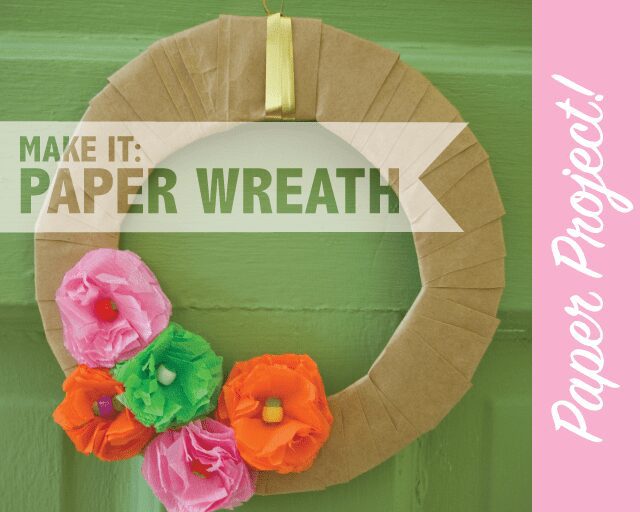
How to Make a (our) Paper Wreath
When I think “fall” I think leaves, Thanksgiving dinner, football (or, moreover, marching bands!), sweaters and scarves…and wreaths! What is it about fall that makes us think about wreathes? It’s a funny thing. No matter the reason, it seemed about time to make up some sort of fall paper wreath, don’t you think?
So, armed with some random art supplies, an old cereal box, and a paper grocery bag, I came up with this! I think it’s cute. It’s not huge, for sure, but a collection of them would look pretty adorable! Enjoy!
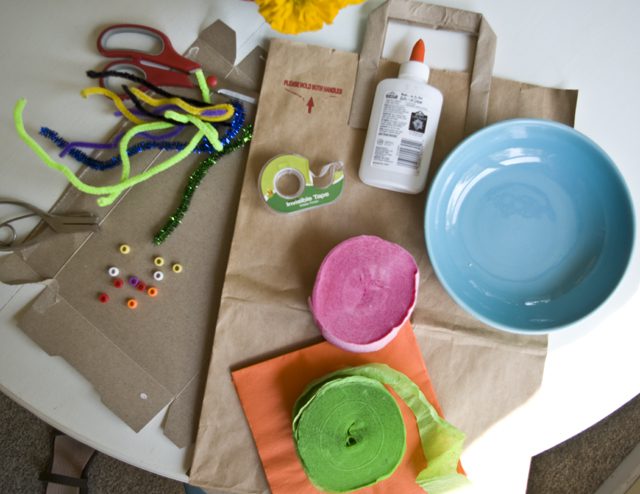
Supplies:
Cardboard cereal box, flattened
Paper grocery bag
Streamers or tissue paper or fun-colored paper napkins
Tape
Glue
Scissors
Pipe cleaners
Plastic beads (as many beads as flowers you’d like to make for your wreath(s)
Paper punch (heavy duty is best)
Bowl for drawing a circle (the wreath shape)
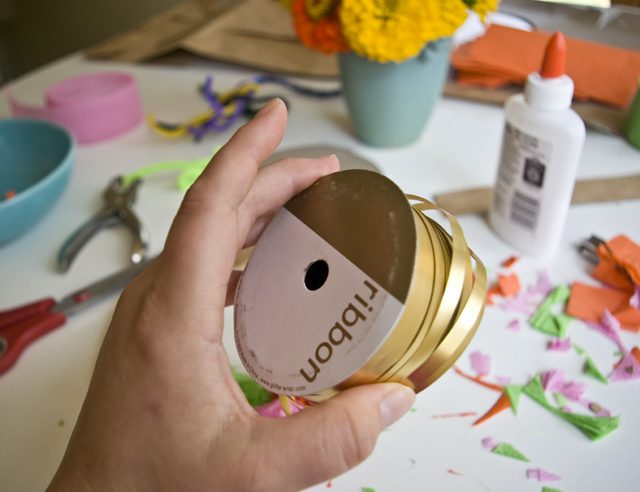
Ribbon or string for hanging
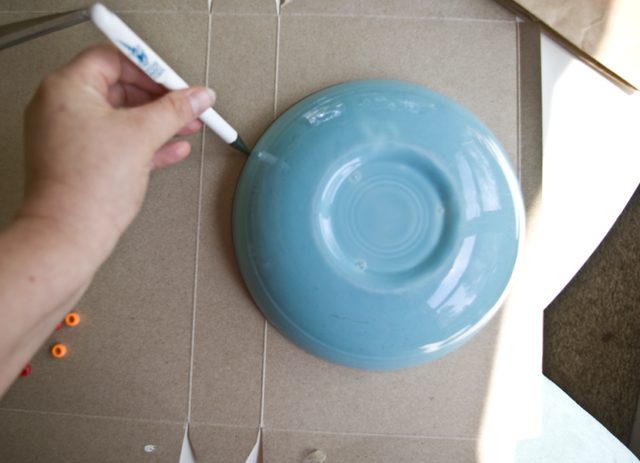
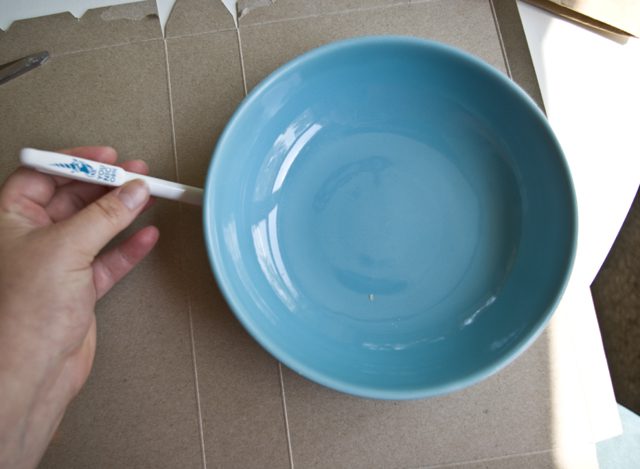
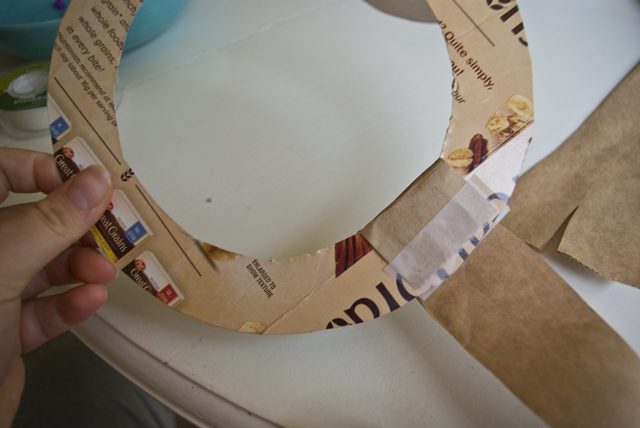
Outline your wreath shape – use the top of the bowl for the outside, then flip it over to make the inner circle. You’ll end up with what looks like a wreath outline on your cereal box. Don’t worry if it’s not perfect. You can adjust as you cut, and once you wrap it, the “perfectness” or lack thereof doesn’t show as much.
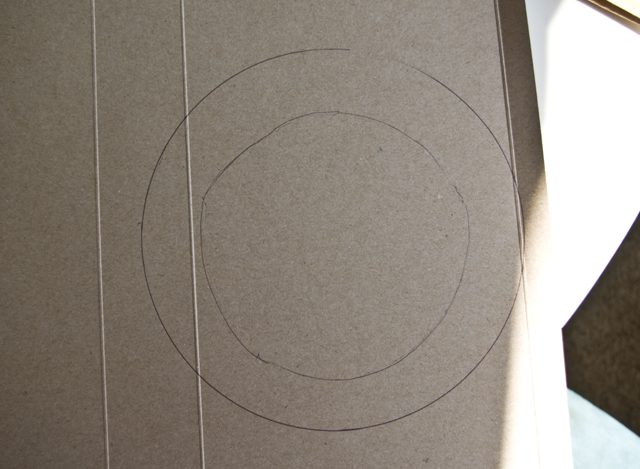
Cut out the wreath base.

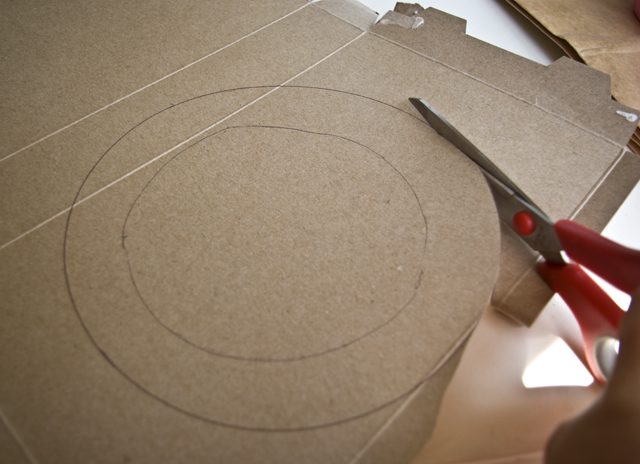
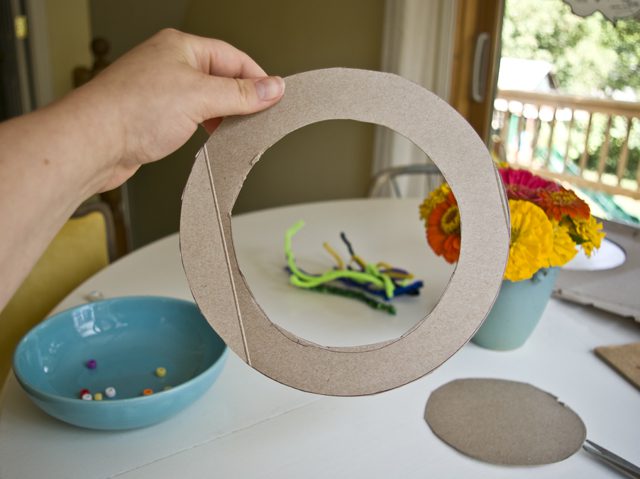
You’ll end up with something like this!
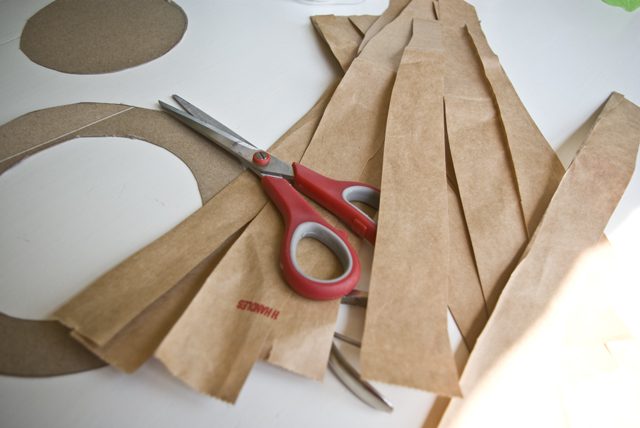
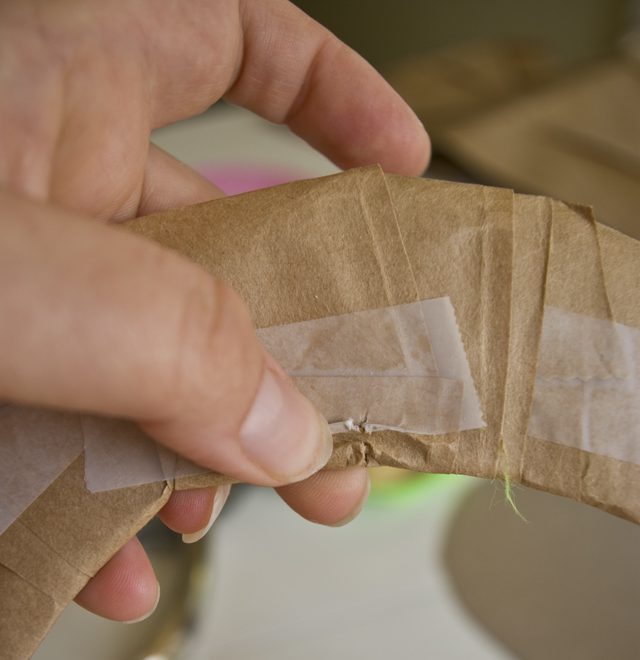
Make paper strips out of the paper bag.
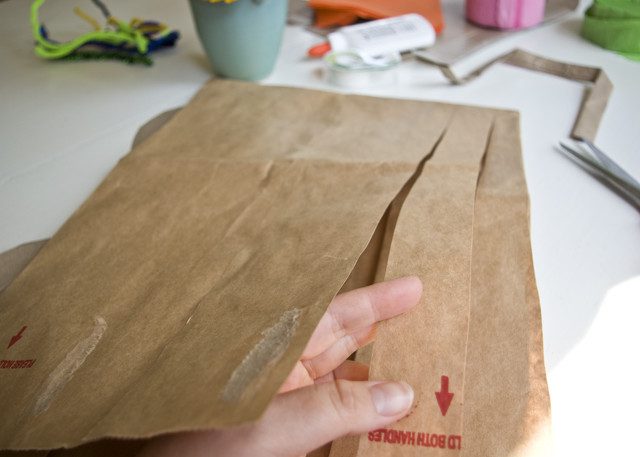
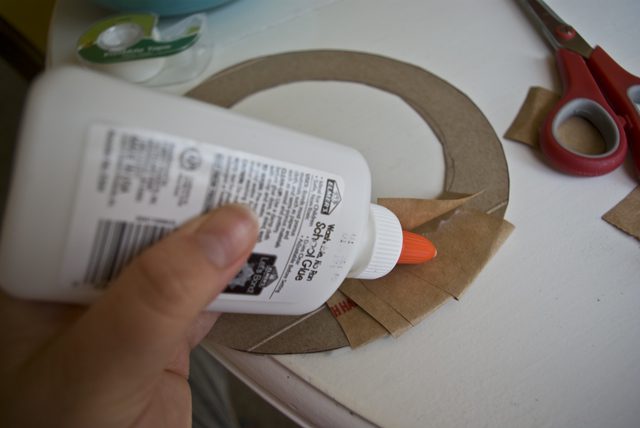
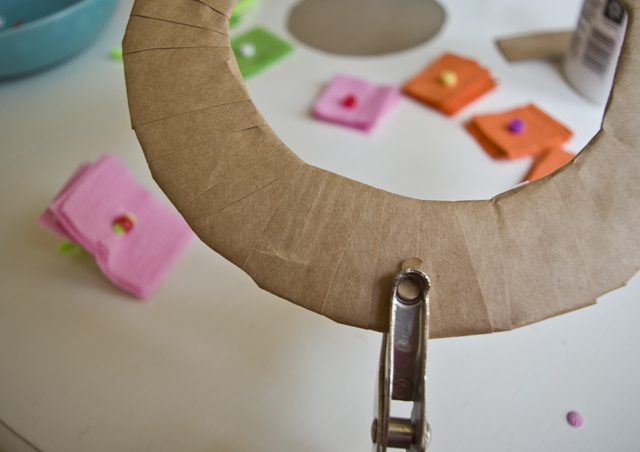
Start wrapping the wreath base with your paper strips. Tape one end to the back of the base and wrap around, layering it slightly left as you wrap (so you progress around the whole thing eventually). Once you get to the end of the strip, secure it to the back (you might have to trim it to make sure the end hits the back), and move on to the next strip. I used glue and tape to make sure it all held.
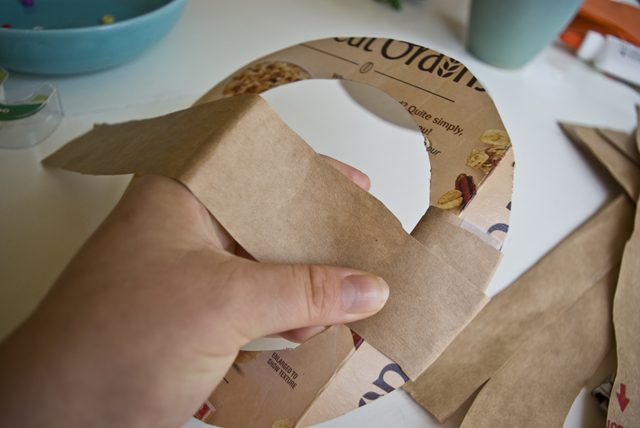
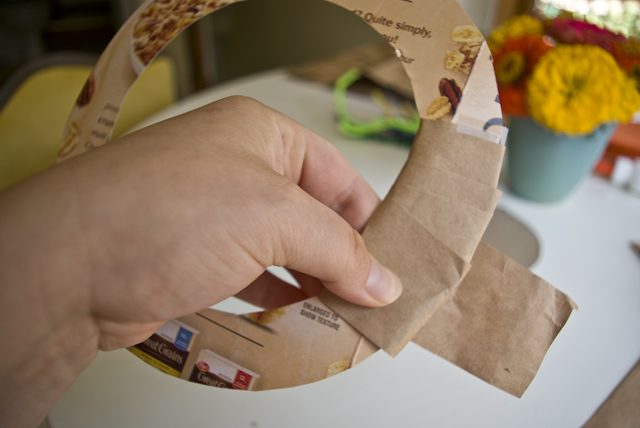
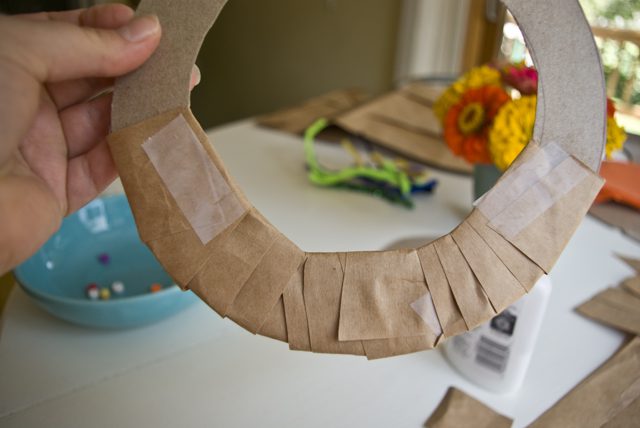
Occasionally you’ll have some spots that don’t seem to want to make the corner. Just squish them down and fold over. It’ll work out in the end!
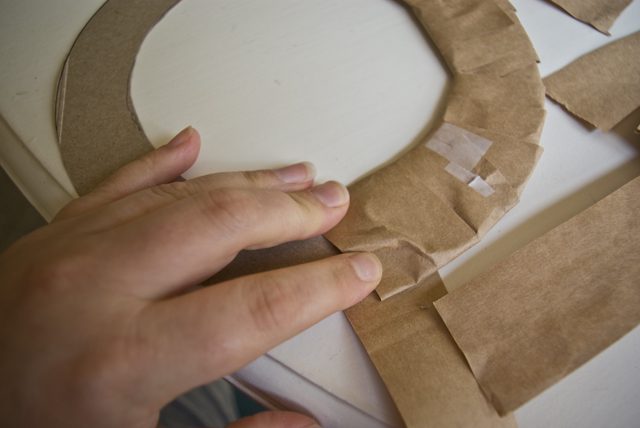
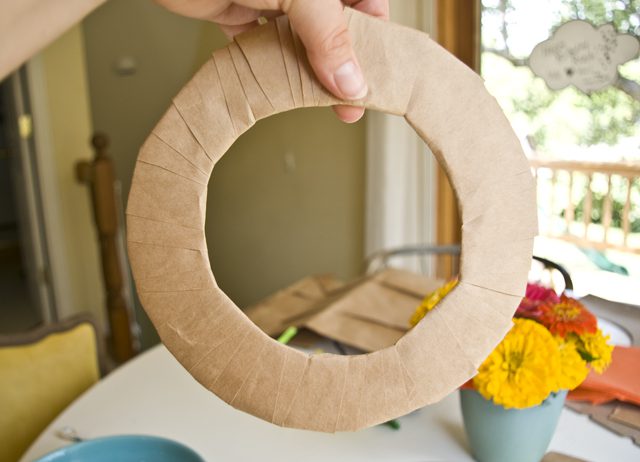
Repeat until the entire wreath base is covered.
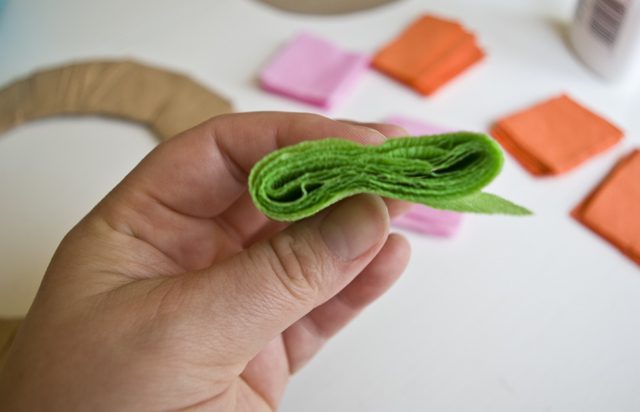
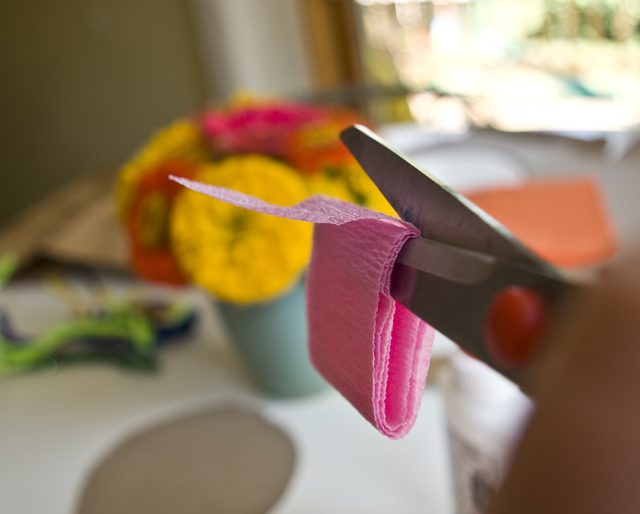
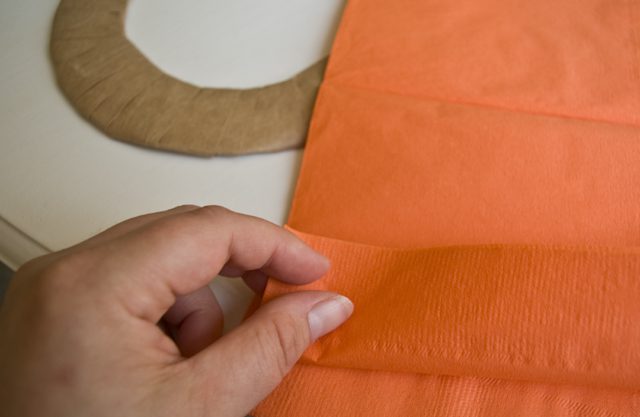
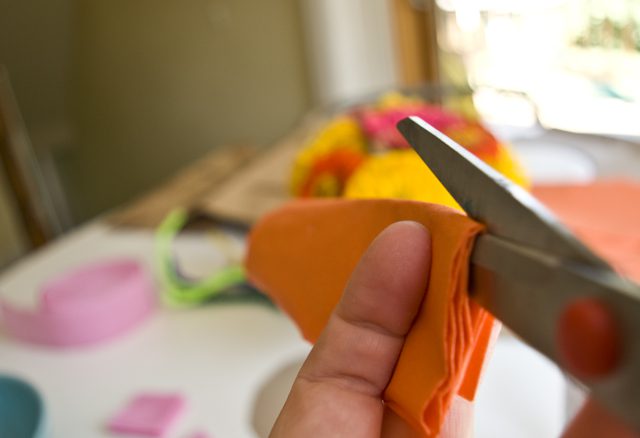
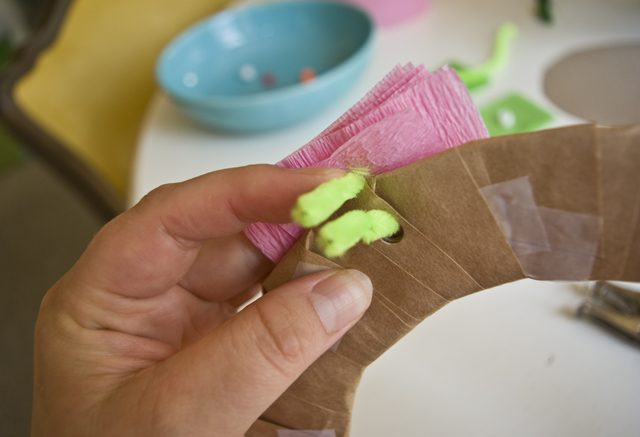
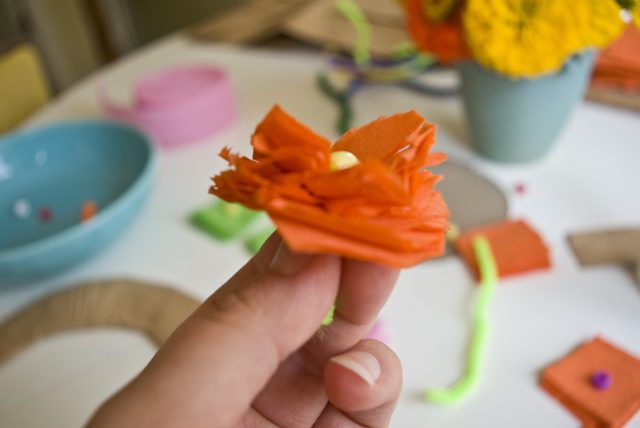
Time to make your flowers! I started with some streamers I had left over from our unicorn piñata tutorial! Fold the streamer over itself over and over again (not accordion style, but like you’re making a loose roll – see the green streamer photo below). Then cut the edges so you’re left with a stack of tiny pieces of tissue paper (in turn, you could start with tissue paper and cut that similarly into tiny pieces). ask a question I make some of my other flowers out of orange paper napkins (hey, use what you’ve got, right?)! The pieces should be about 2×2 inches.
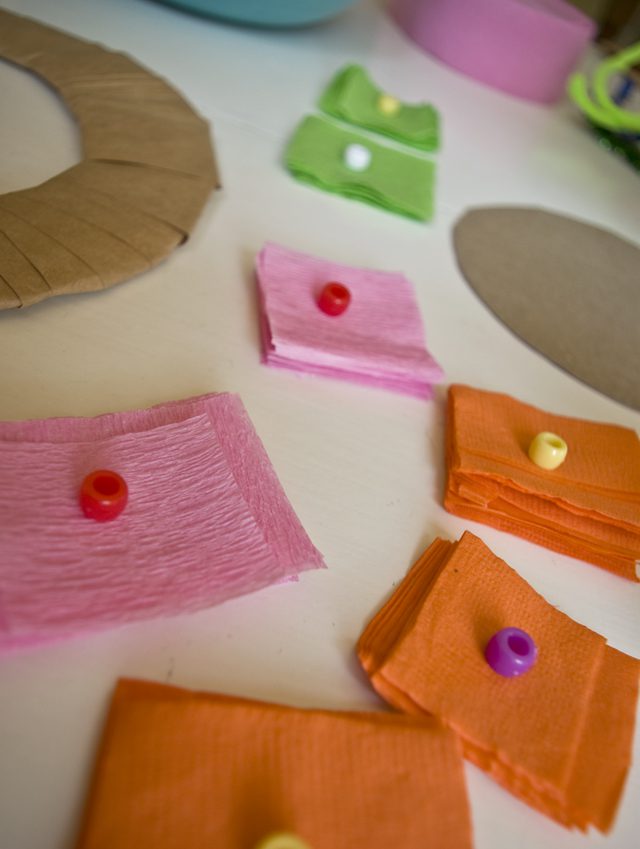
I made orange, green, and pink flowers. You make whatever colors you’d like (and post the pics on Facebook tagging Inspire(d) Media)!

Arrange your beads over your piles of paper to decide which colors you like best.
Decide which part of your wreath you want at the top. Make a little notch so you remember (this is also the place where you’ll attach your ribbon or string for hanging).
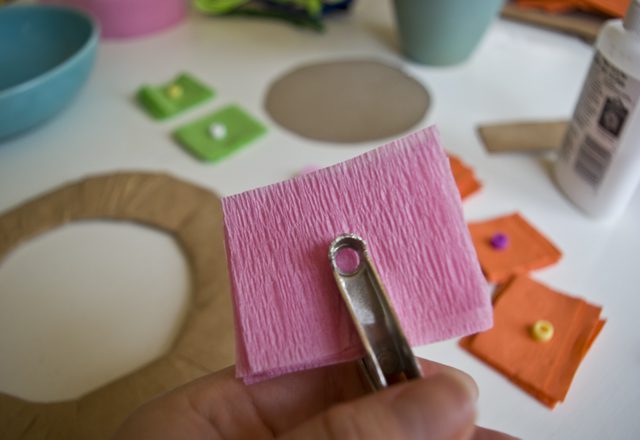
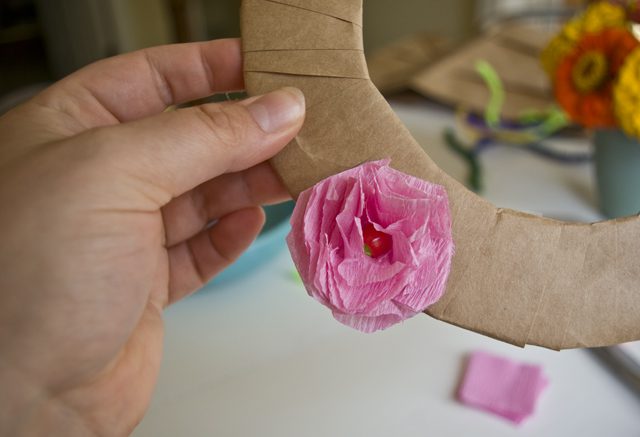
Using your heavy-duty paper punch, punch a hole in the middle of the first pile of papers.
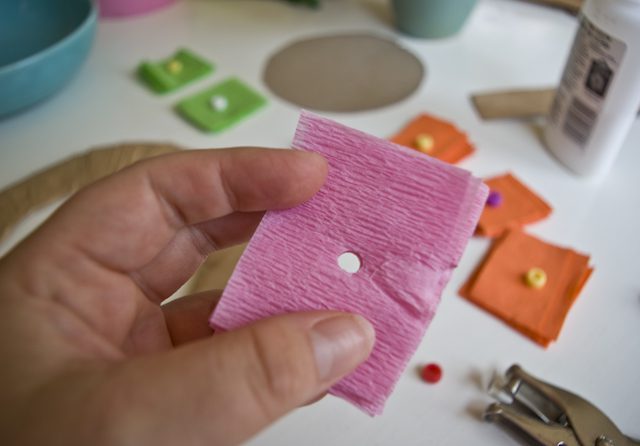
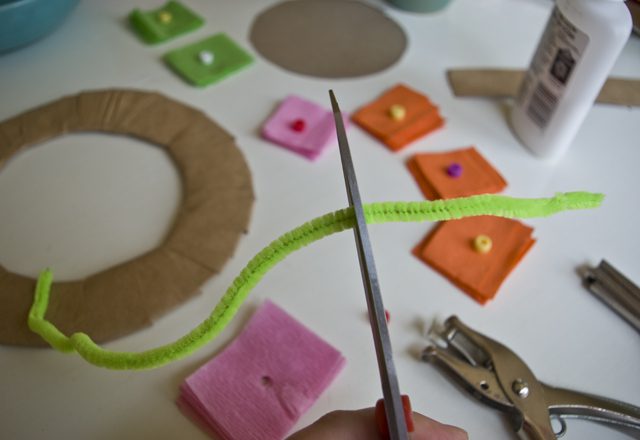
Cut a bit of pipe cleaner (it doesn’t have to be green, although green looks like a stem). This is to attach the bead to the flower and the flower to the wreath.
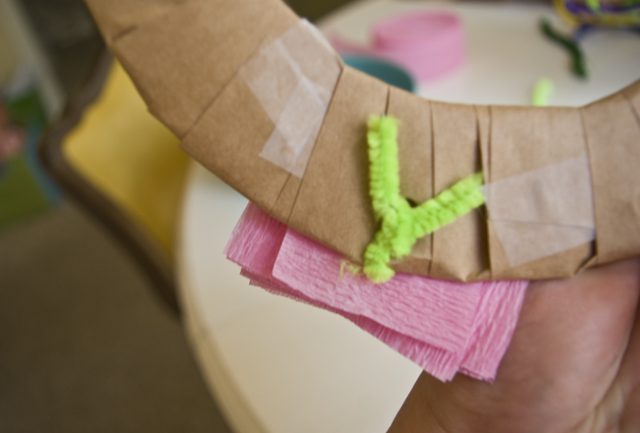
String the pipe cleaner through the bead, then the two side of the pipe cleaner through the hole in the stack of papers. The two ends of the pipe cleaner will be sticking out the back.

Punch a hole near the edge of the wreath (so you can attach the pipe cleaner through both sides).
Twist the pipe cleaner ends together to attach the flower to the base.
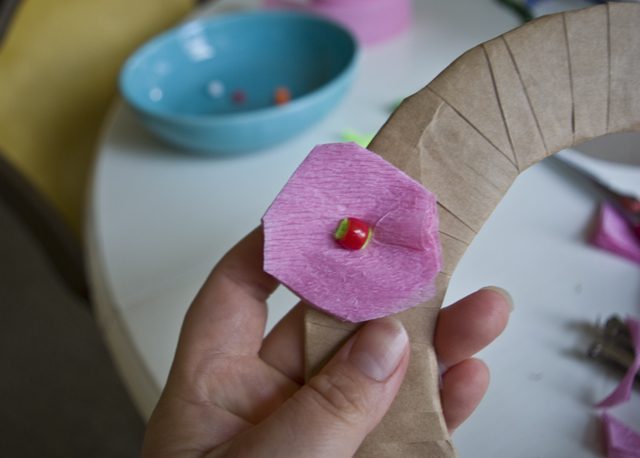
Ruffle up the flower a bit! I trimmed around the edges to make it more circular, and also cut into the =center a bit to create “petals”. Then I just, as I said, ruffled the edges to make it look more flower-like! (I had to cut into the paper napkin flowers a bit more to make them look more flowery.)
Repeat for the remaining flowers (as many as you’d like to make), until they’re all attached.
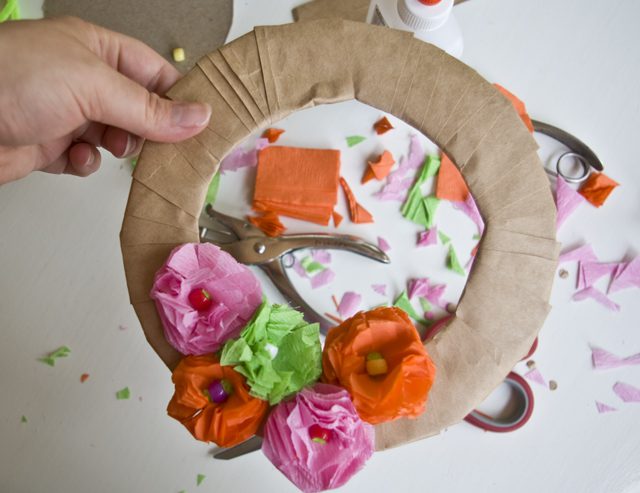
Attach the ribbon where you made your top-of-the-wreath notch earlier, leaving a long string for hanging.
And you’re done! Hang it up and enjoy! Obviously, the back isn’t the prettiest, so this won’t work over windows, but would look great over doors, at walls, etc.
Like this paper project? Check out all our other projects here!