Sponsored by
Bloom Flower Farm
Bloom is a small flower farm in Northeast Iowa run by Jen Opheim and family. At Bloom, we love to watch things grow and to be creative. It all begins with a vision. Maybe you want fresh locally grown flowers for your DIY wedding bouquets. Maybe you want to promote your business with a petite posy giveaway. Or maybe you have a flower friend who would love a unique gift of blooms through our seasonal CSA. Whatever your flower needs are, we’re happy to help. Let’s create something beautiful together!
DYI Paper Gift Bows
Sponsored by
Bloom Flower Farm
Bloom is a small flower farm in Northeast Iowa run by Jen Opheim and family. At Bloom, we love to watch things grow and to be creative. It all begins with a vision. Maybe you want fresh locally grown flowers for your DIY wedding bouquets. Maybe you want to promote your business with a petite posy giveaway. Or maybe you have a flower friend who would love a unique gift of blooms through our seasonal CSA. Whatever your flower needs are, we’re happy to help. Let’s create something beautiful together!
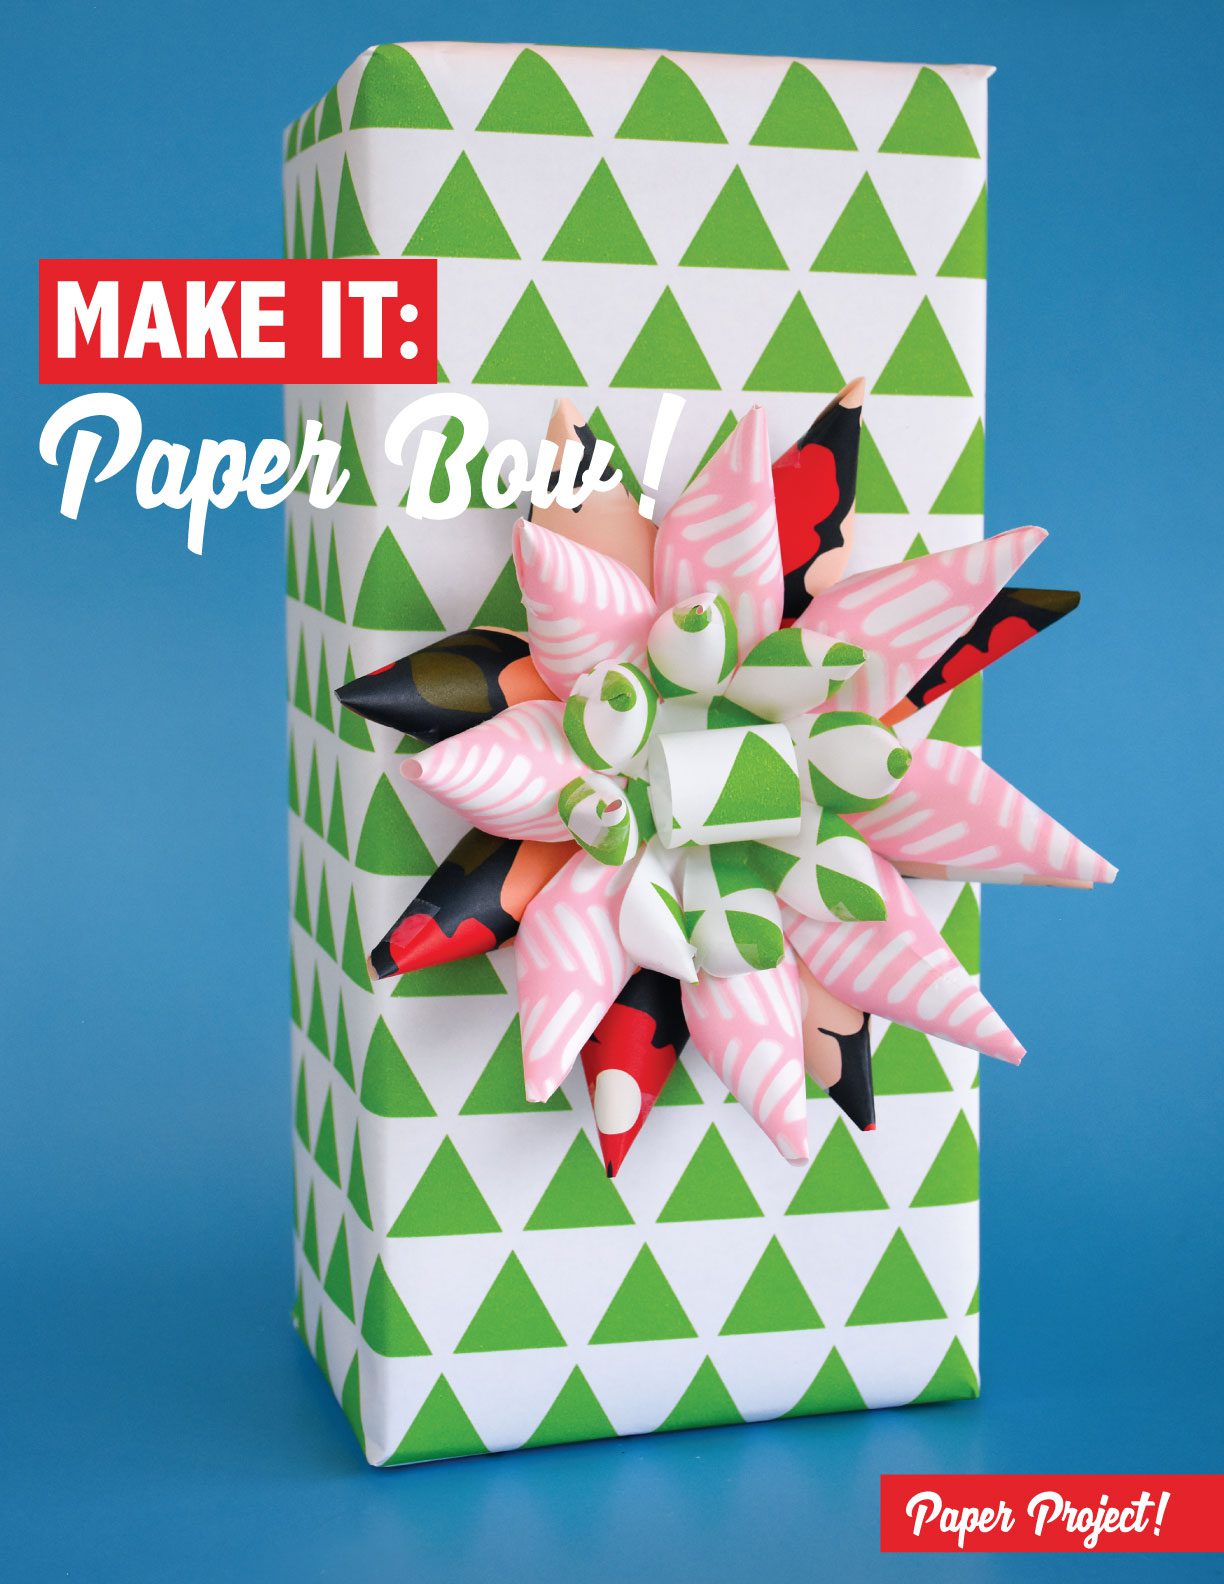
What better paper project for a “Wrapping Up” magazine theme than a DIY Paper Gift Bow?! It’s a lovely present-topper for holidays, birthdays, or any gift-day! All you need are a few scraps of paper, tape, and scissors!
When I was younger, my mom taught me to make this homemade paper gift bow. It is a favorite of mine – a version of it actually debuted our Paper Projects back in 2011 (wow!), but as a flower. These bows always amazed friends at parties – “Whoa, you MADE that?!” (In all honesty, it’s really very easy – but you don’t have to tell anyone that!)
Supplies:
Wrapping paper (or any paper)
Scissors
tape
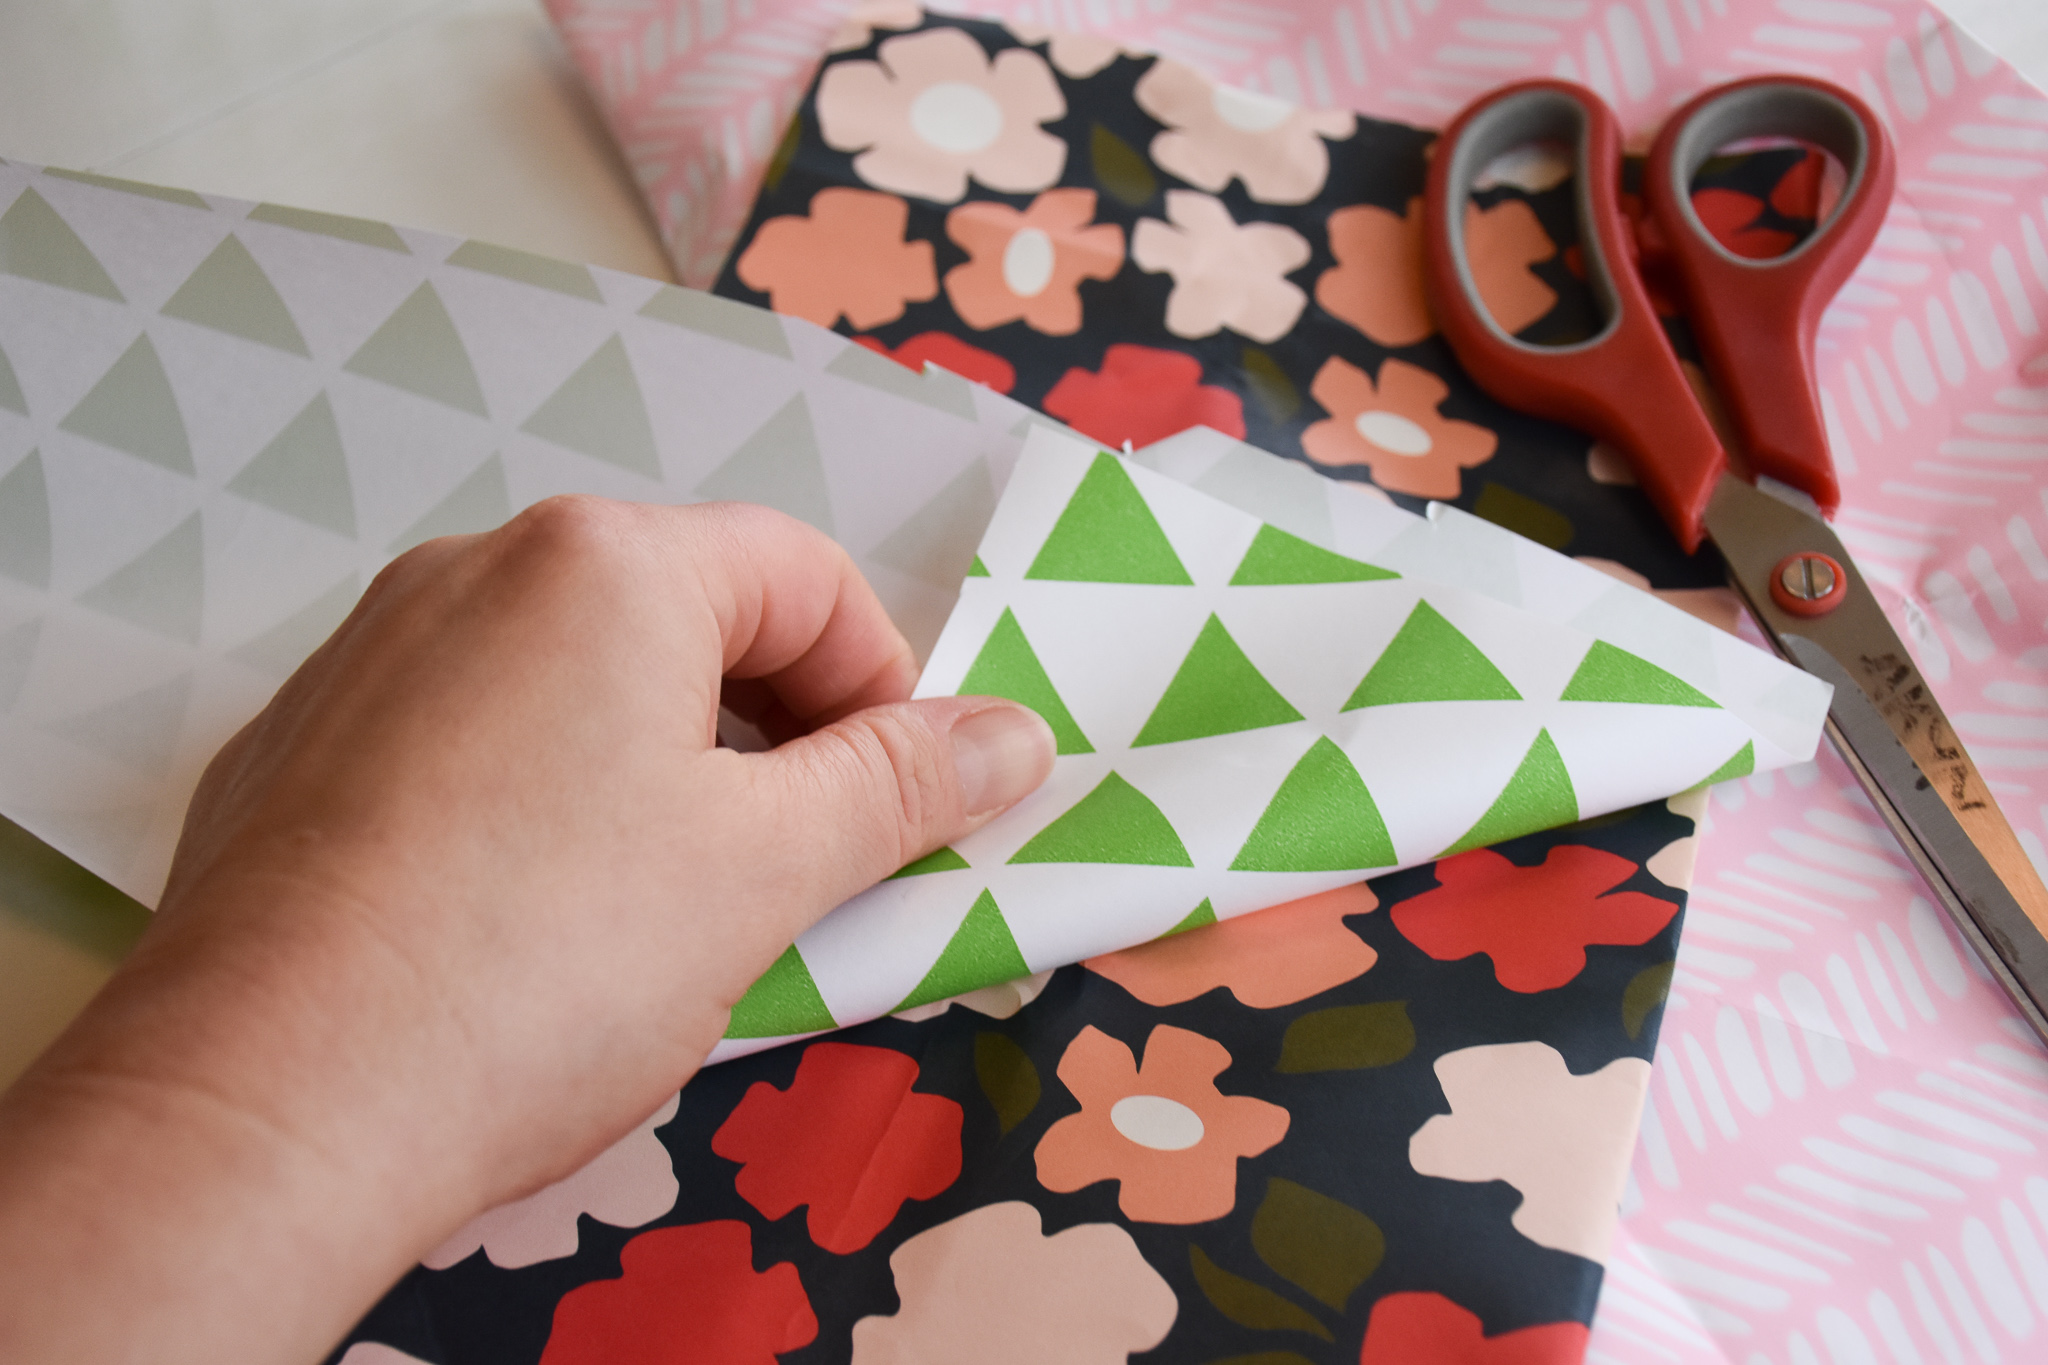
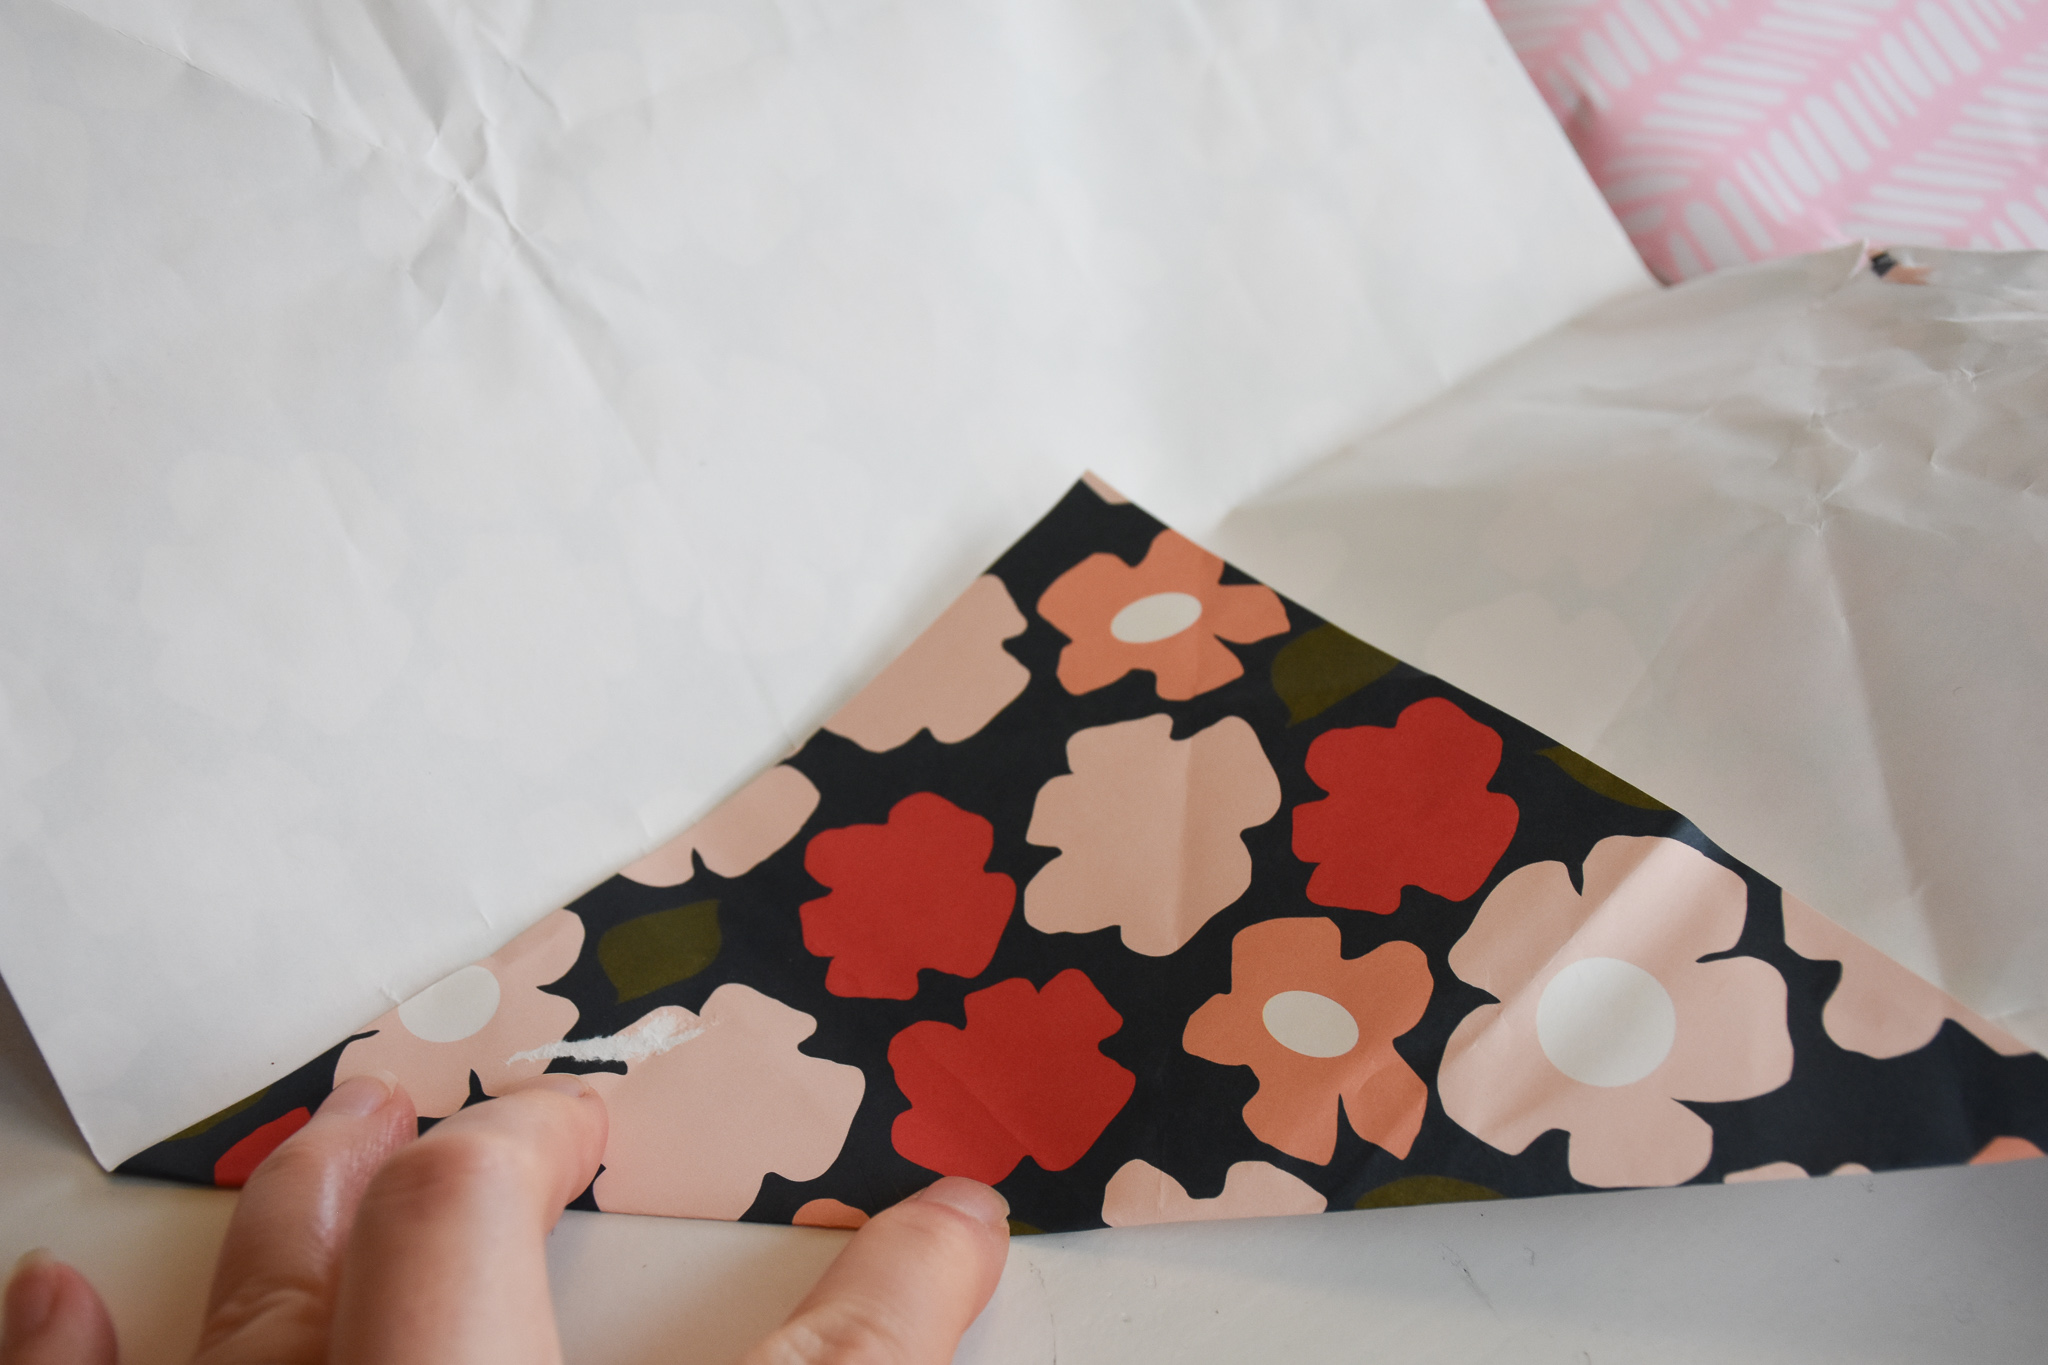
Choose your wrapping paper. You can make your bow multi-patterened (like I did), or go with one pattern or color to make it more uniform. It’s up to you! You’ll need to make three different sized bow sections (you could do more, if you want to make a giant bow!), so start by folding one corner of your paper up into a triangle. If it’s not an even triangle, trim the edges (so the paper scrap is square-ish in shape).
But keep it as a triangle! And fold the corners together to make a smaller triangle.
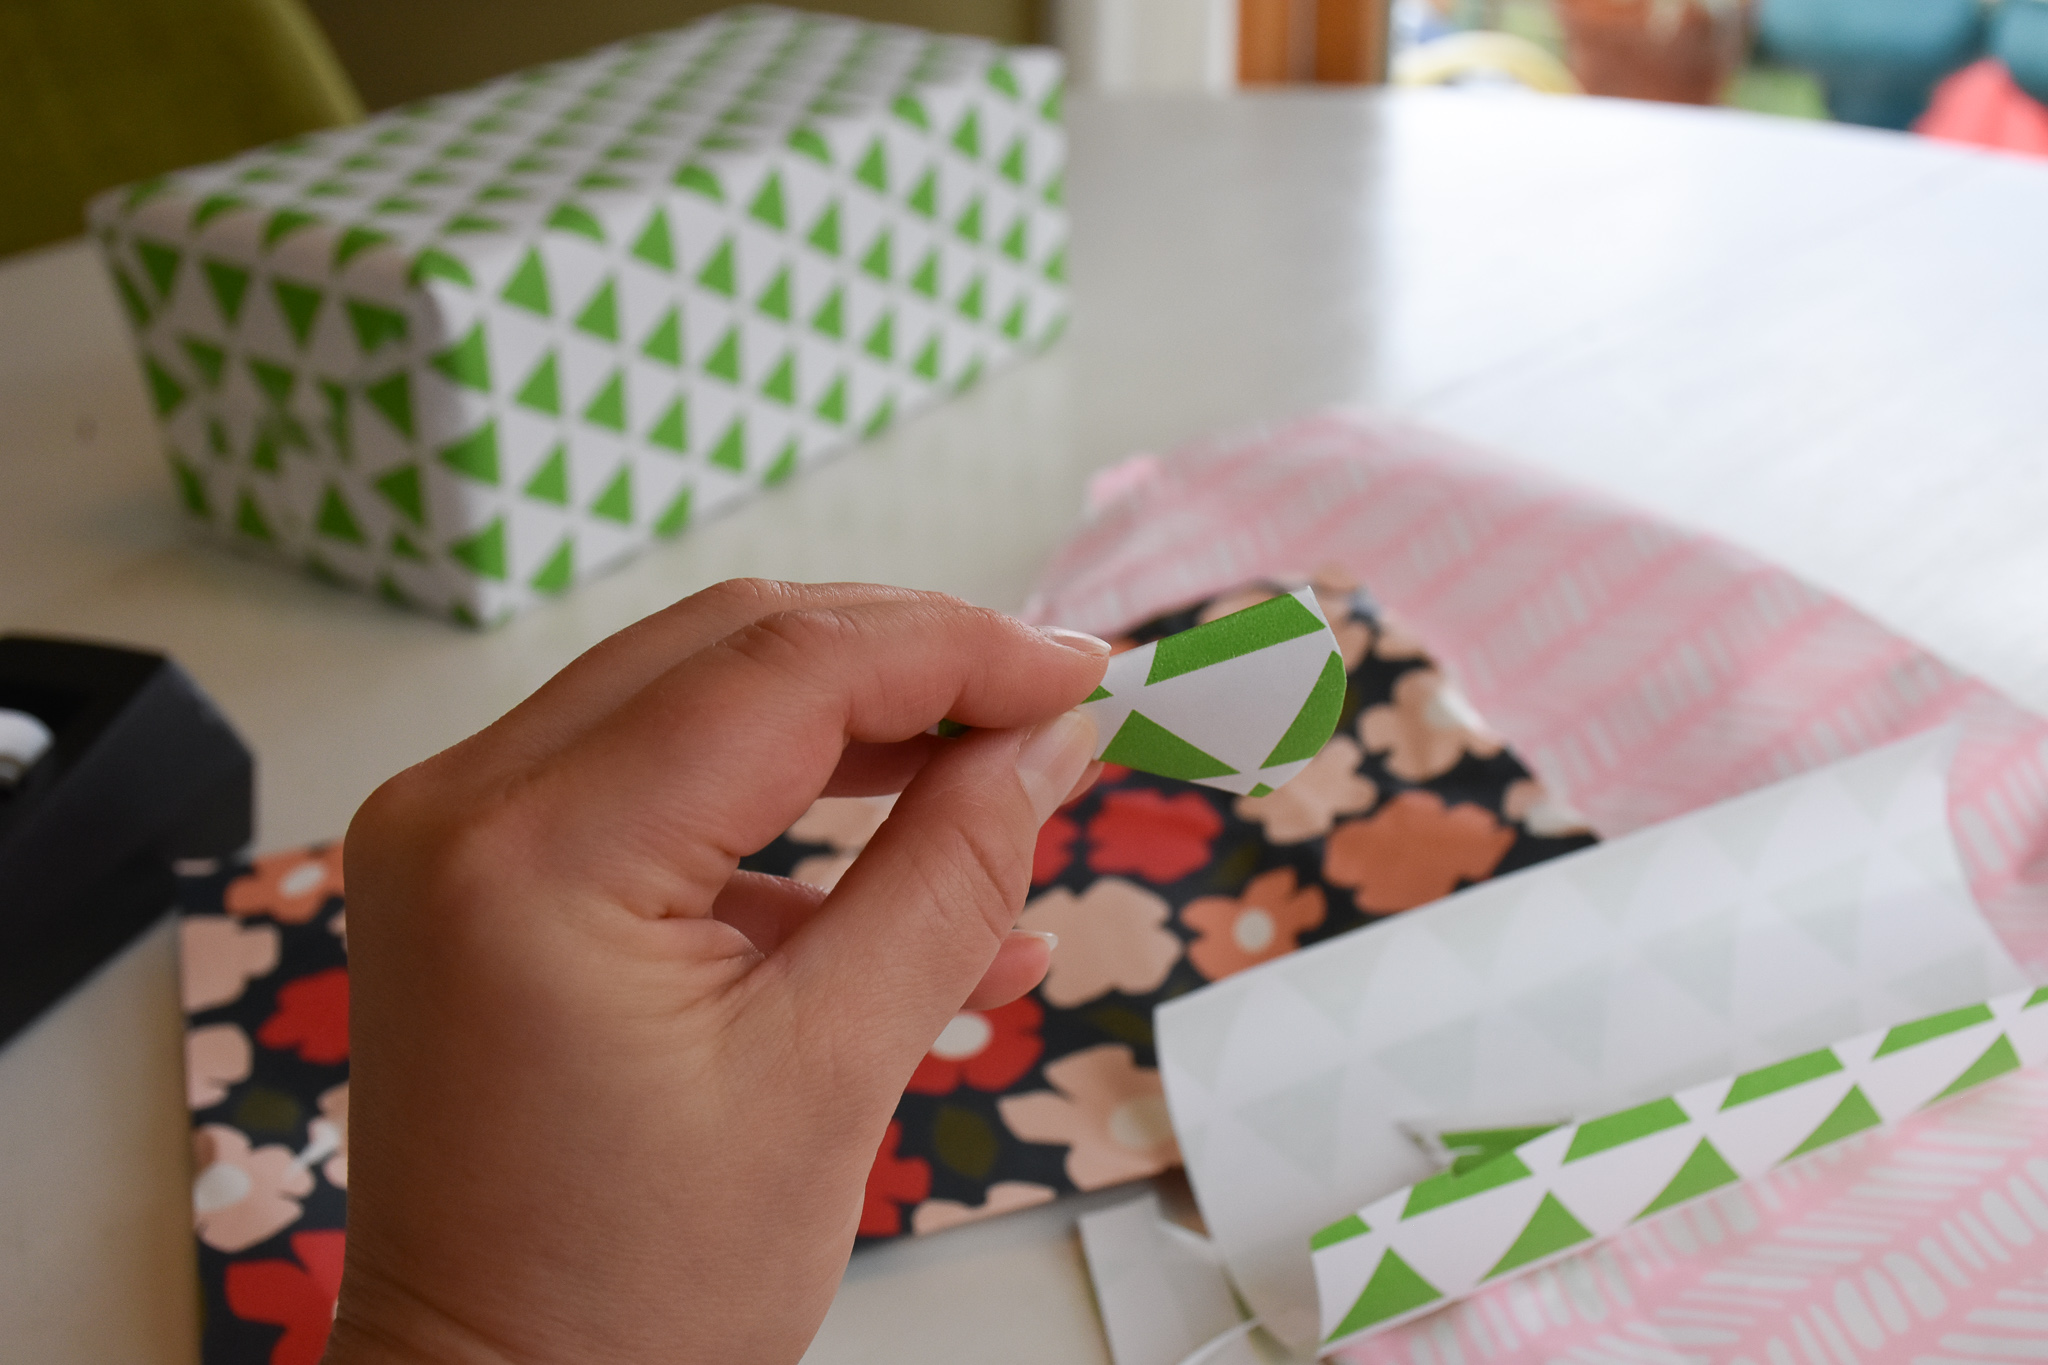
And more more time to make an even smaller triangle (it’s the same set-up as making a paper snowflake to start). One you’ve got your smaller, tri-folded triangle, trim up the wide end to be rounded.
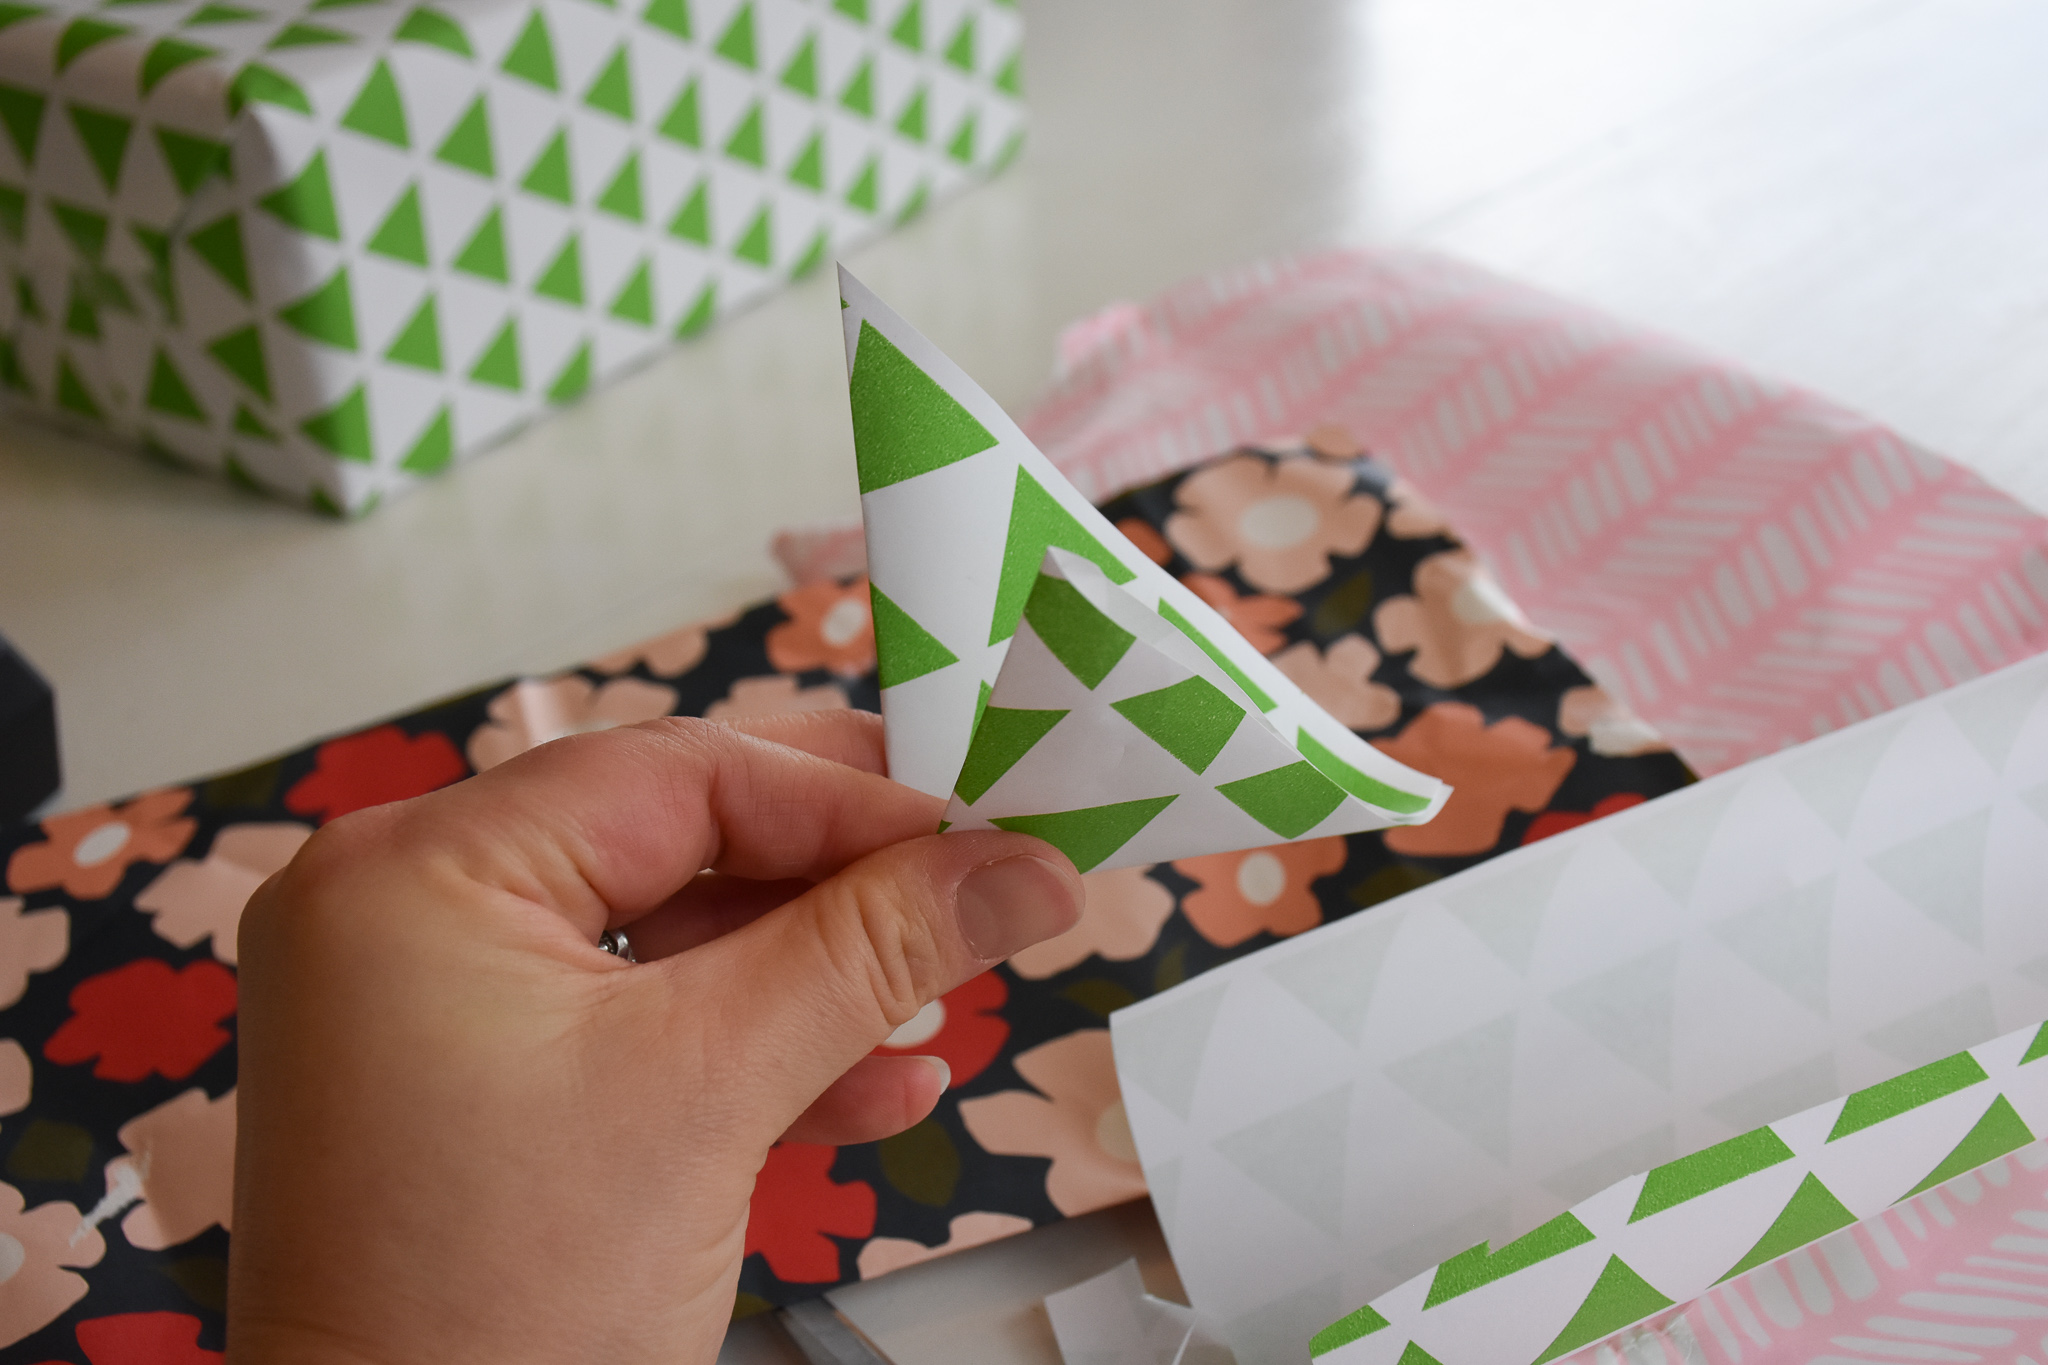
It should look like this at this point:
There are three folds on one side…
And one on the other.
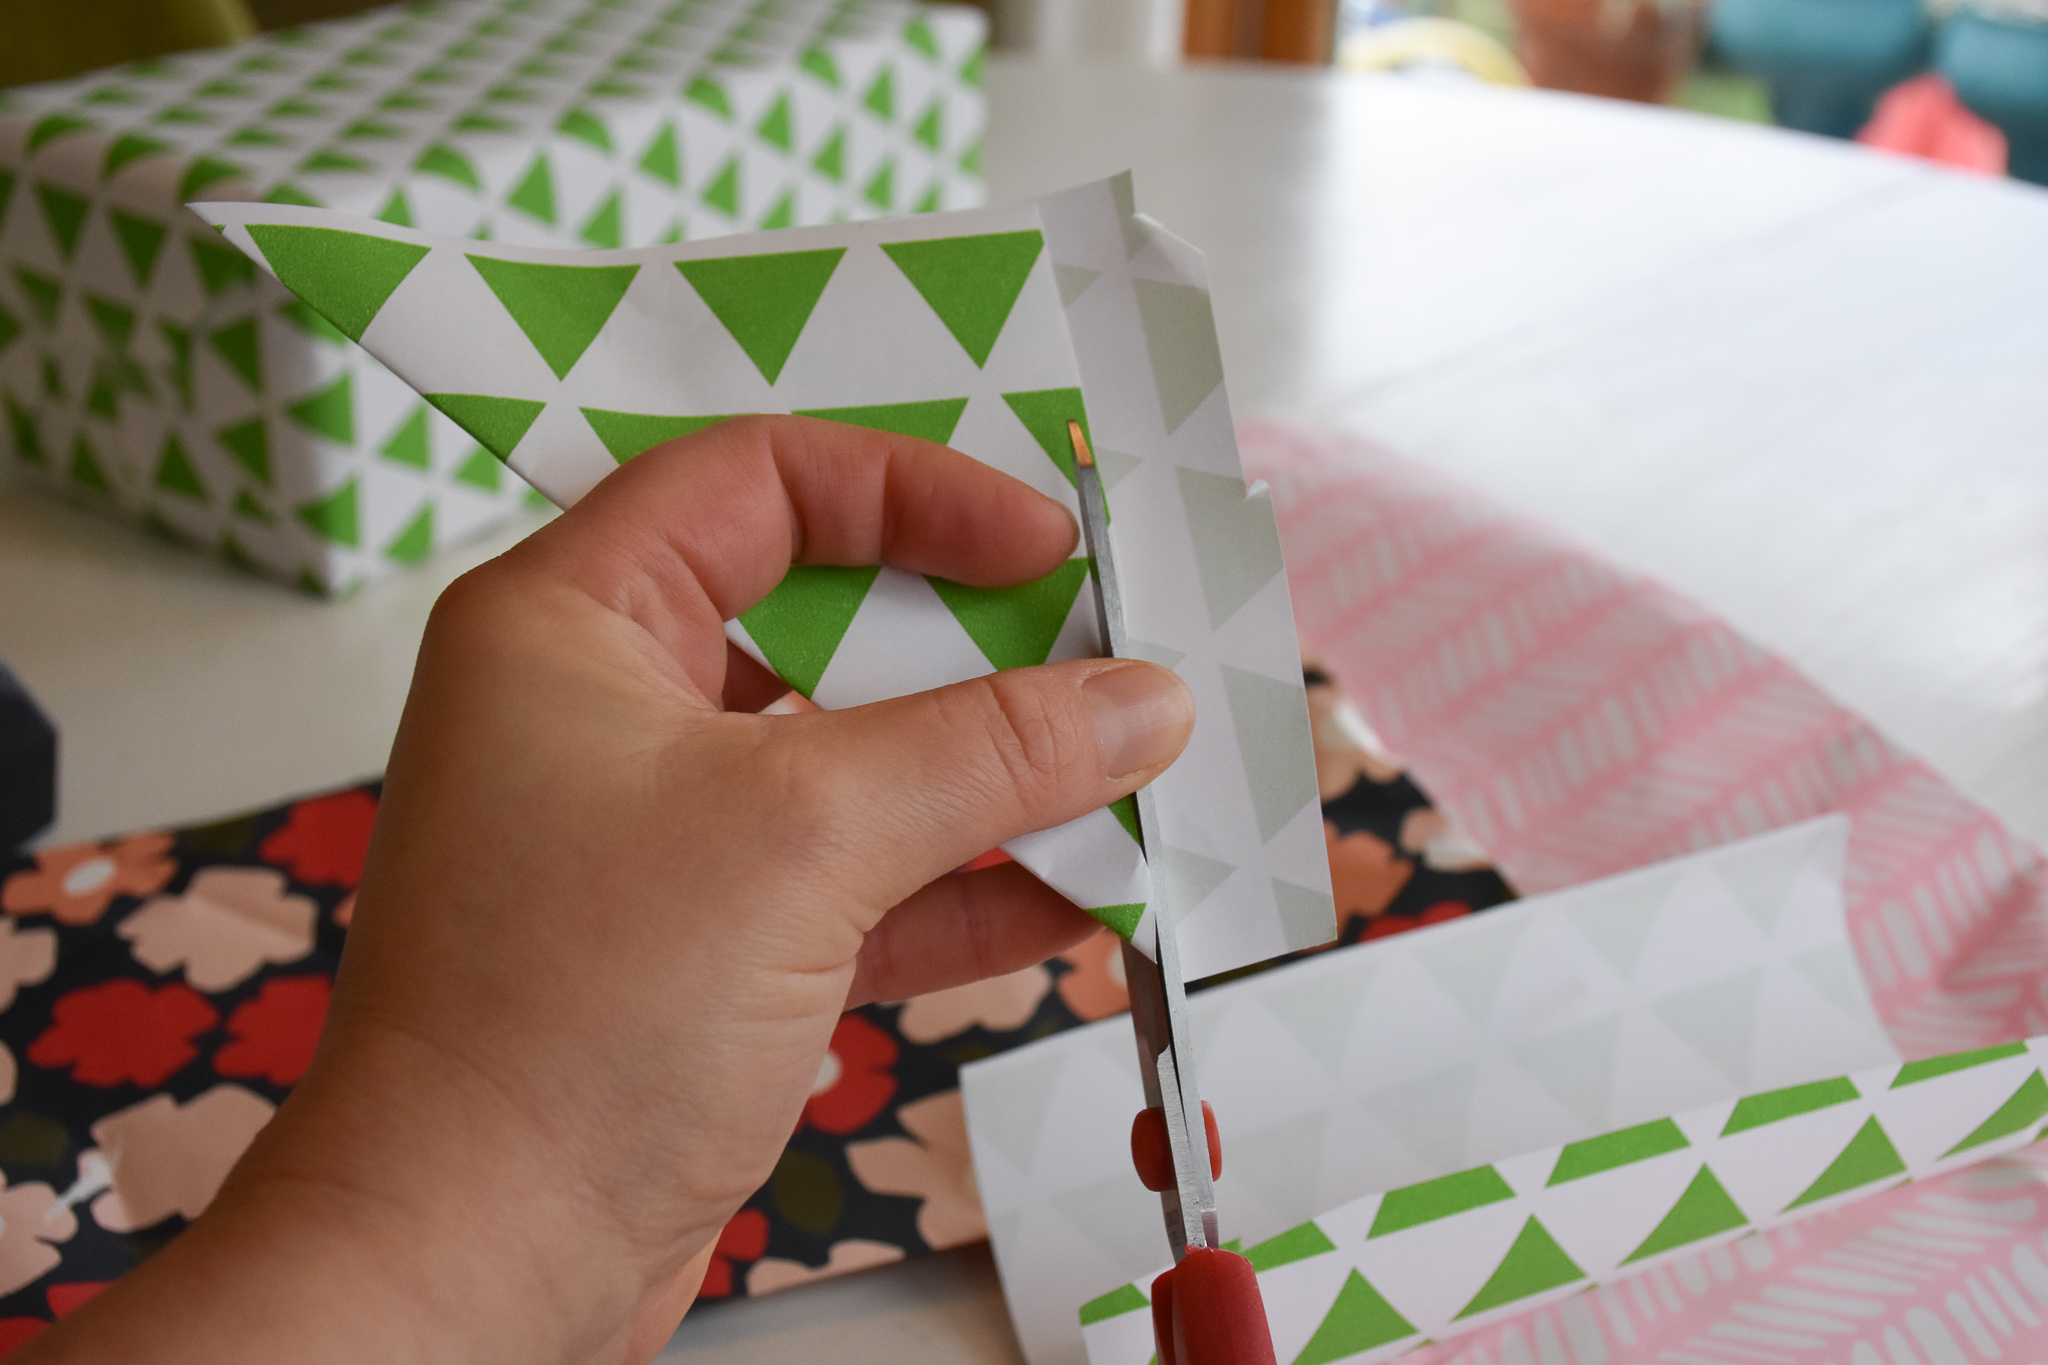
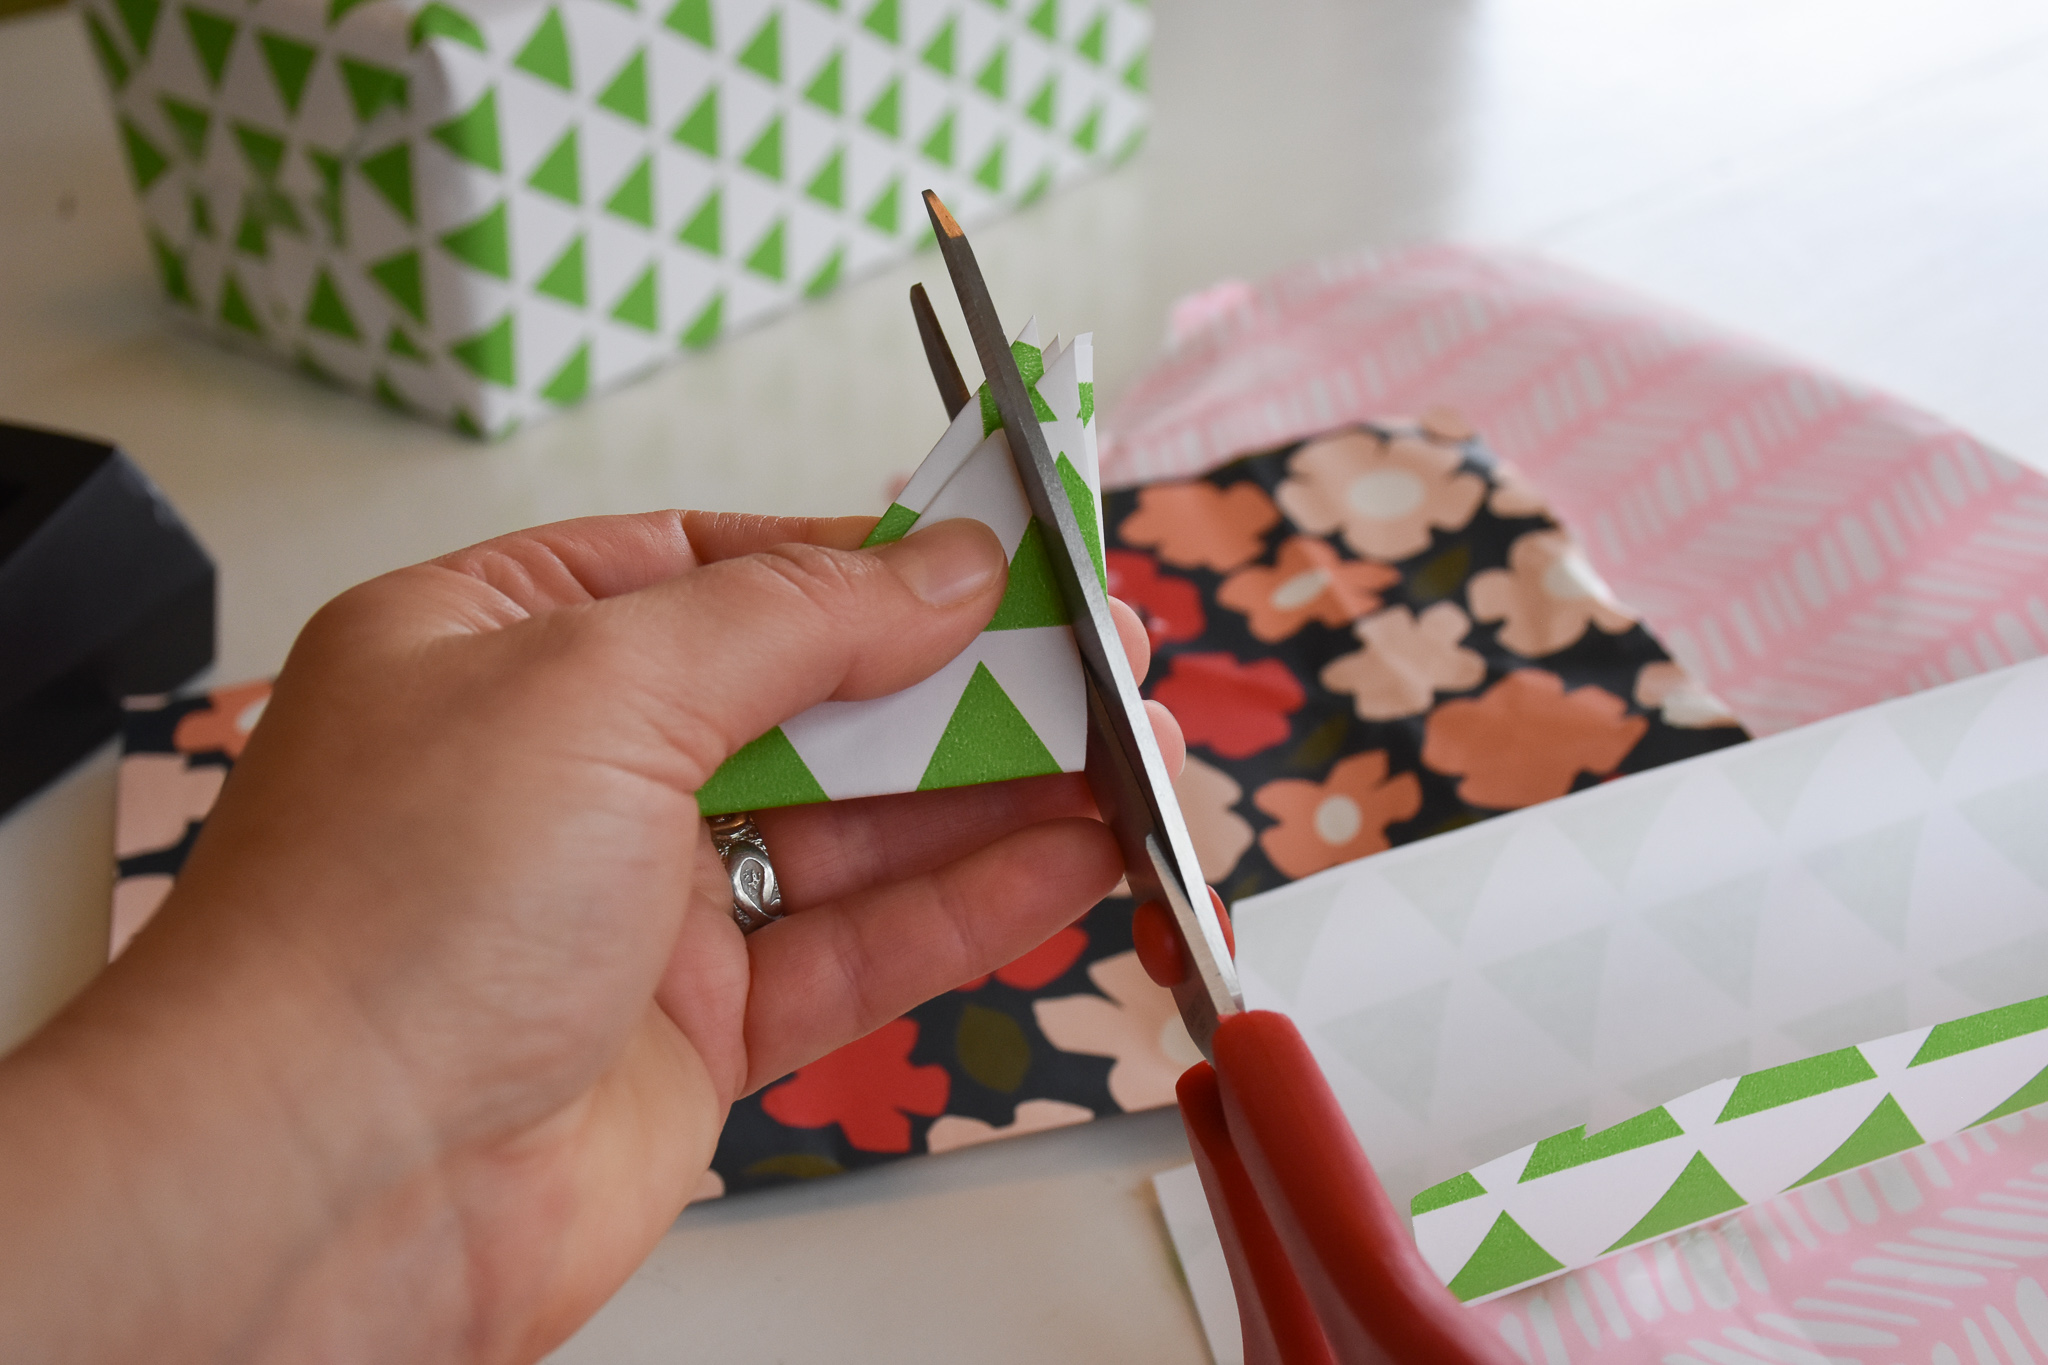
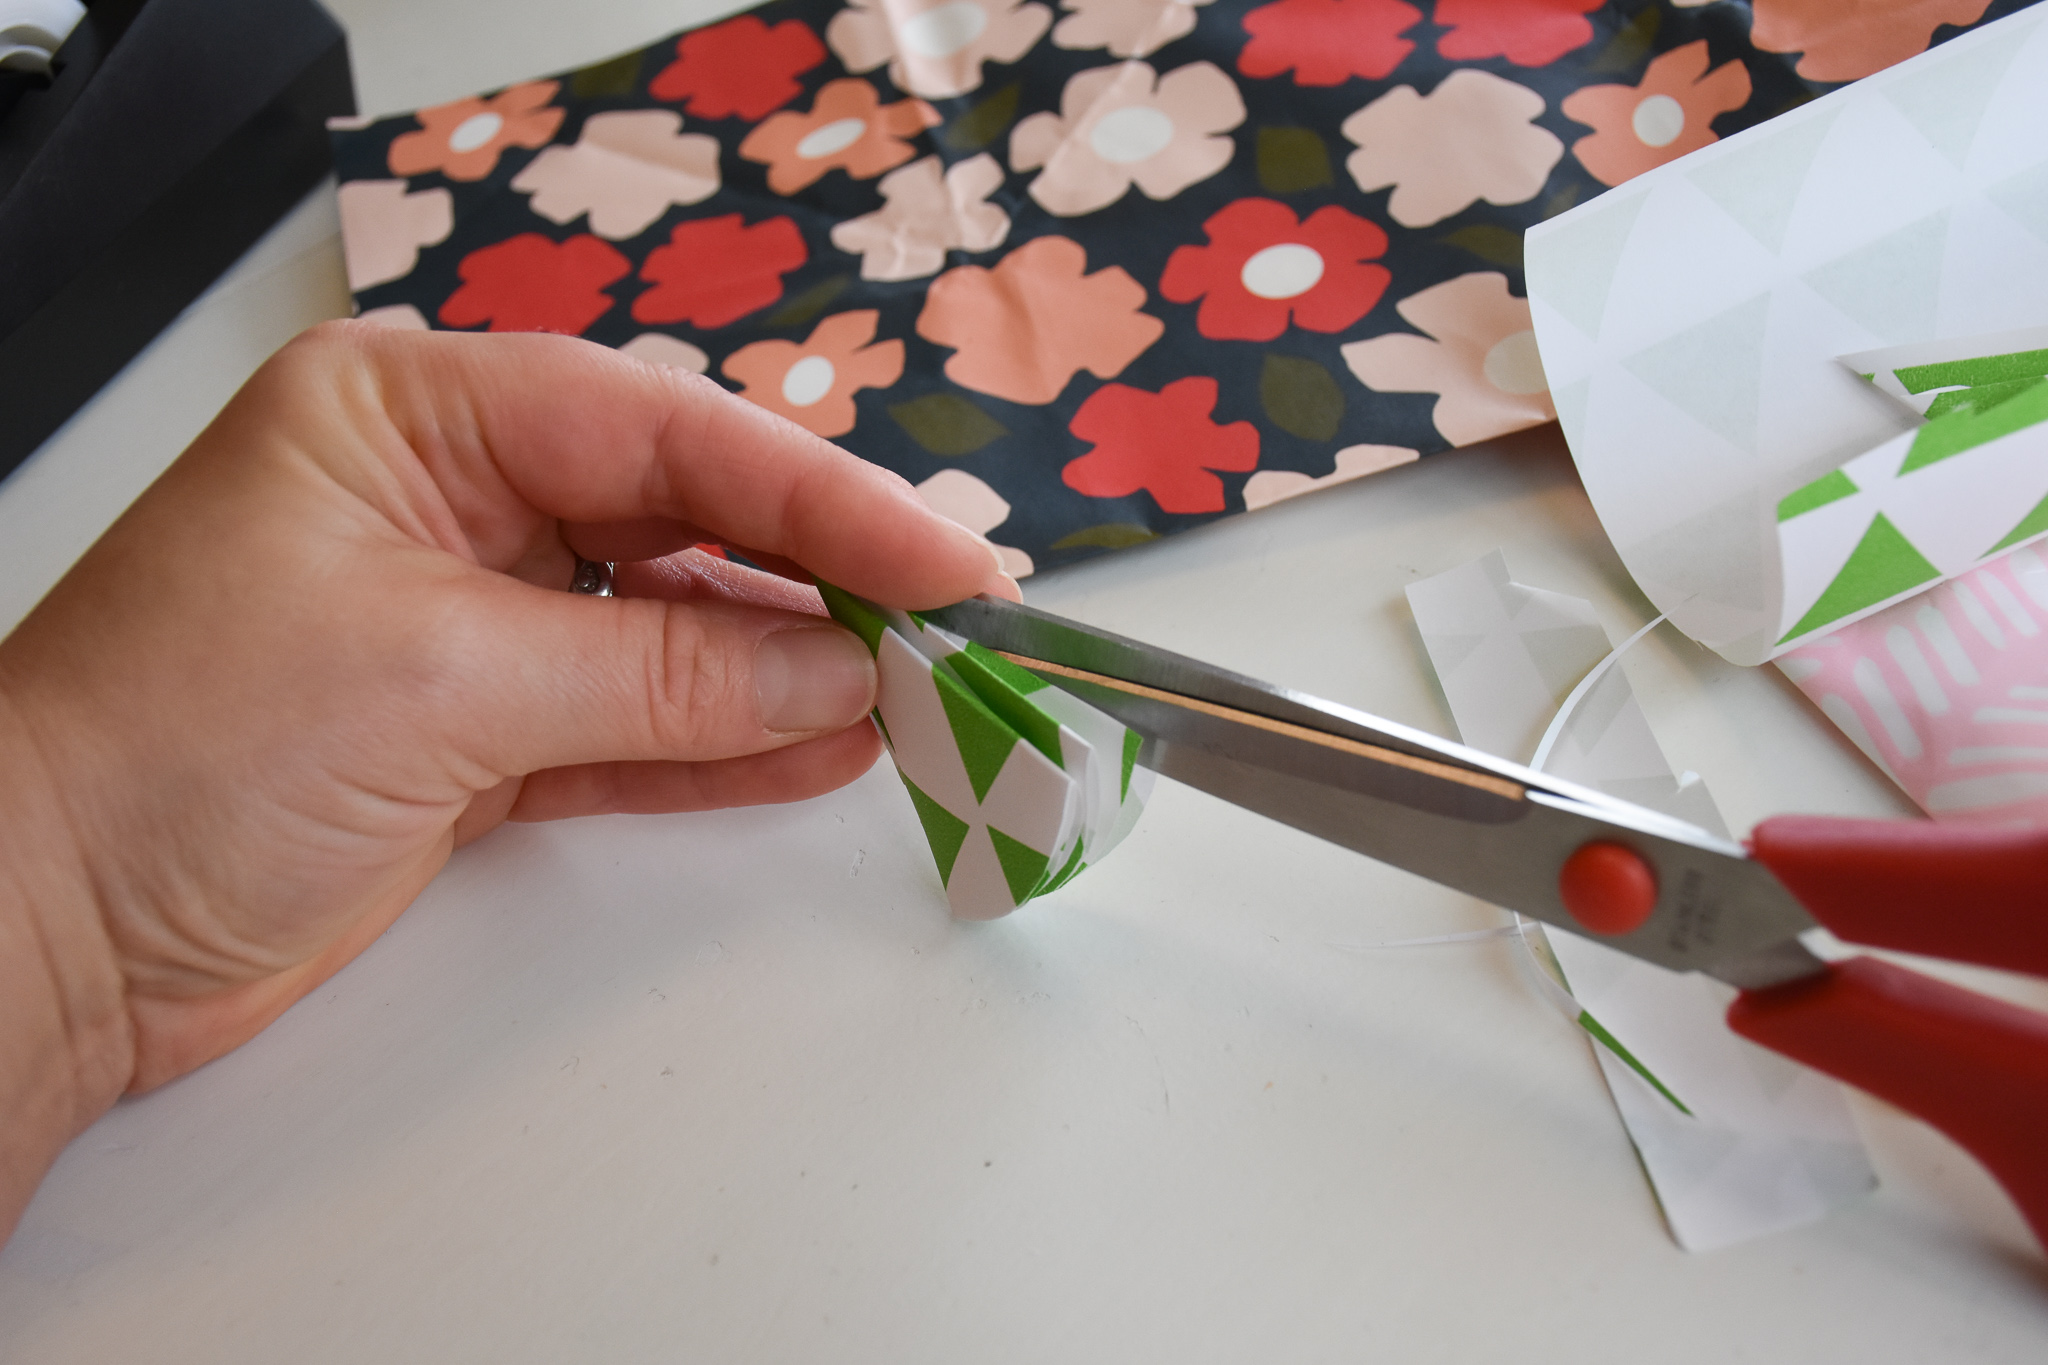
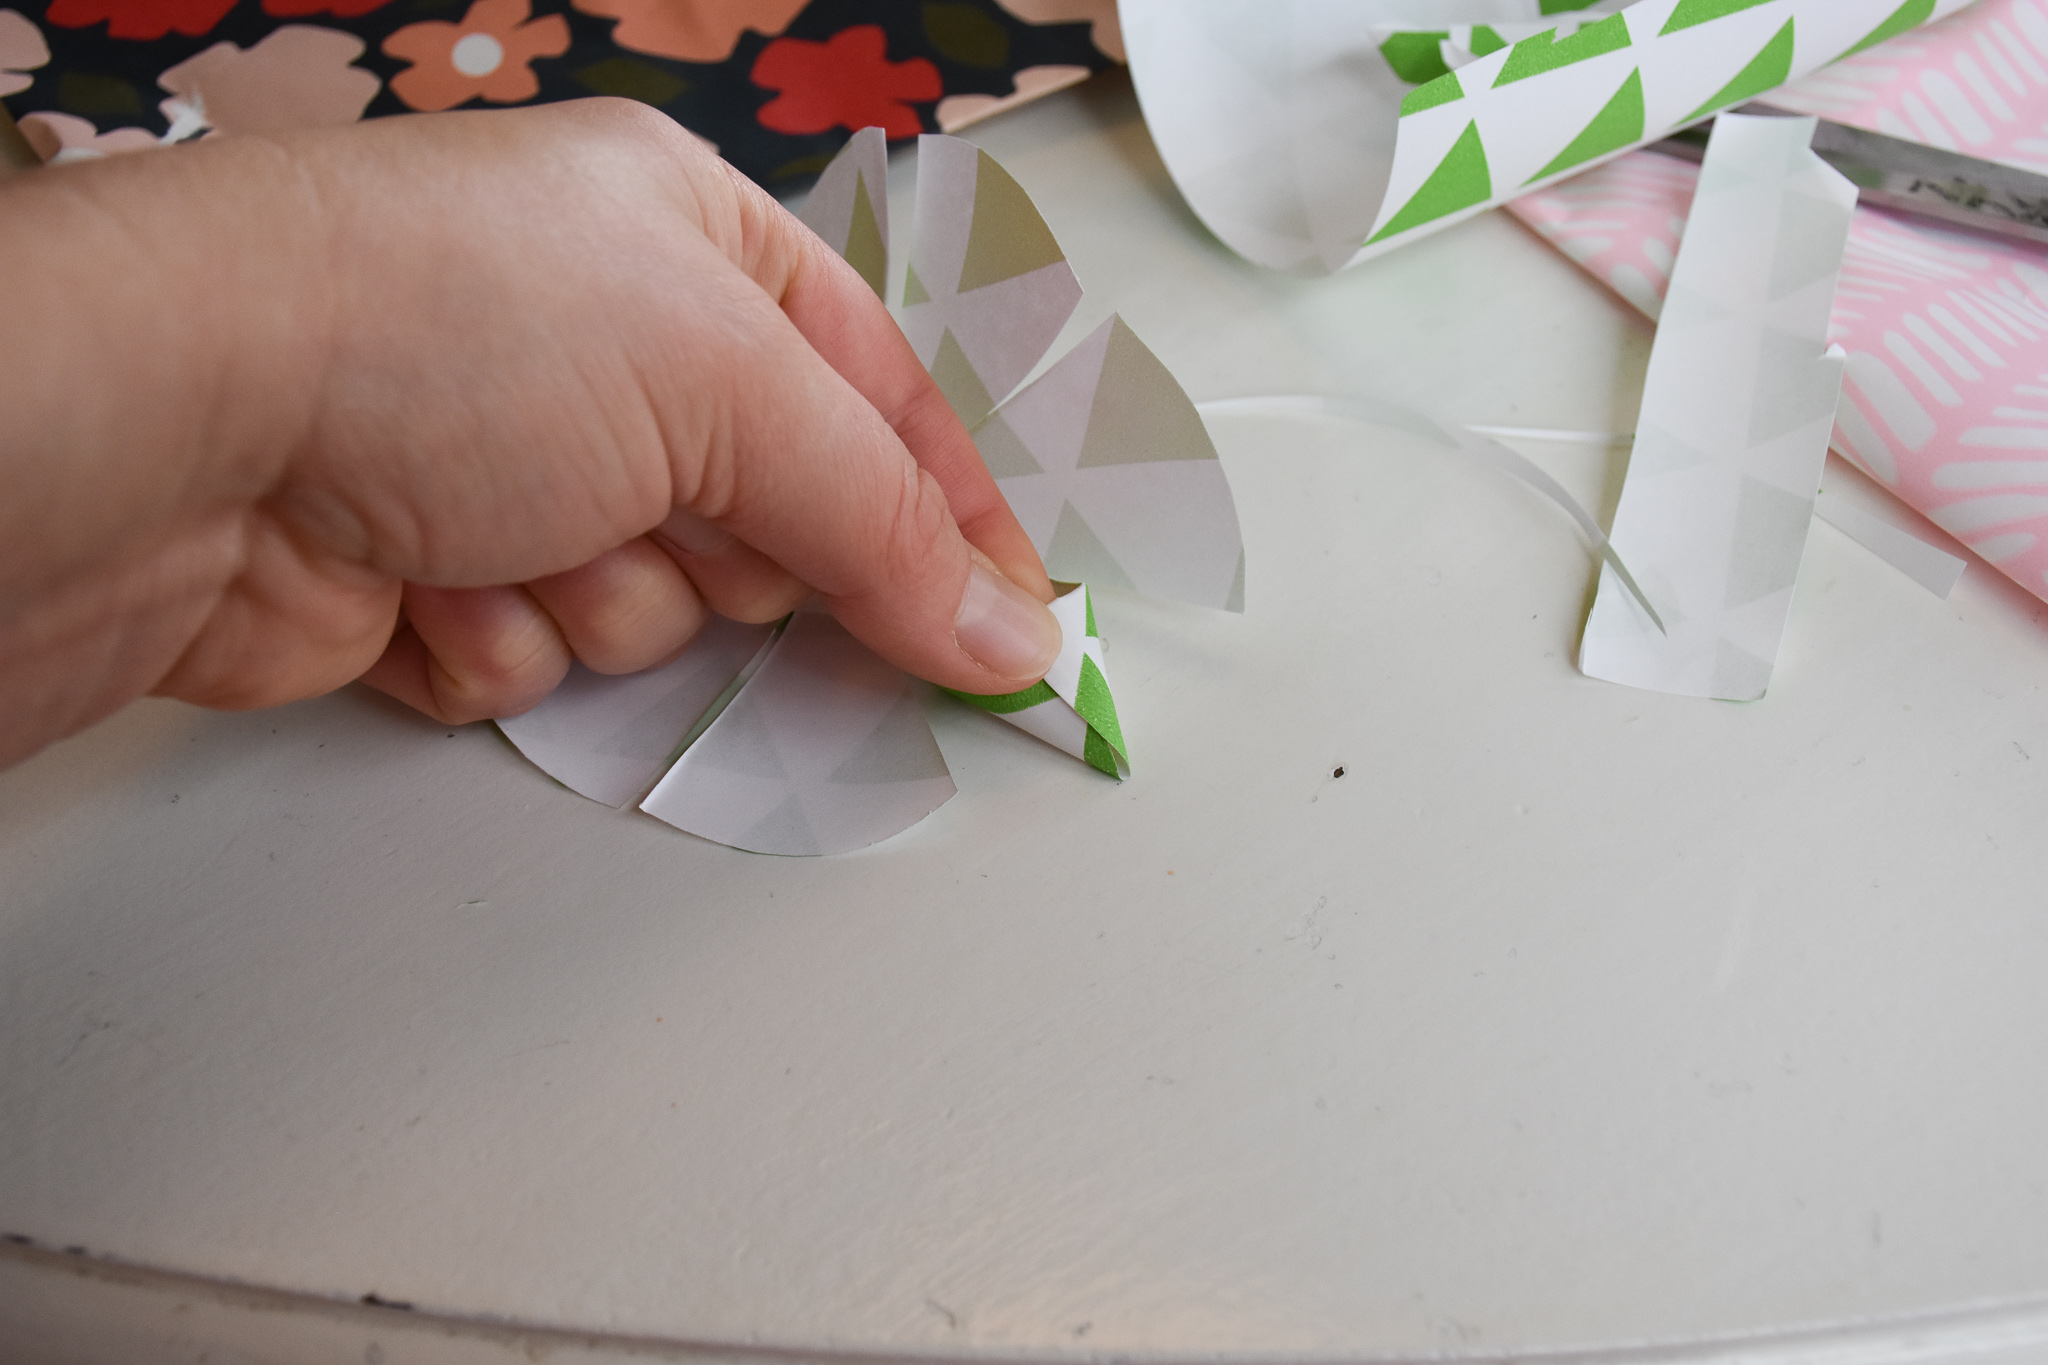
We want to cut along these folds, but MAKE SURE NOT TO CUT ALL THE WAY TO THE TIP! It will all fall apart if you do that. Leave a bit uncut at the tip on each fold. Do the three folds, then the one fold on the other side.
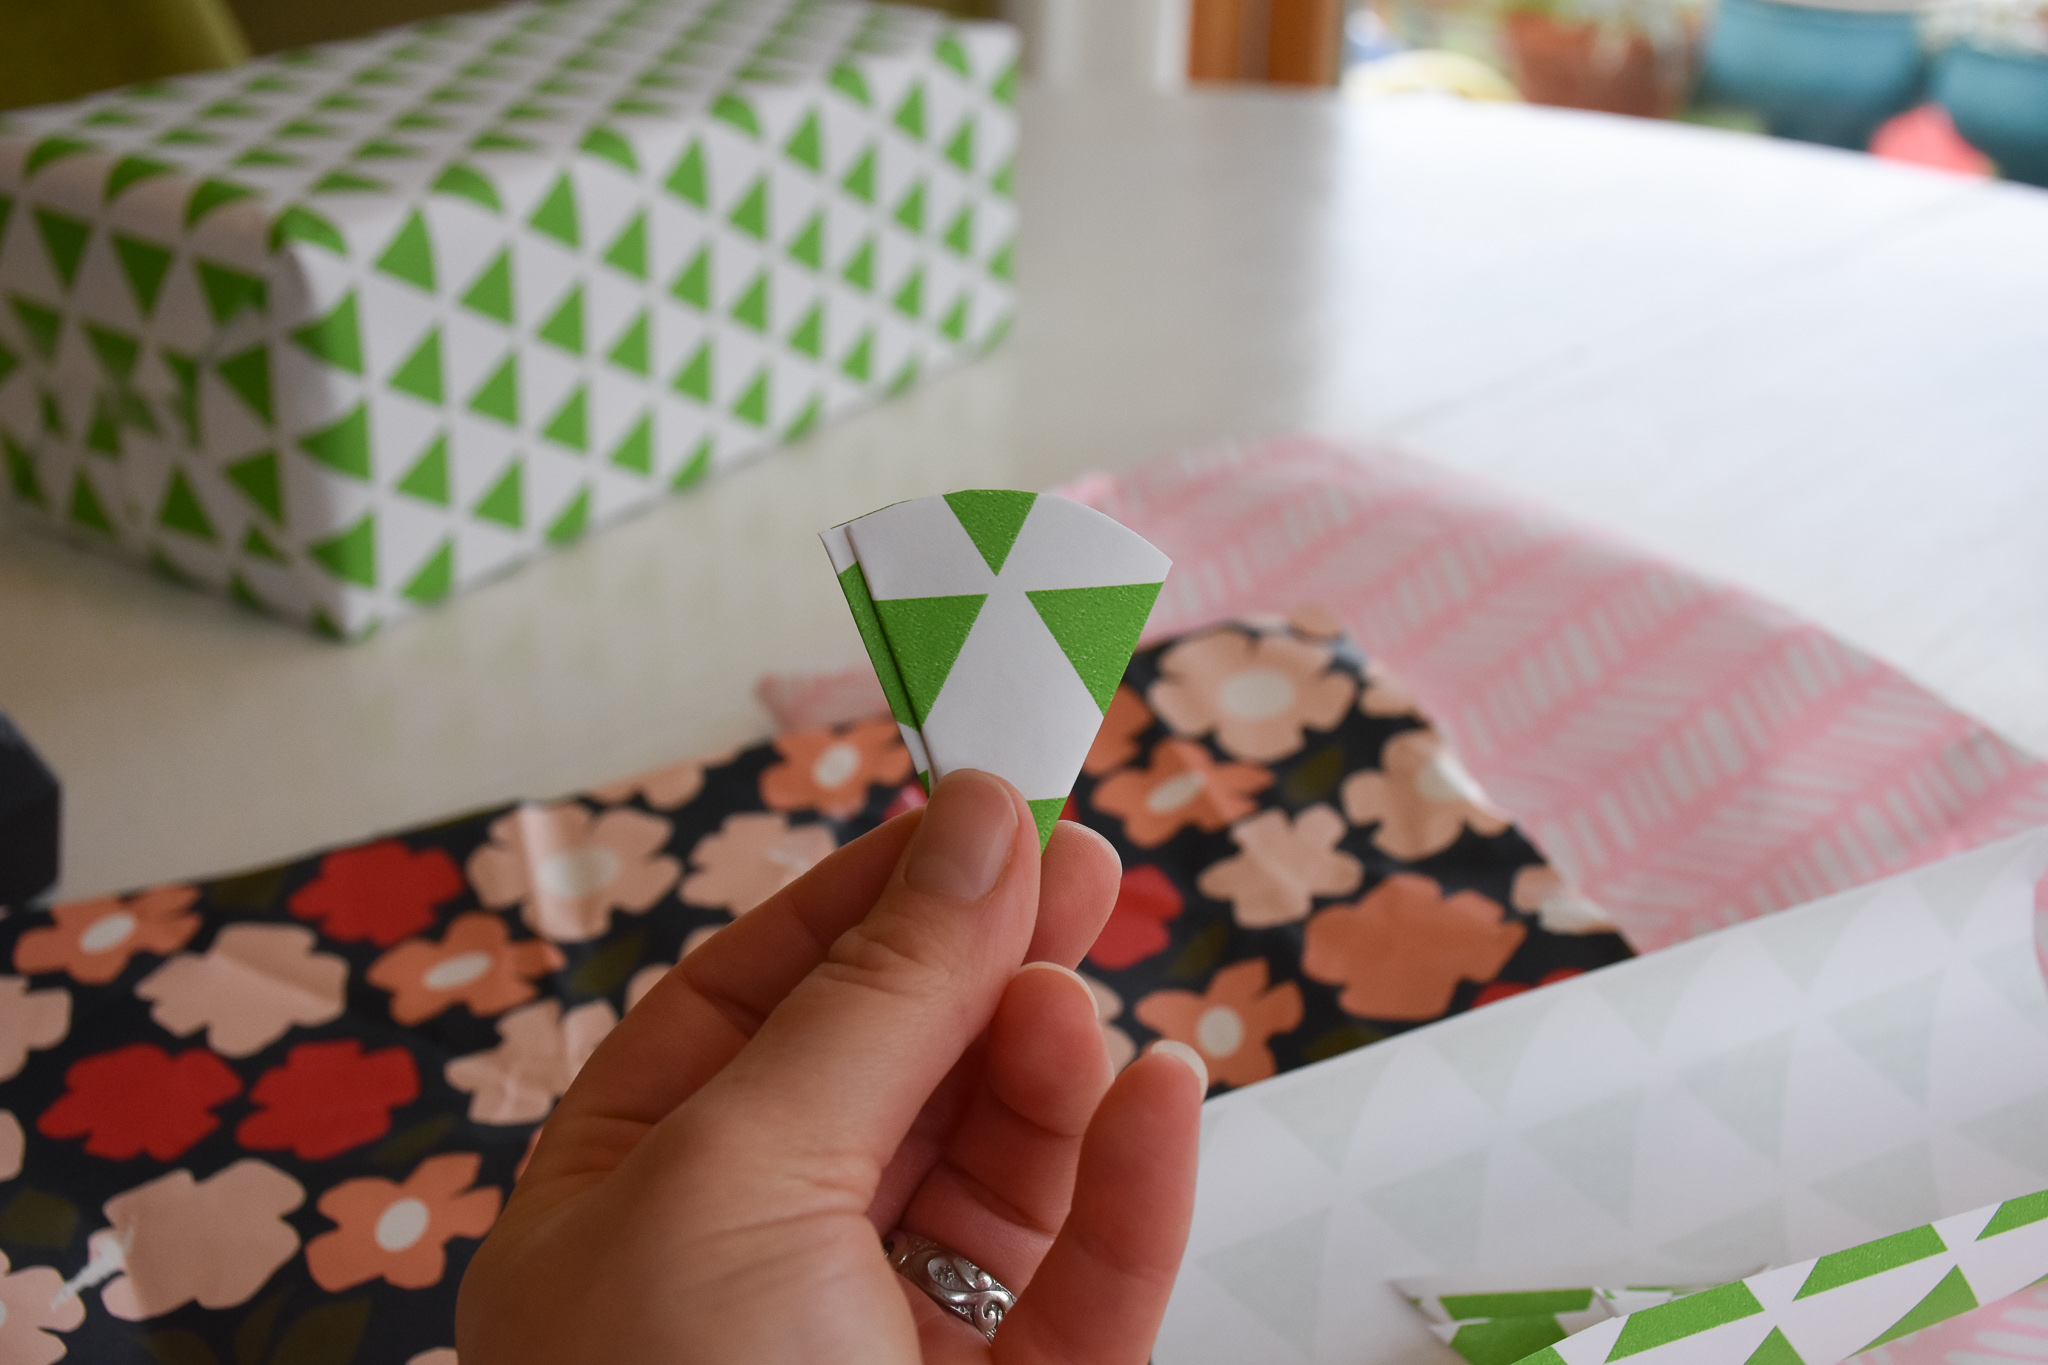
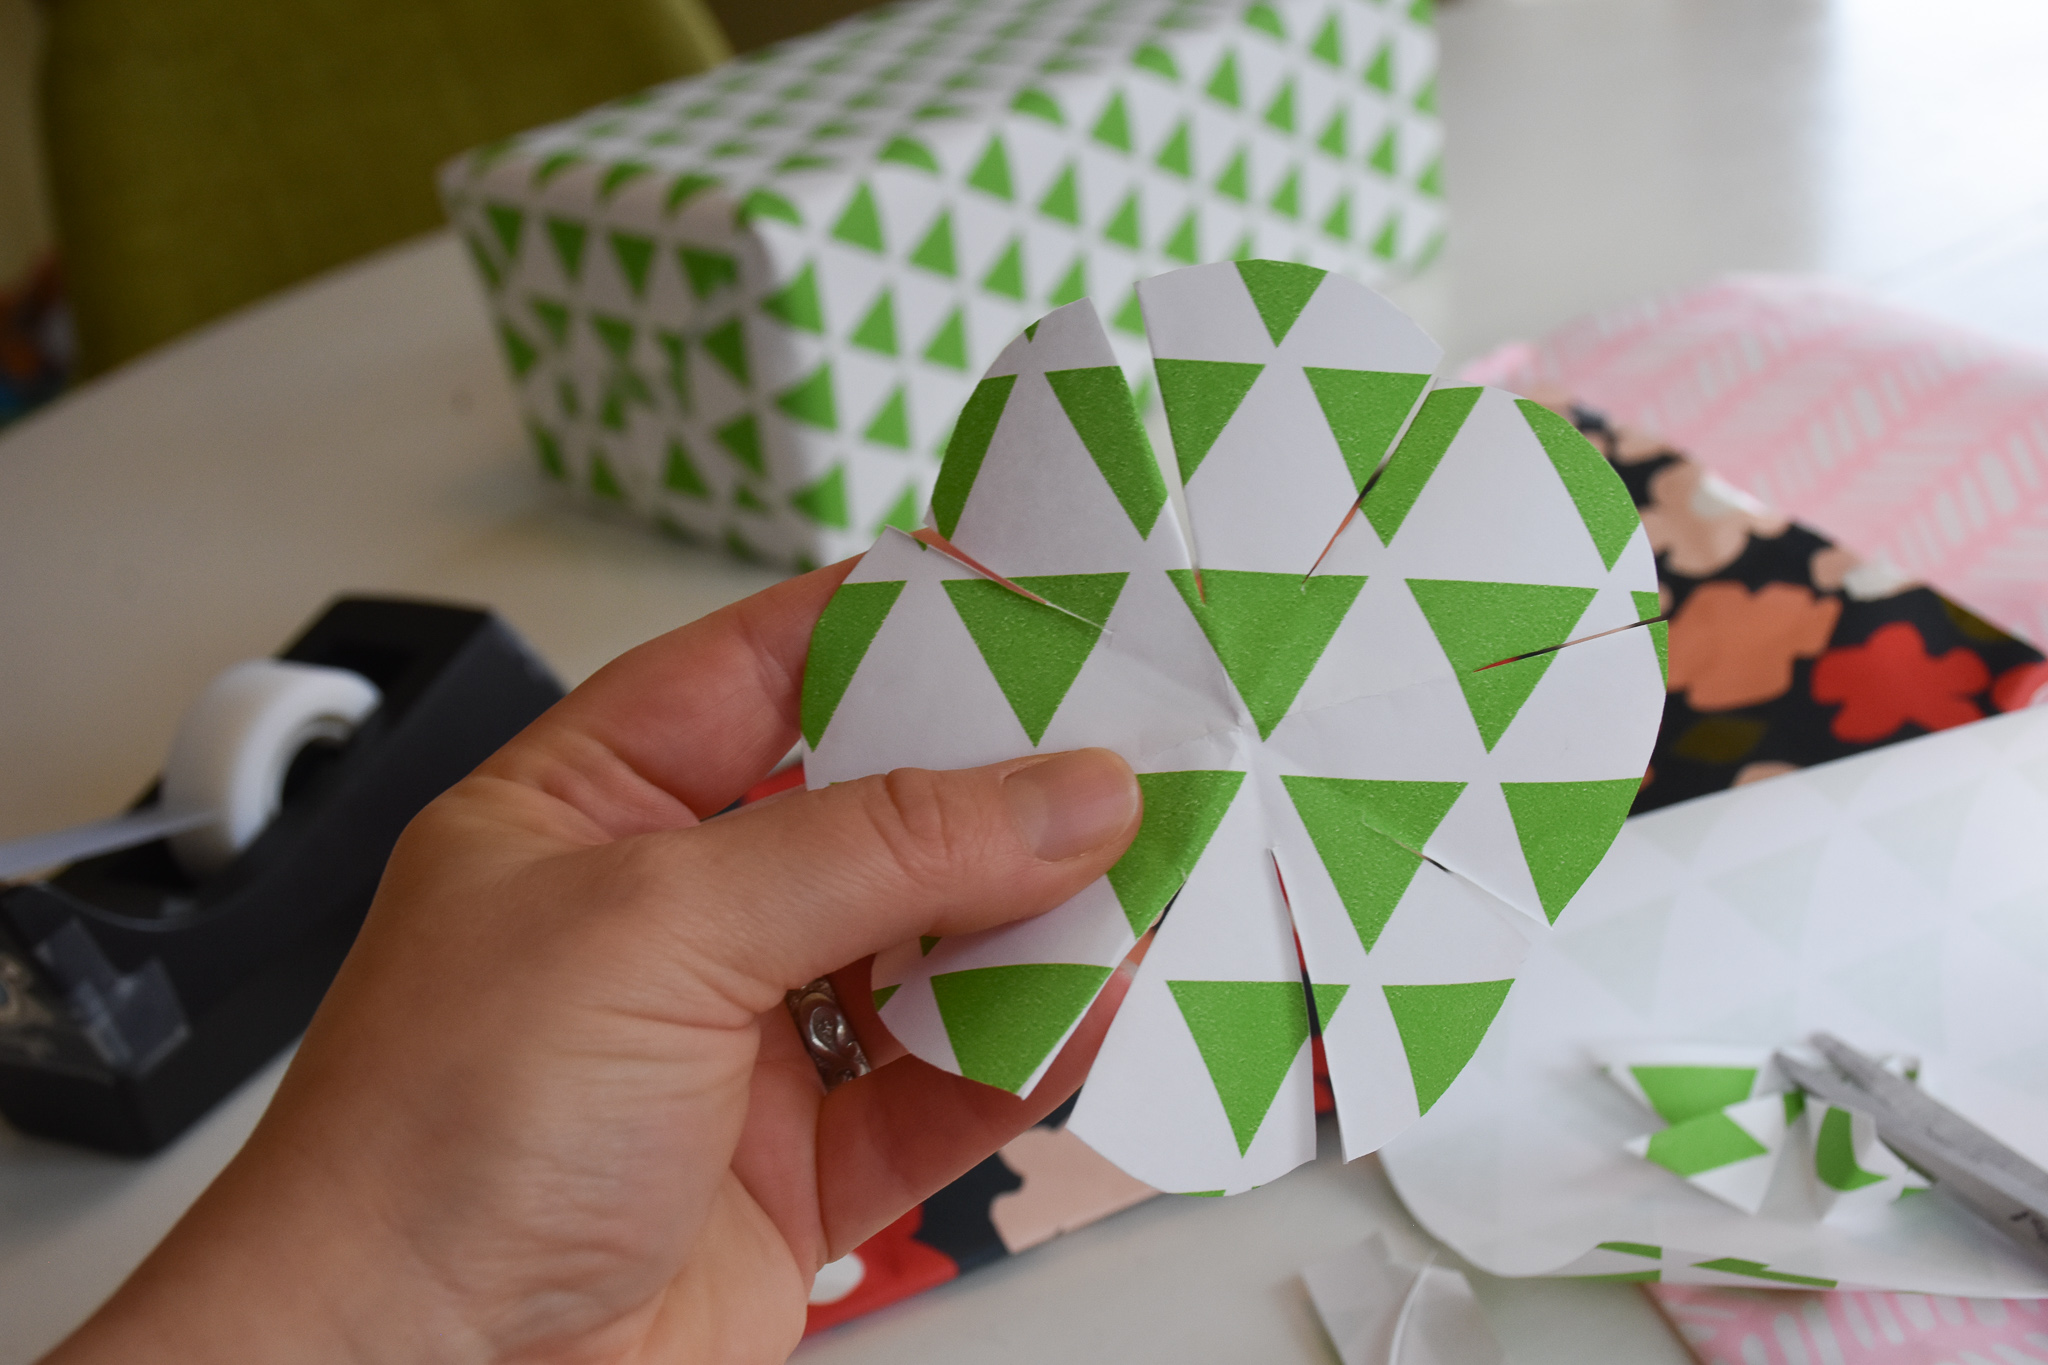
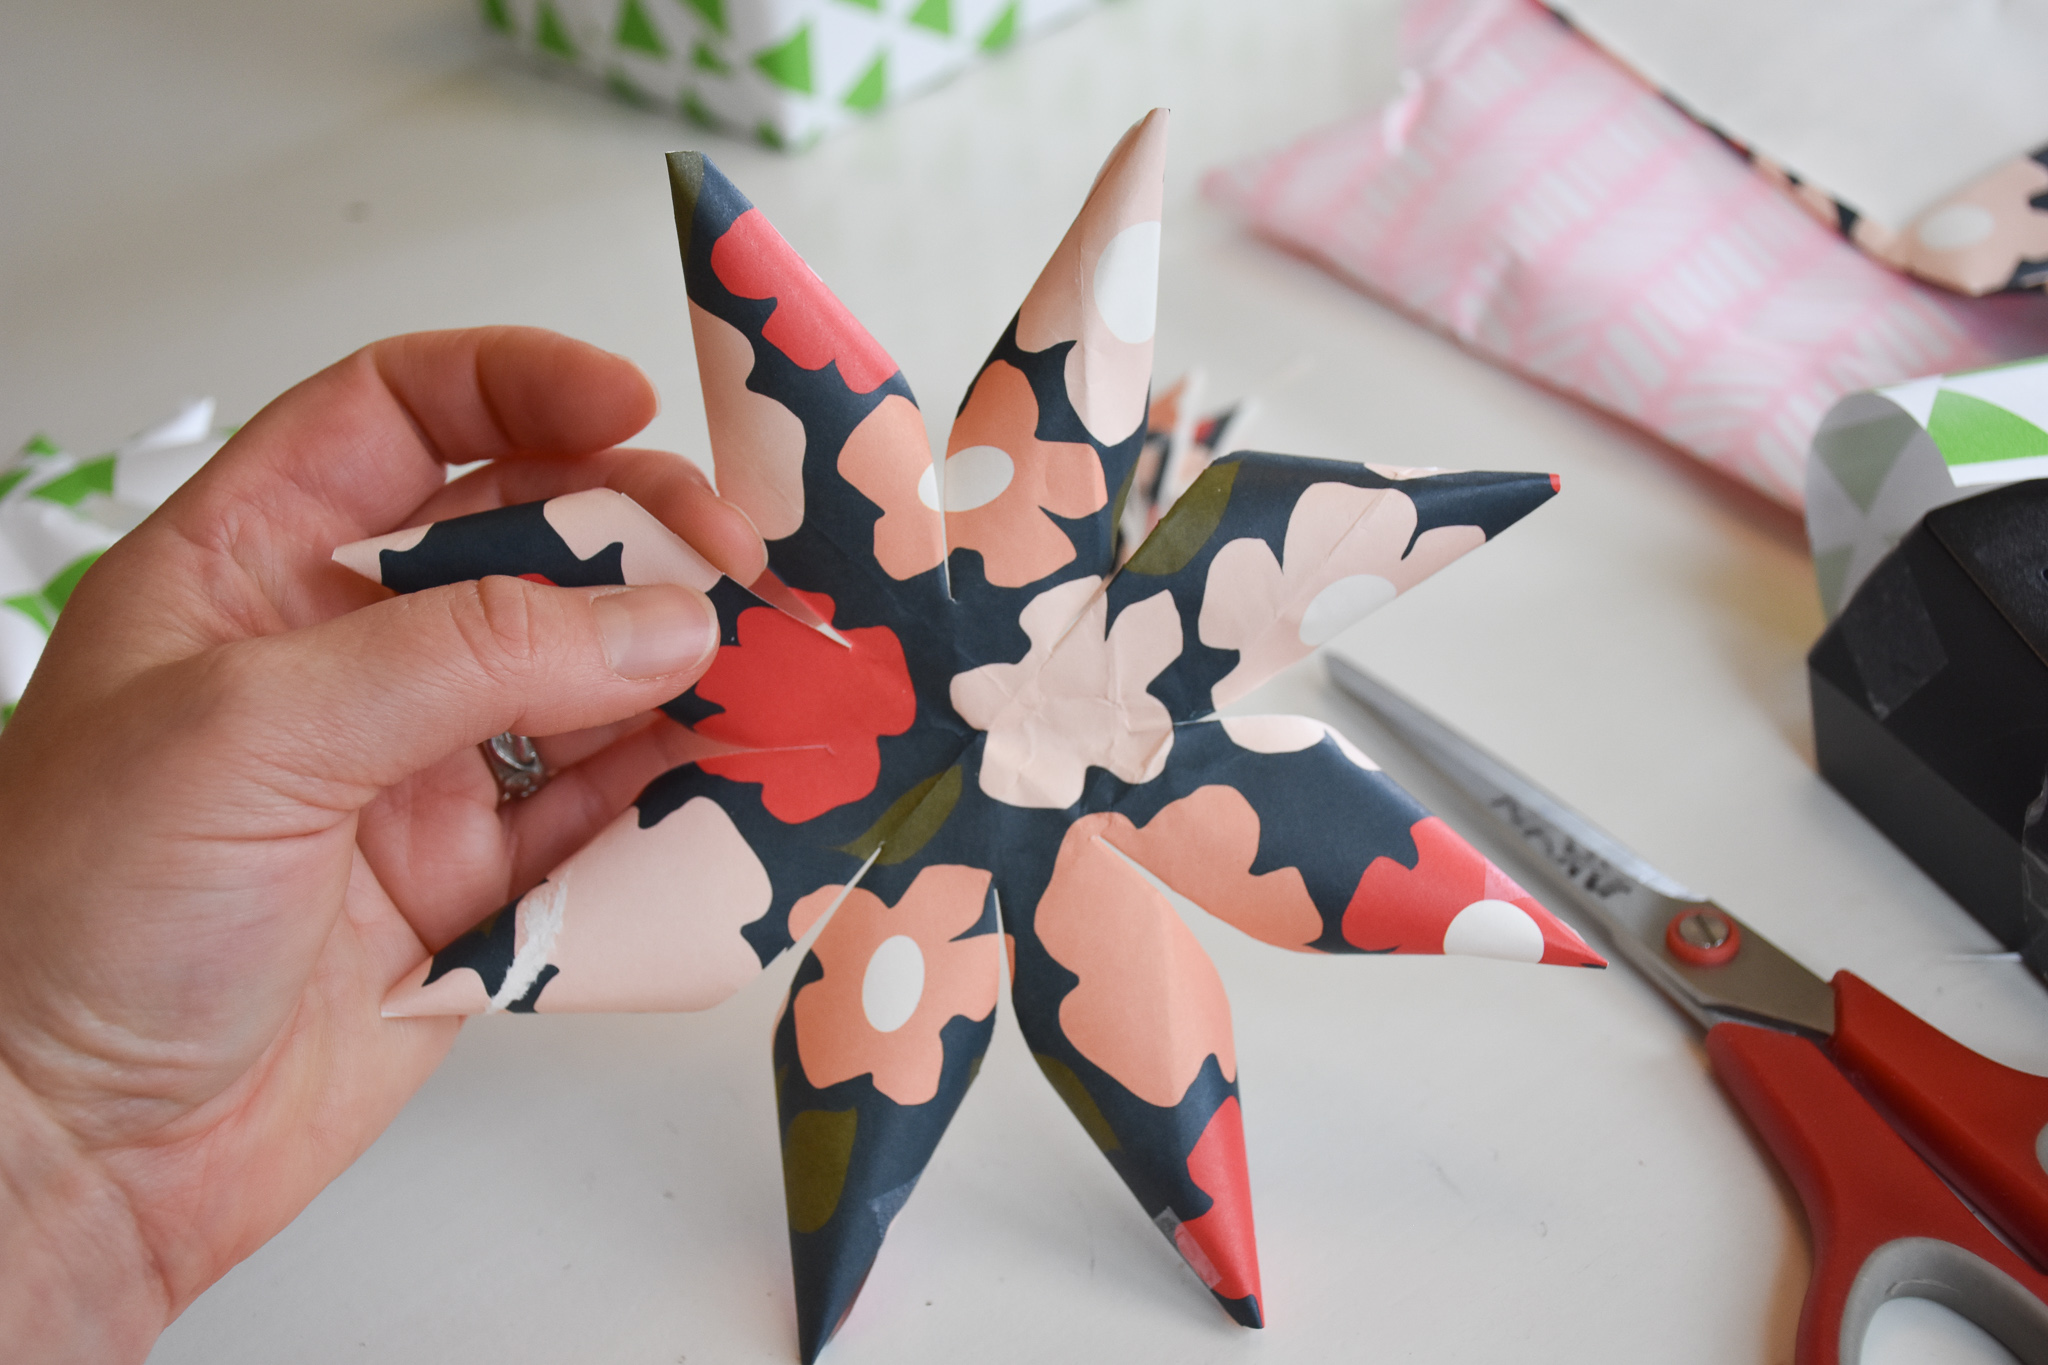
Open it up. It should look something like this now!
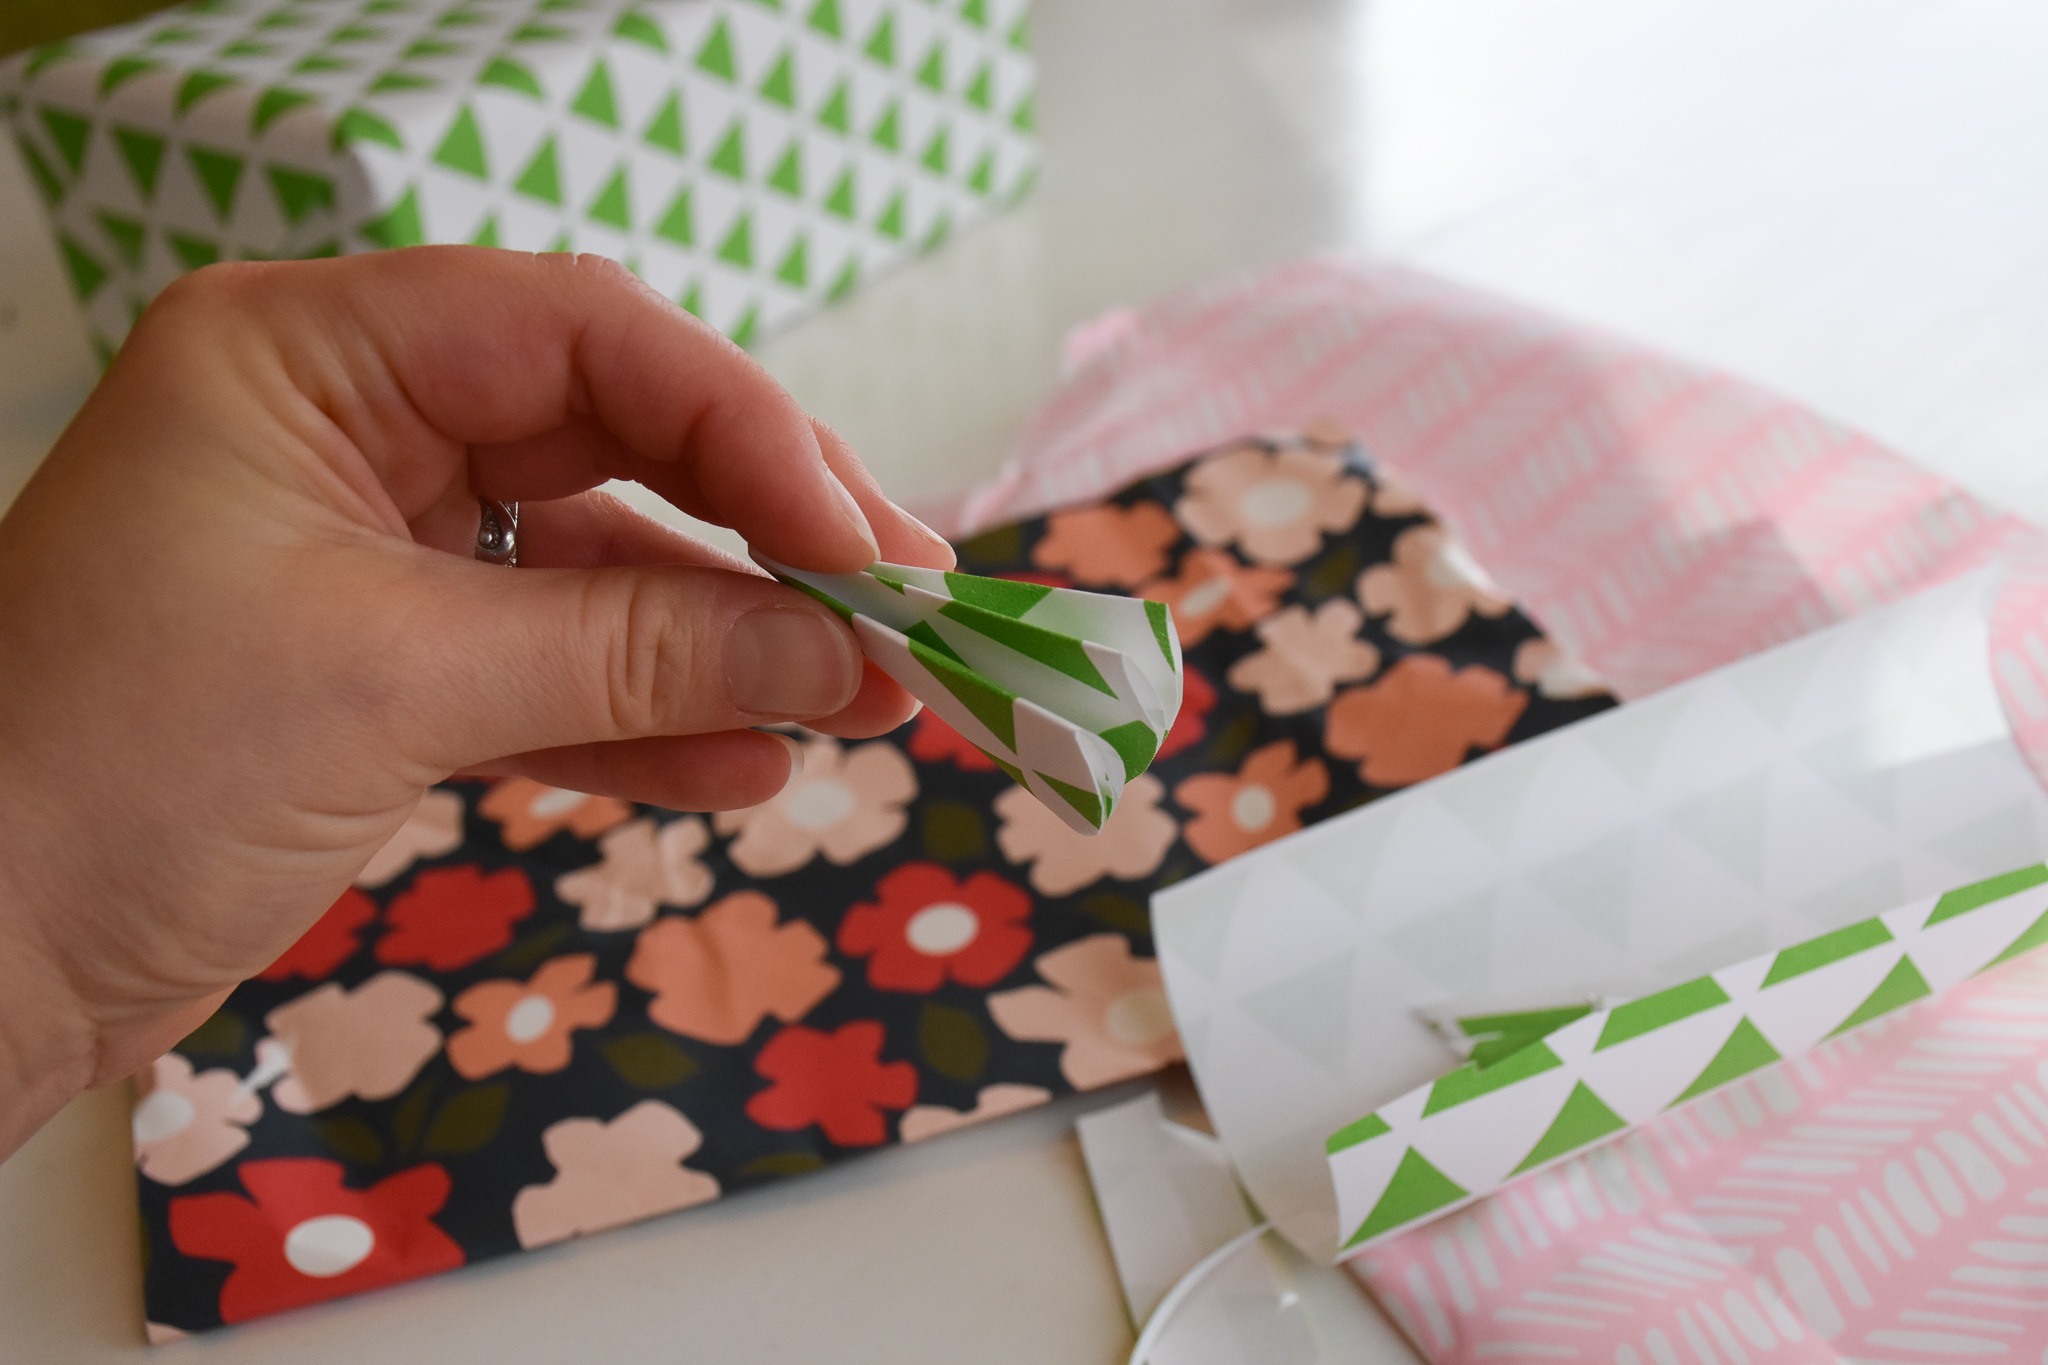
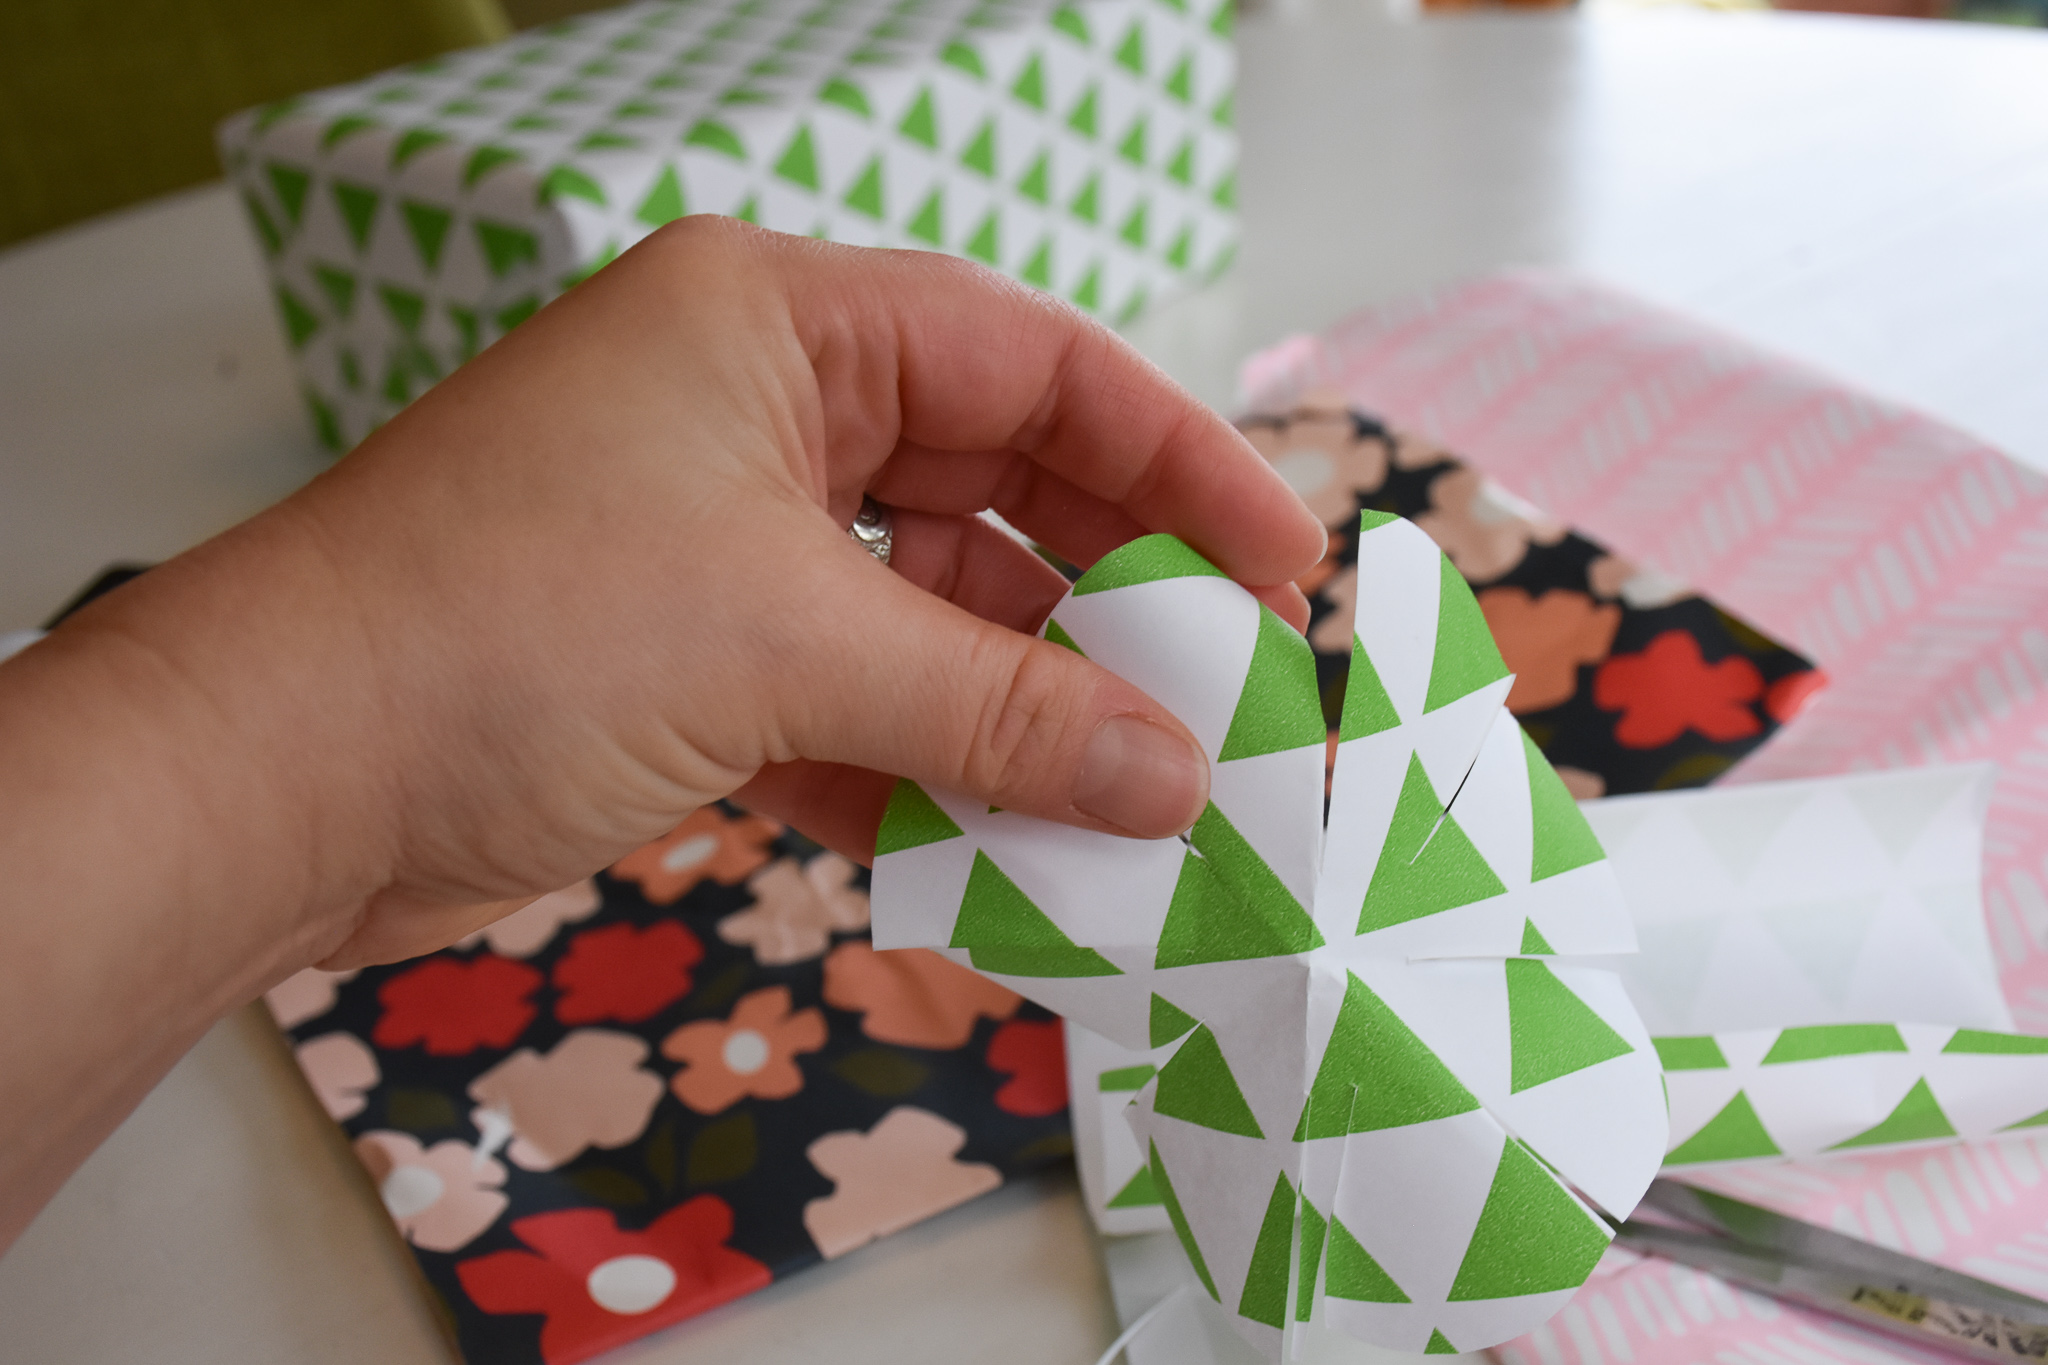
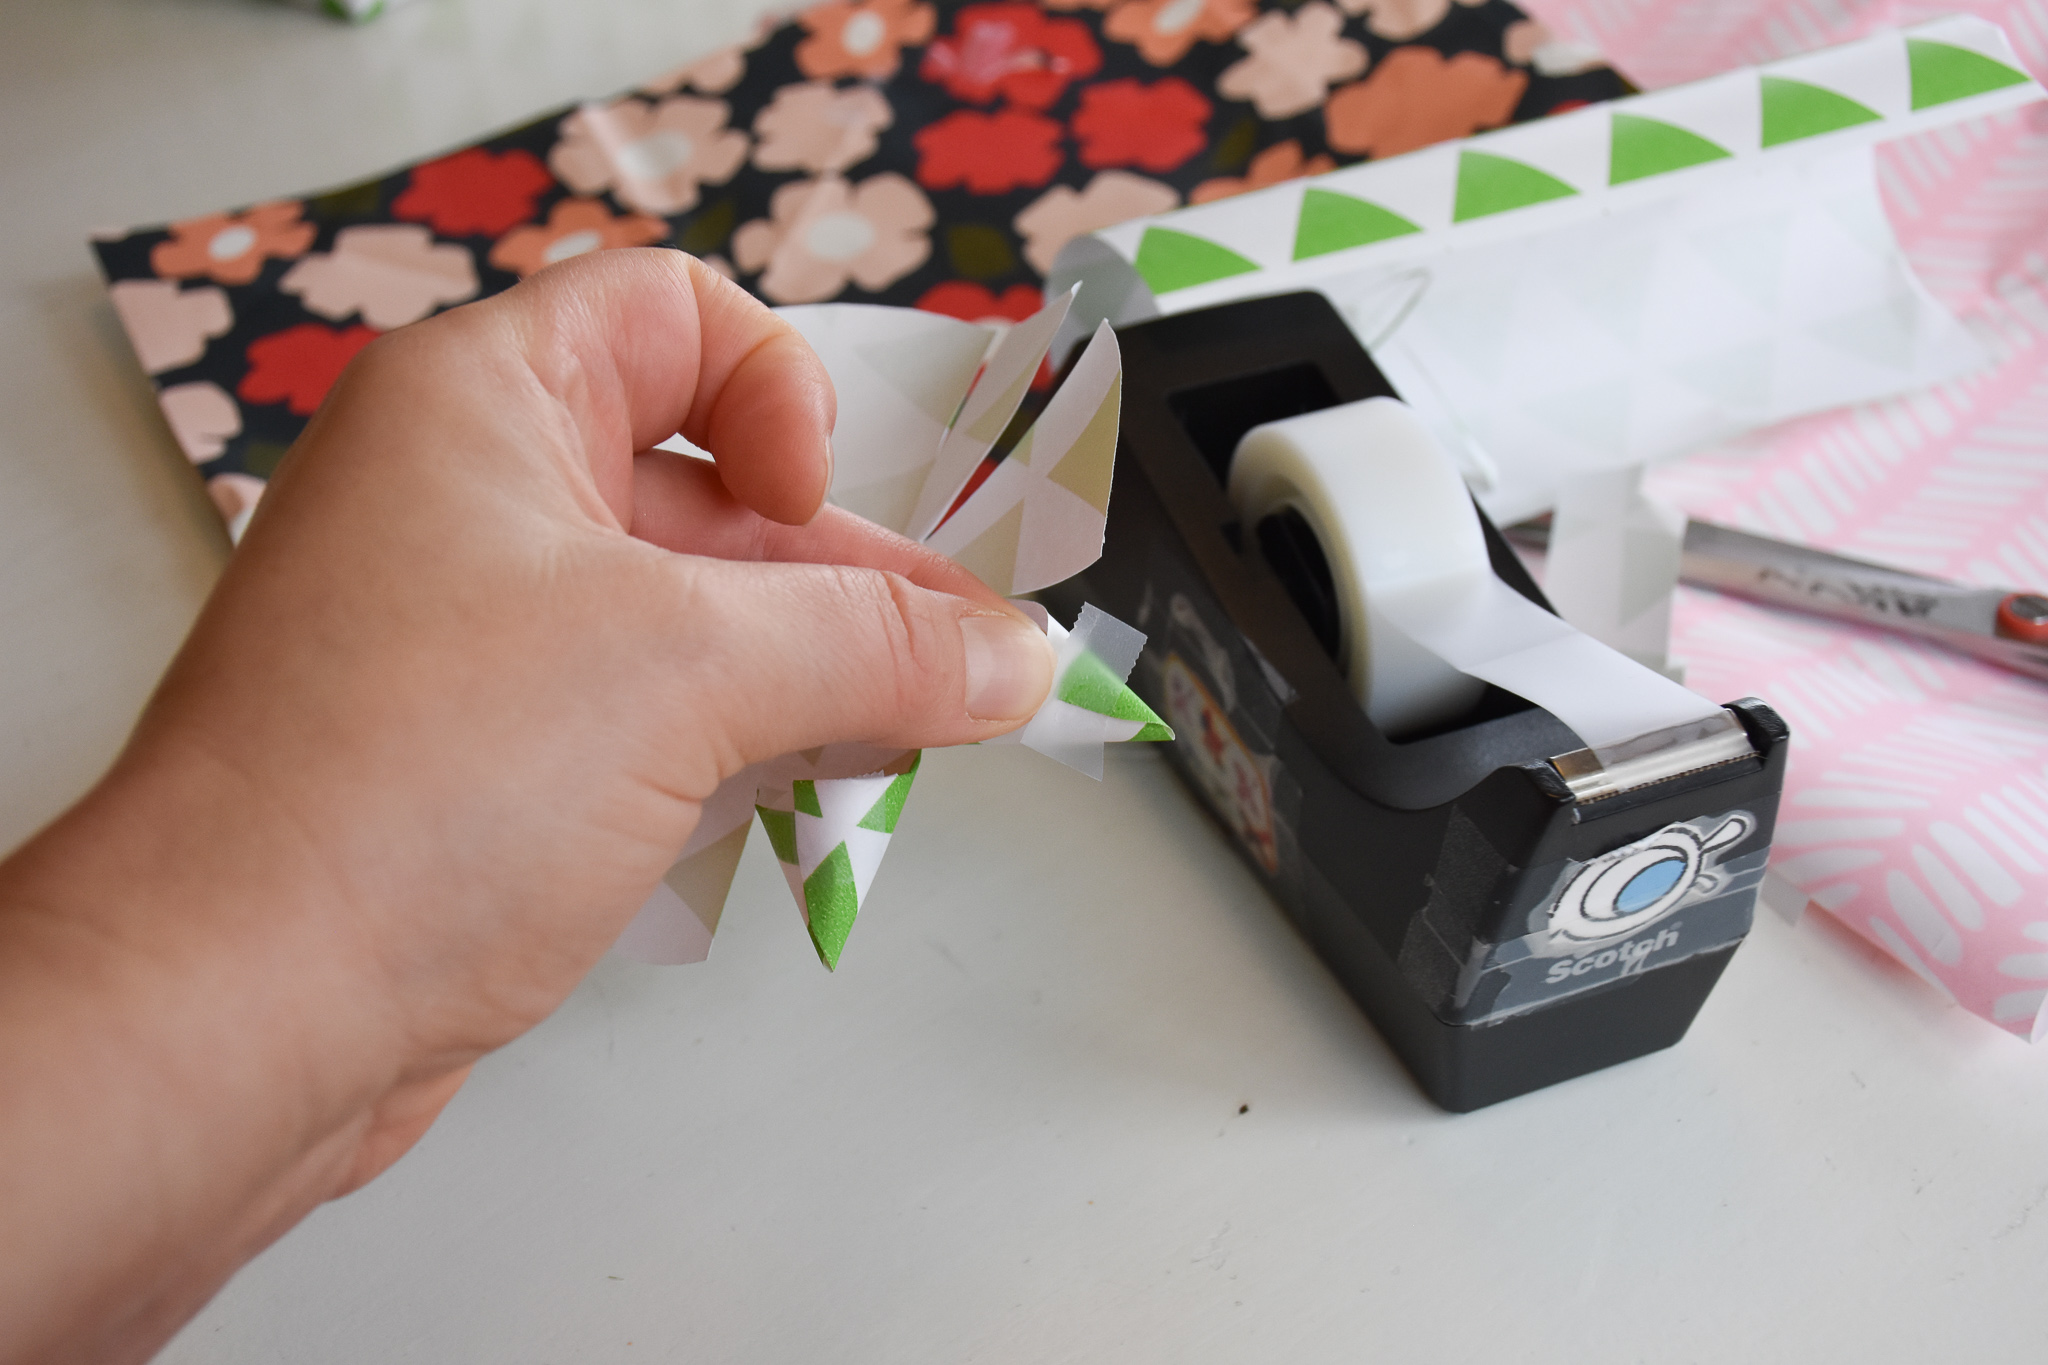
Grab one “petal,” and sort of roll the sides into itself. This will be your first bow point.
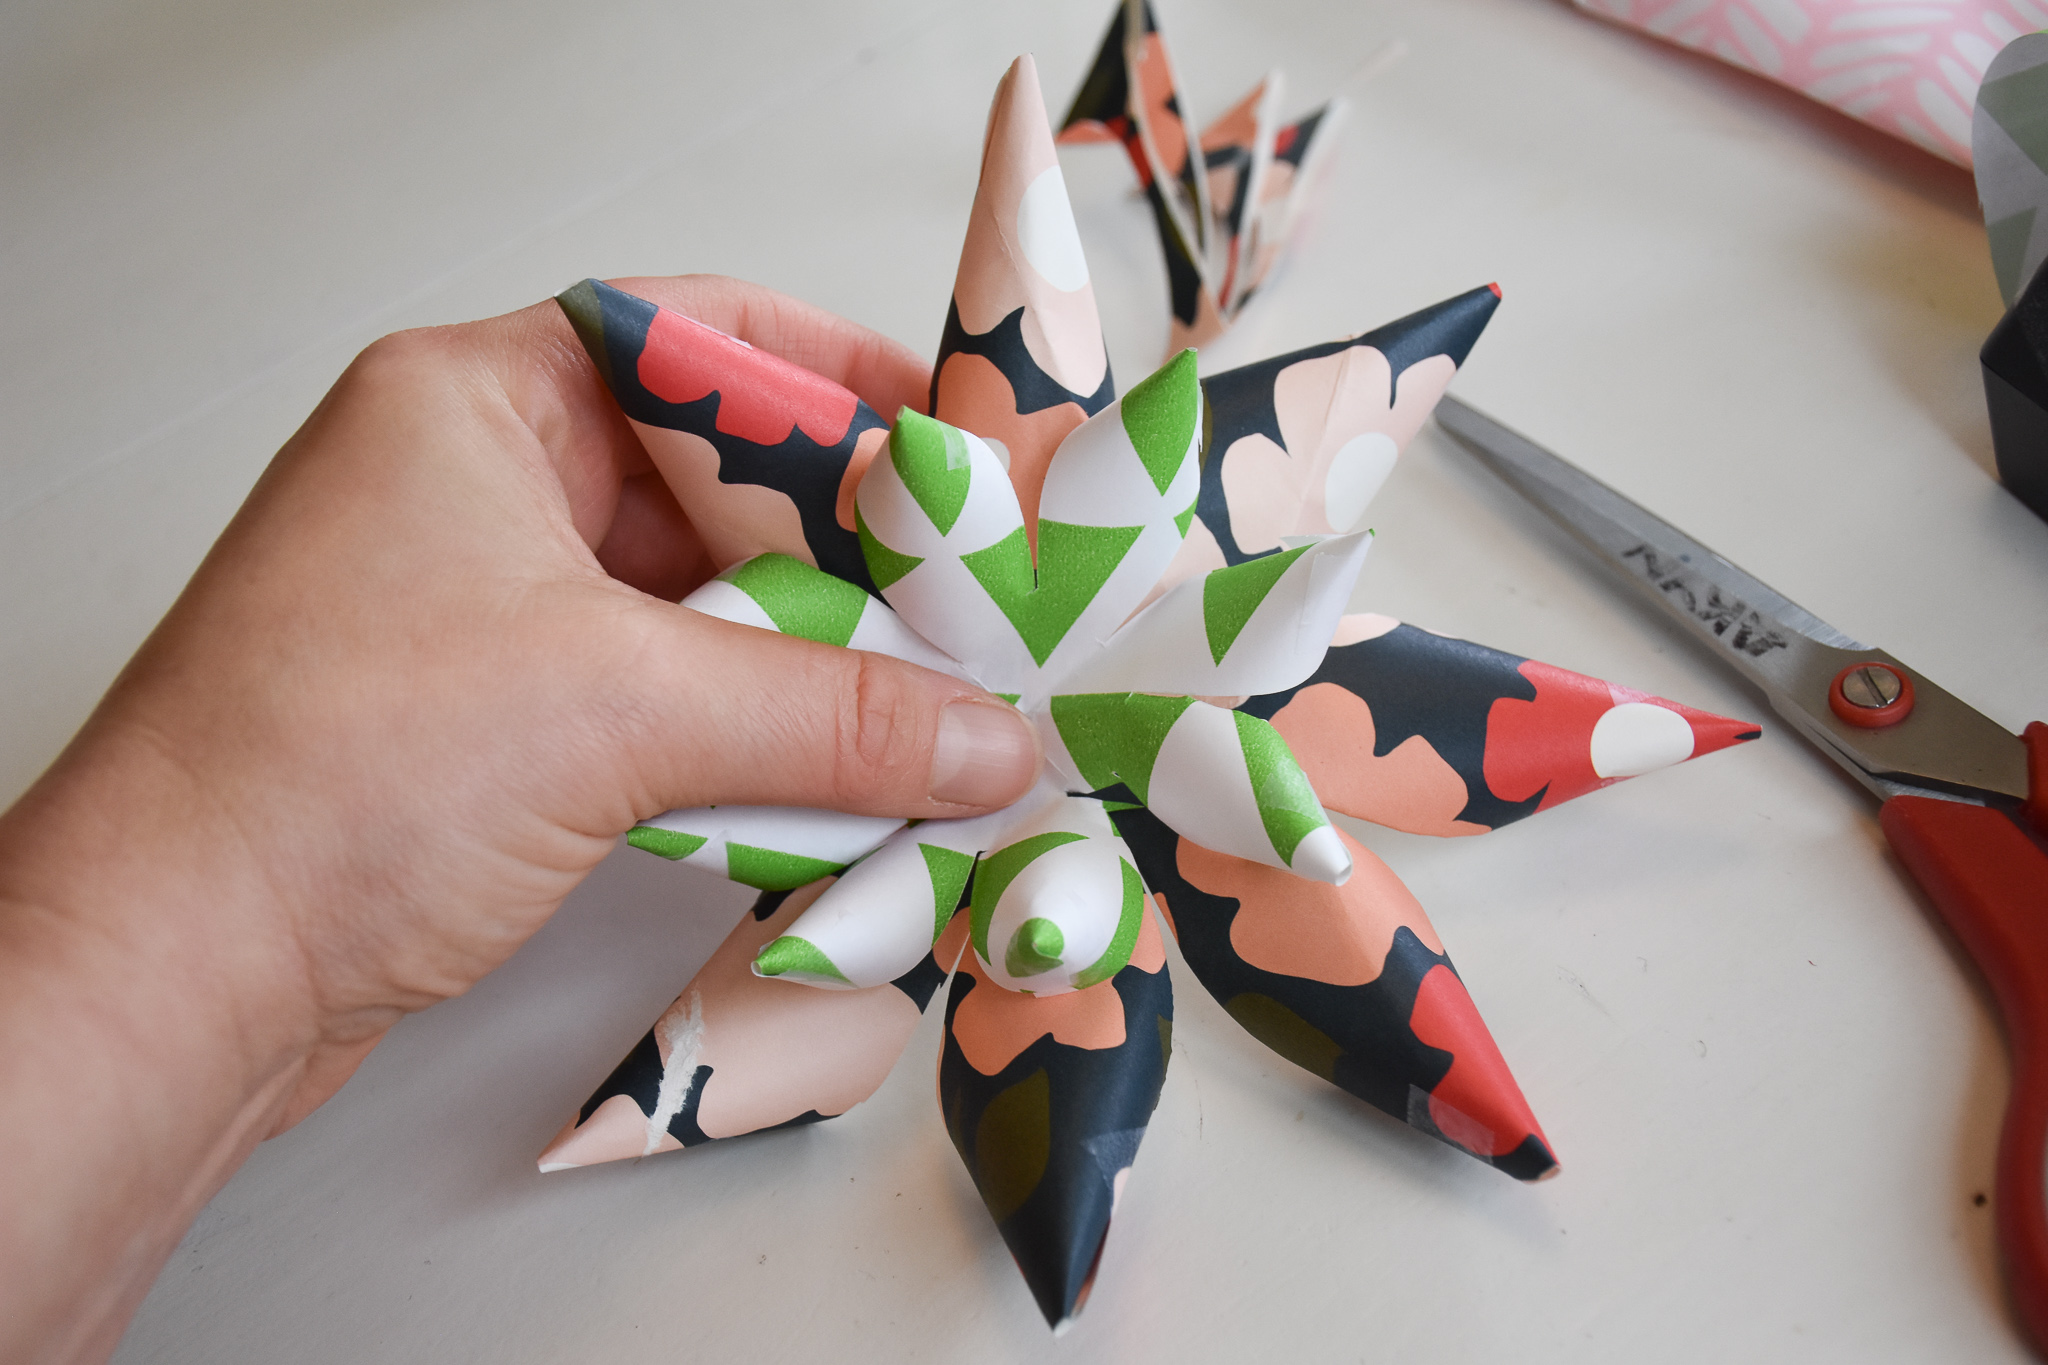
Flip it over and tape the petal you’ve folded at the back.
Repeat until you’ve taped all the bow points.
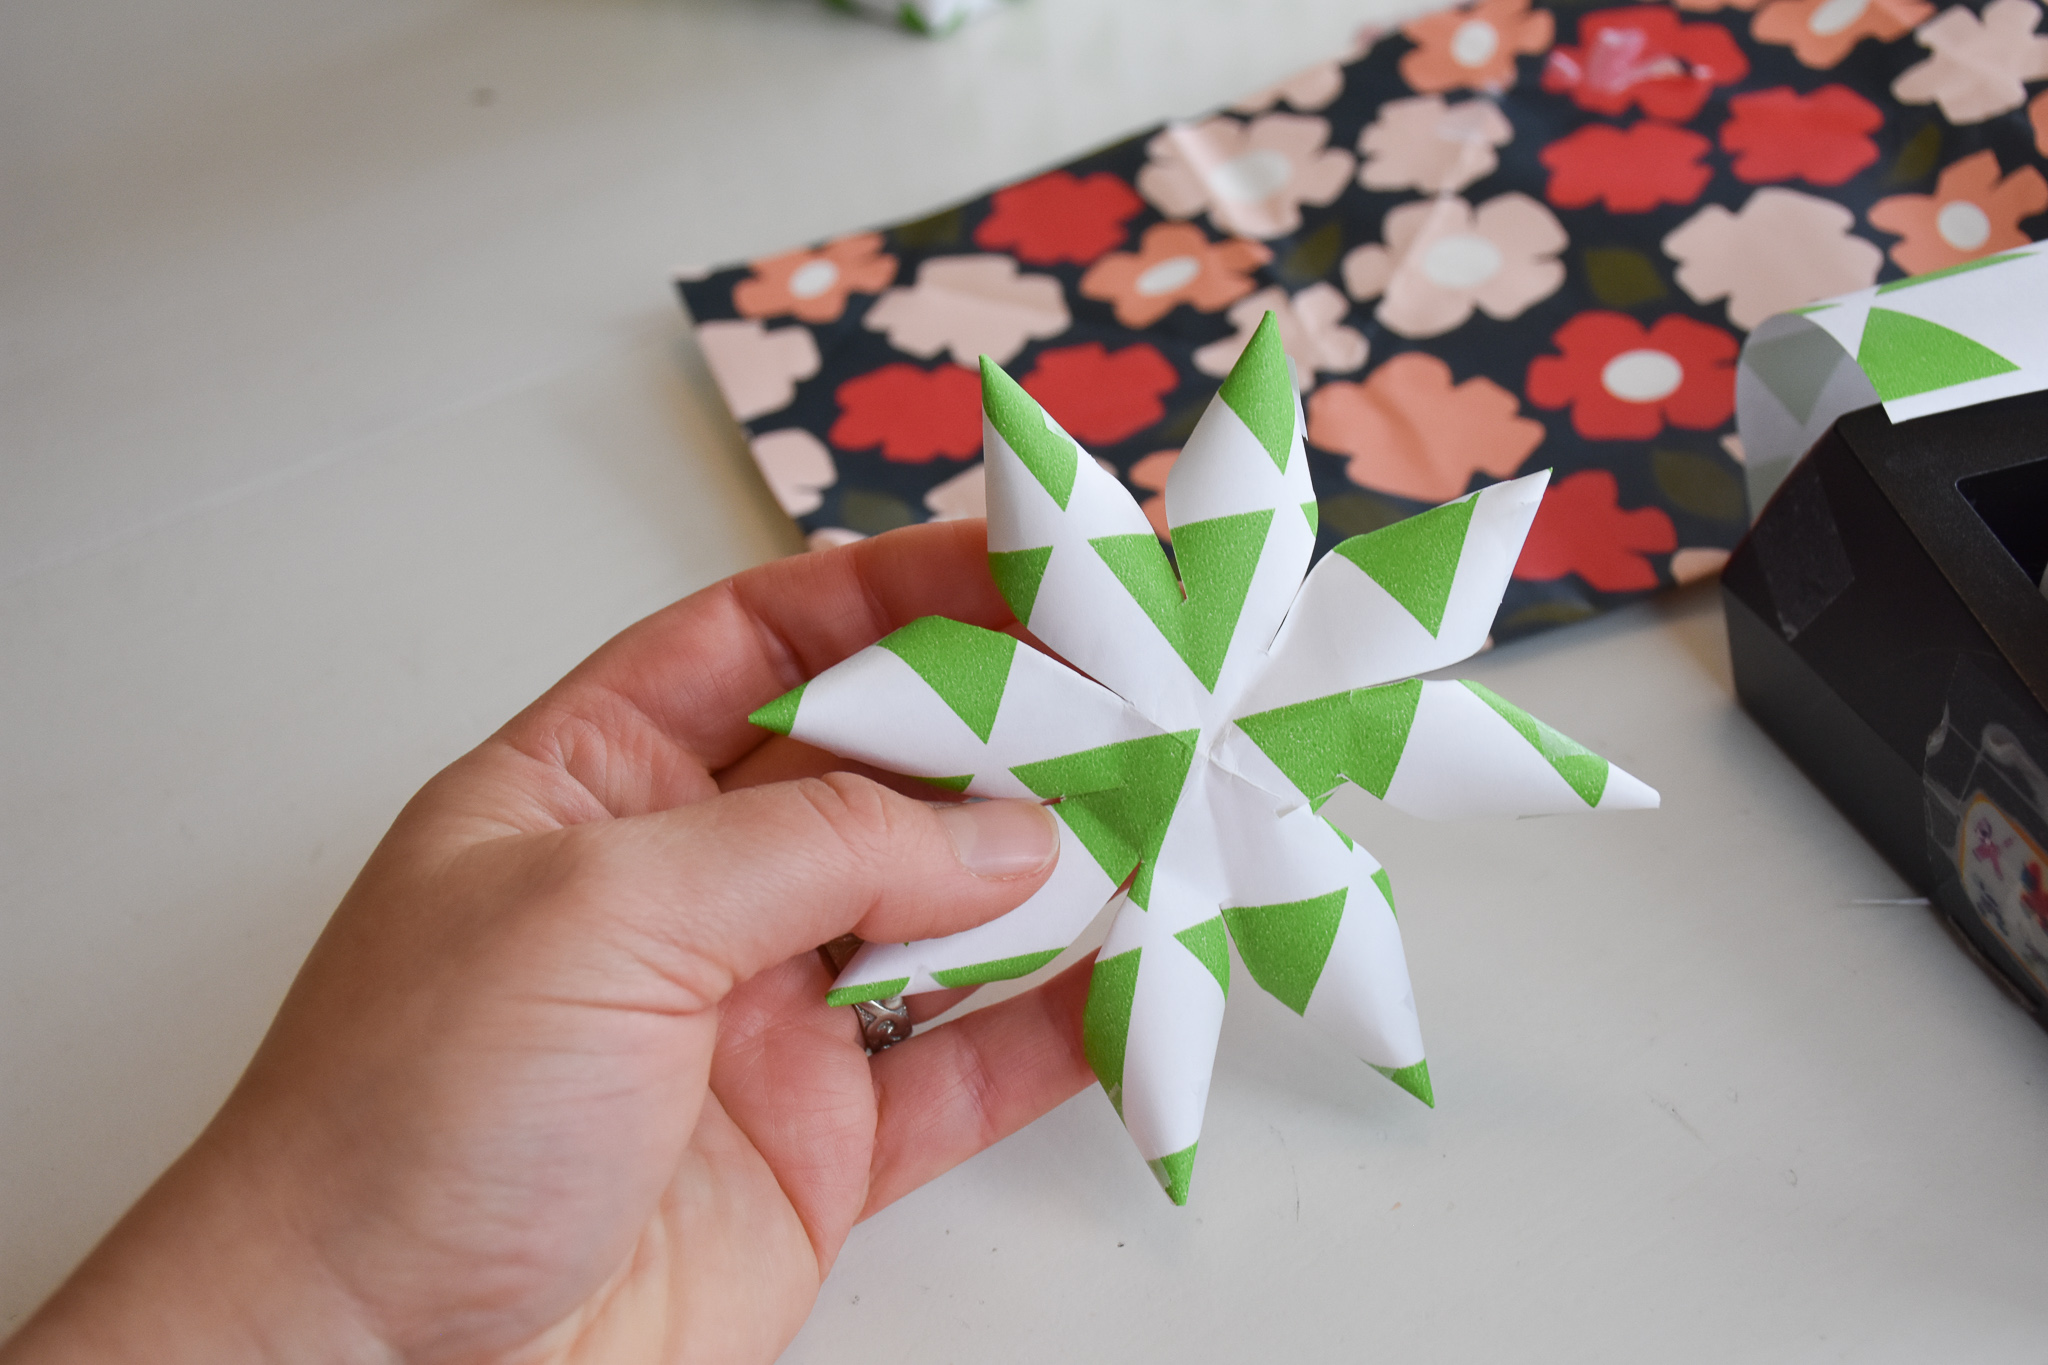
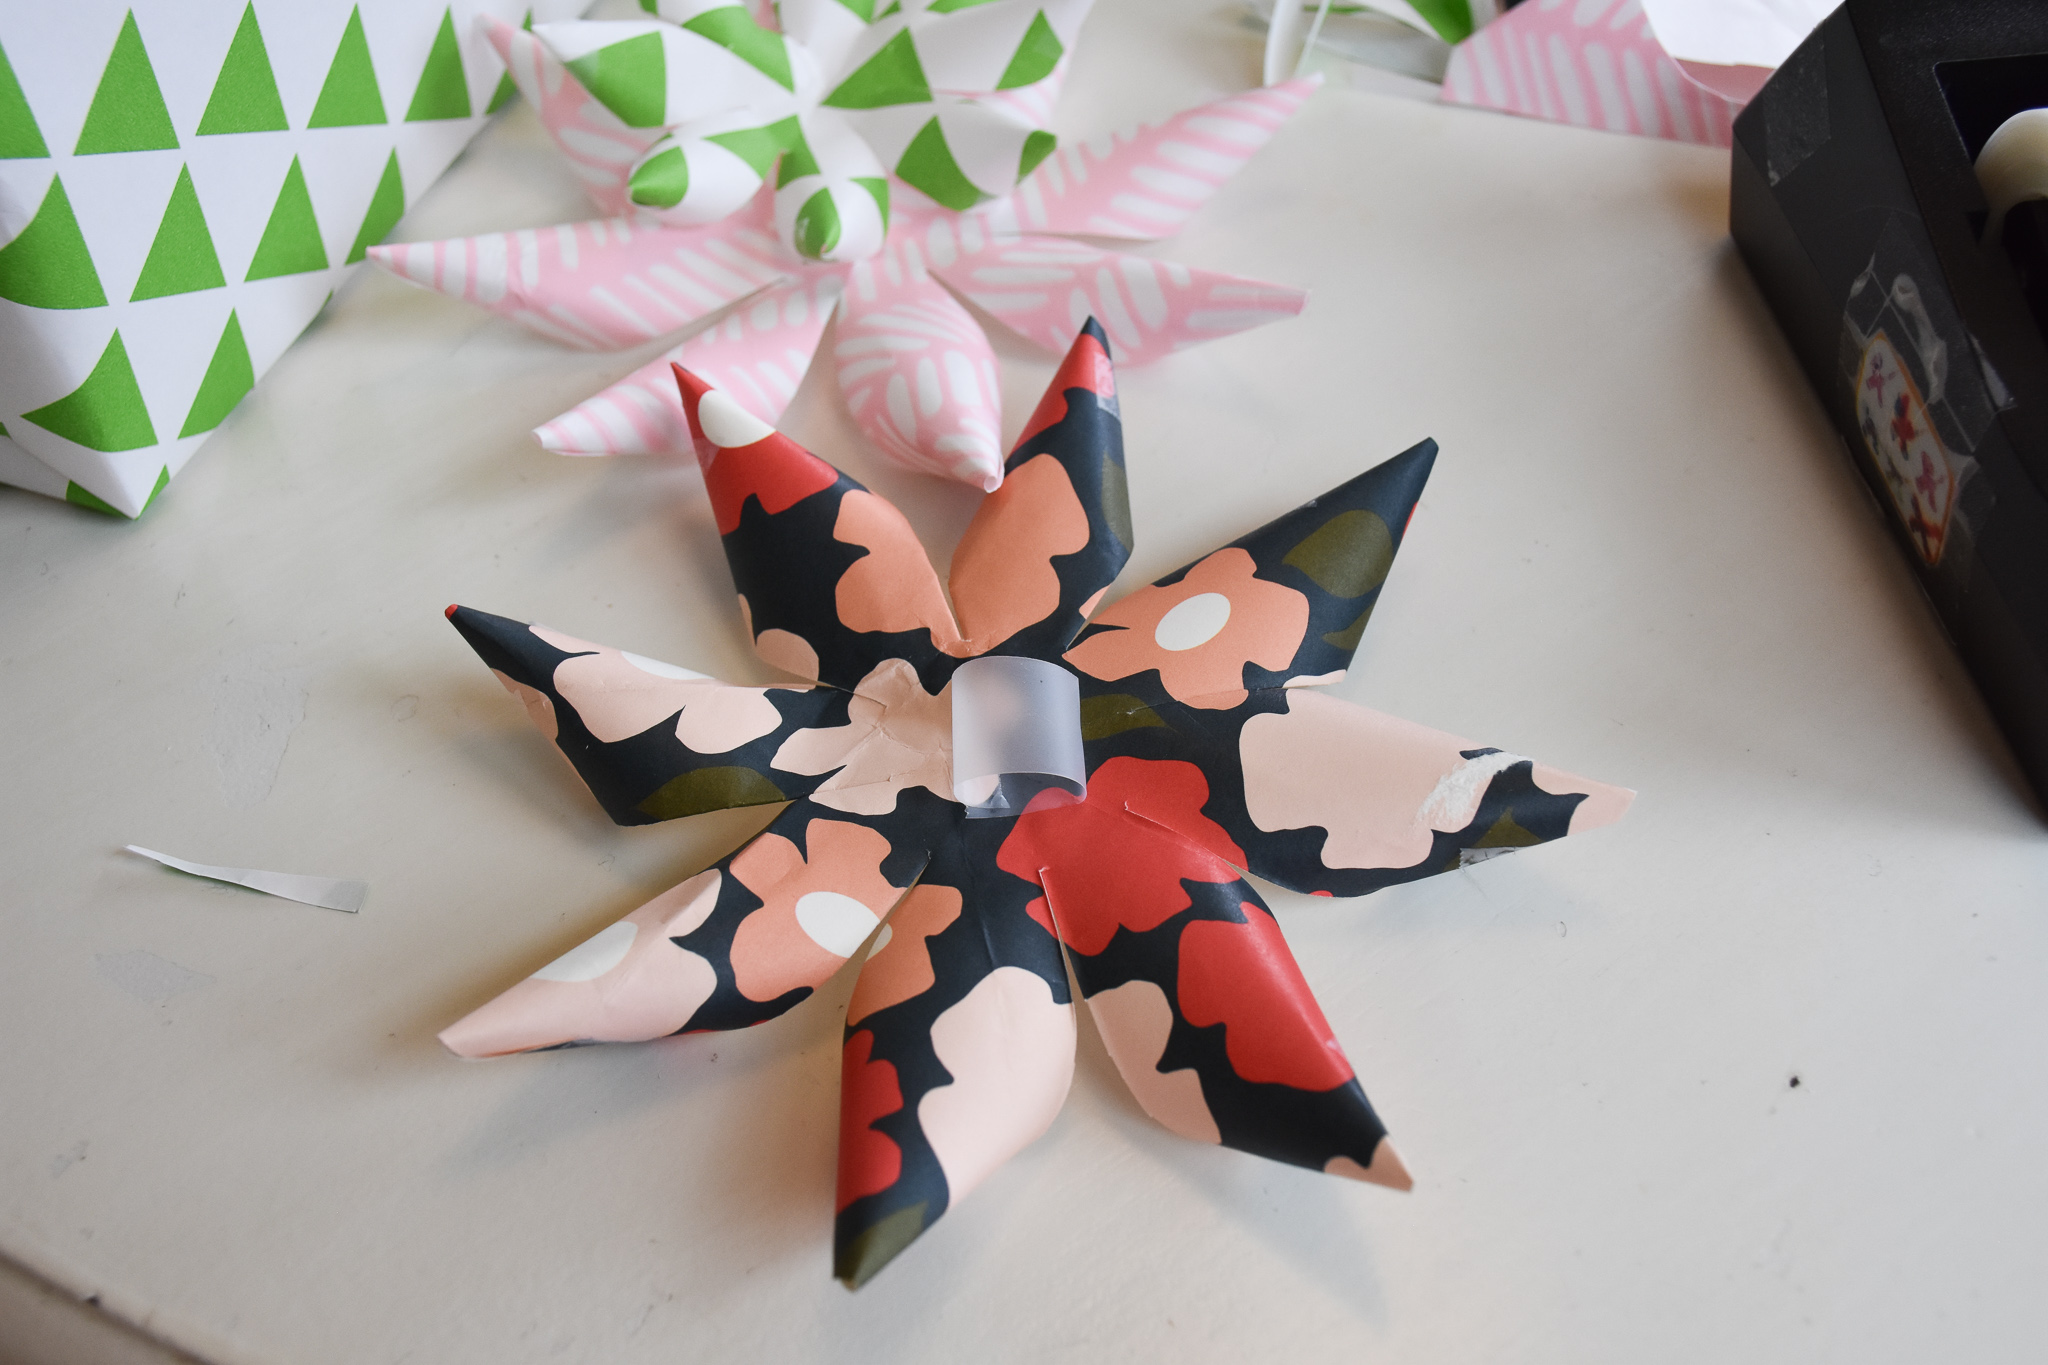
It should look like this when you’re done with this part (as you can see, my cuts weren’t perfect, but it still totally looks fine in the end!):
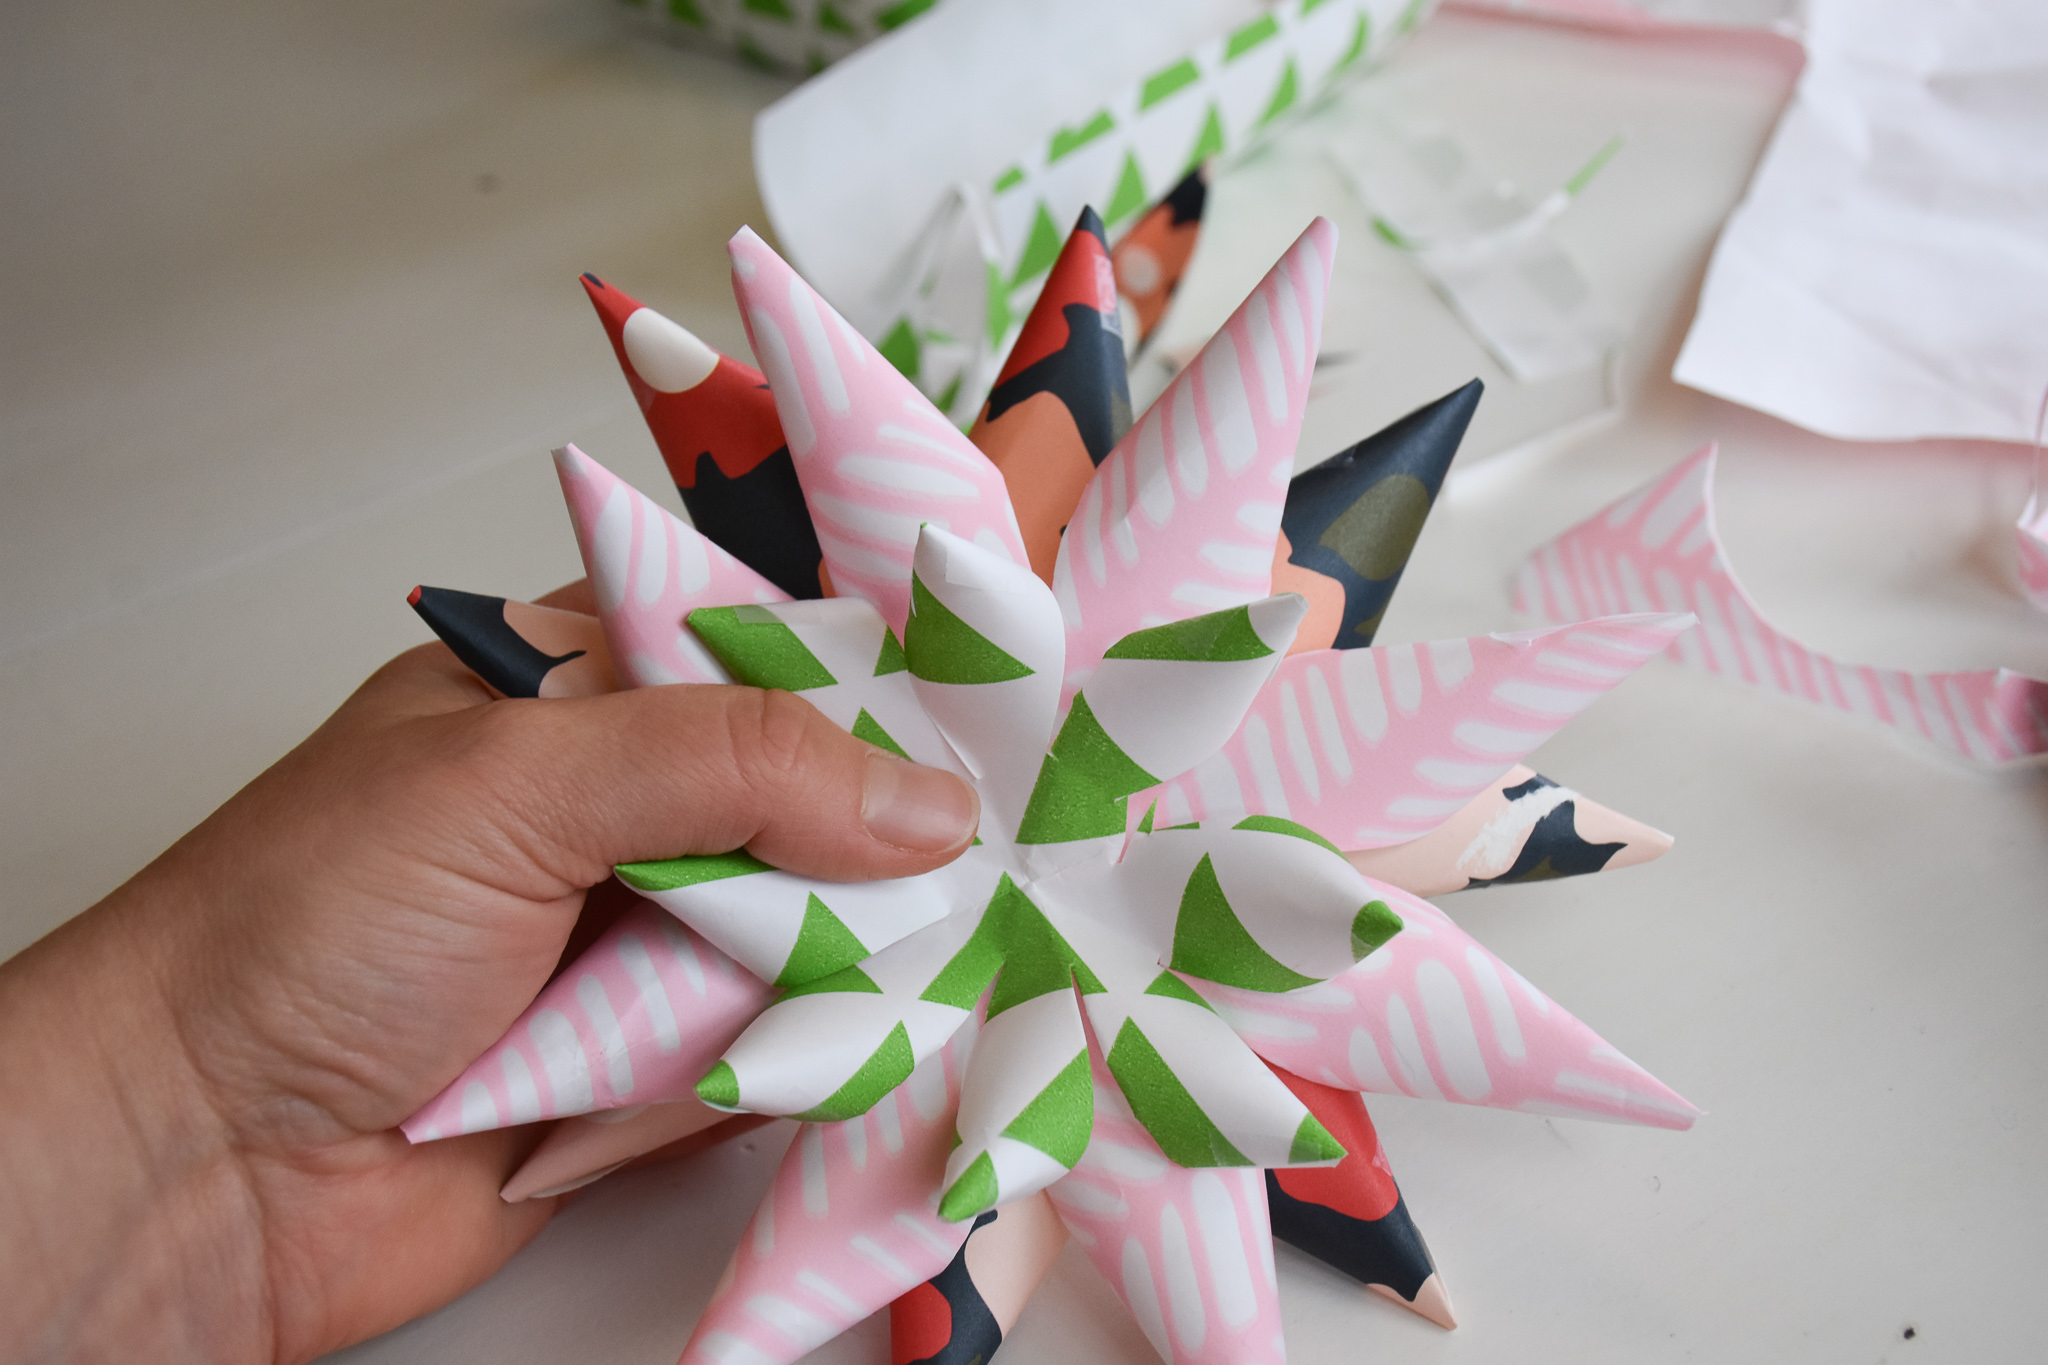
Next, decide if you want your next bow section to be larger or smaller than the first section you made. I went with larger, so I needed to make a larger square for my second bow section. To do this, just fold a piece of wrapper paper corner over, but put it more to make it larger!
Repeat the above steps to this section. Now you have your section bow part!
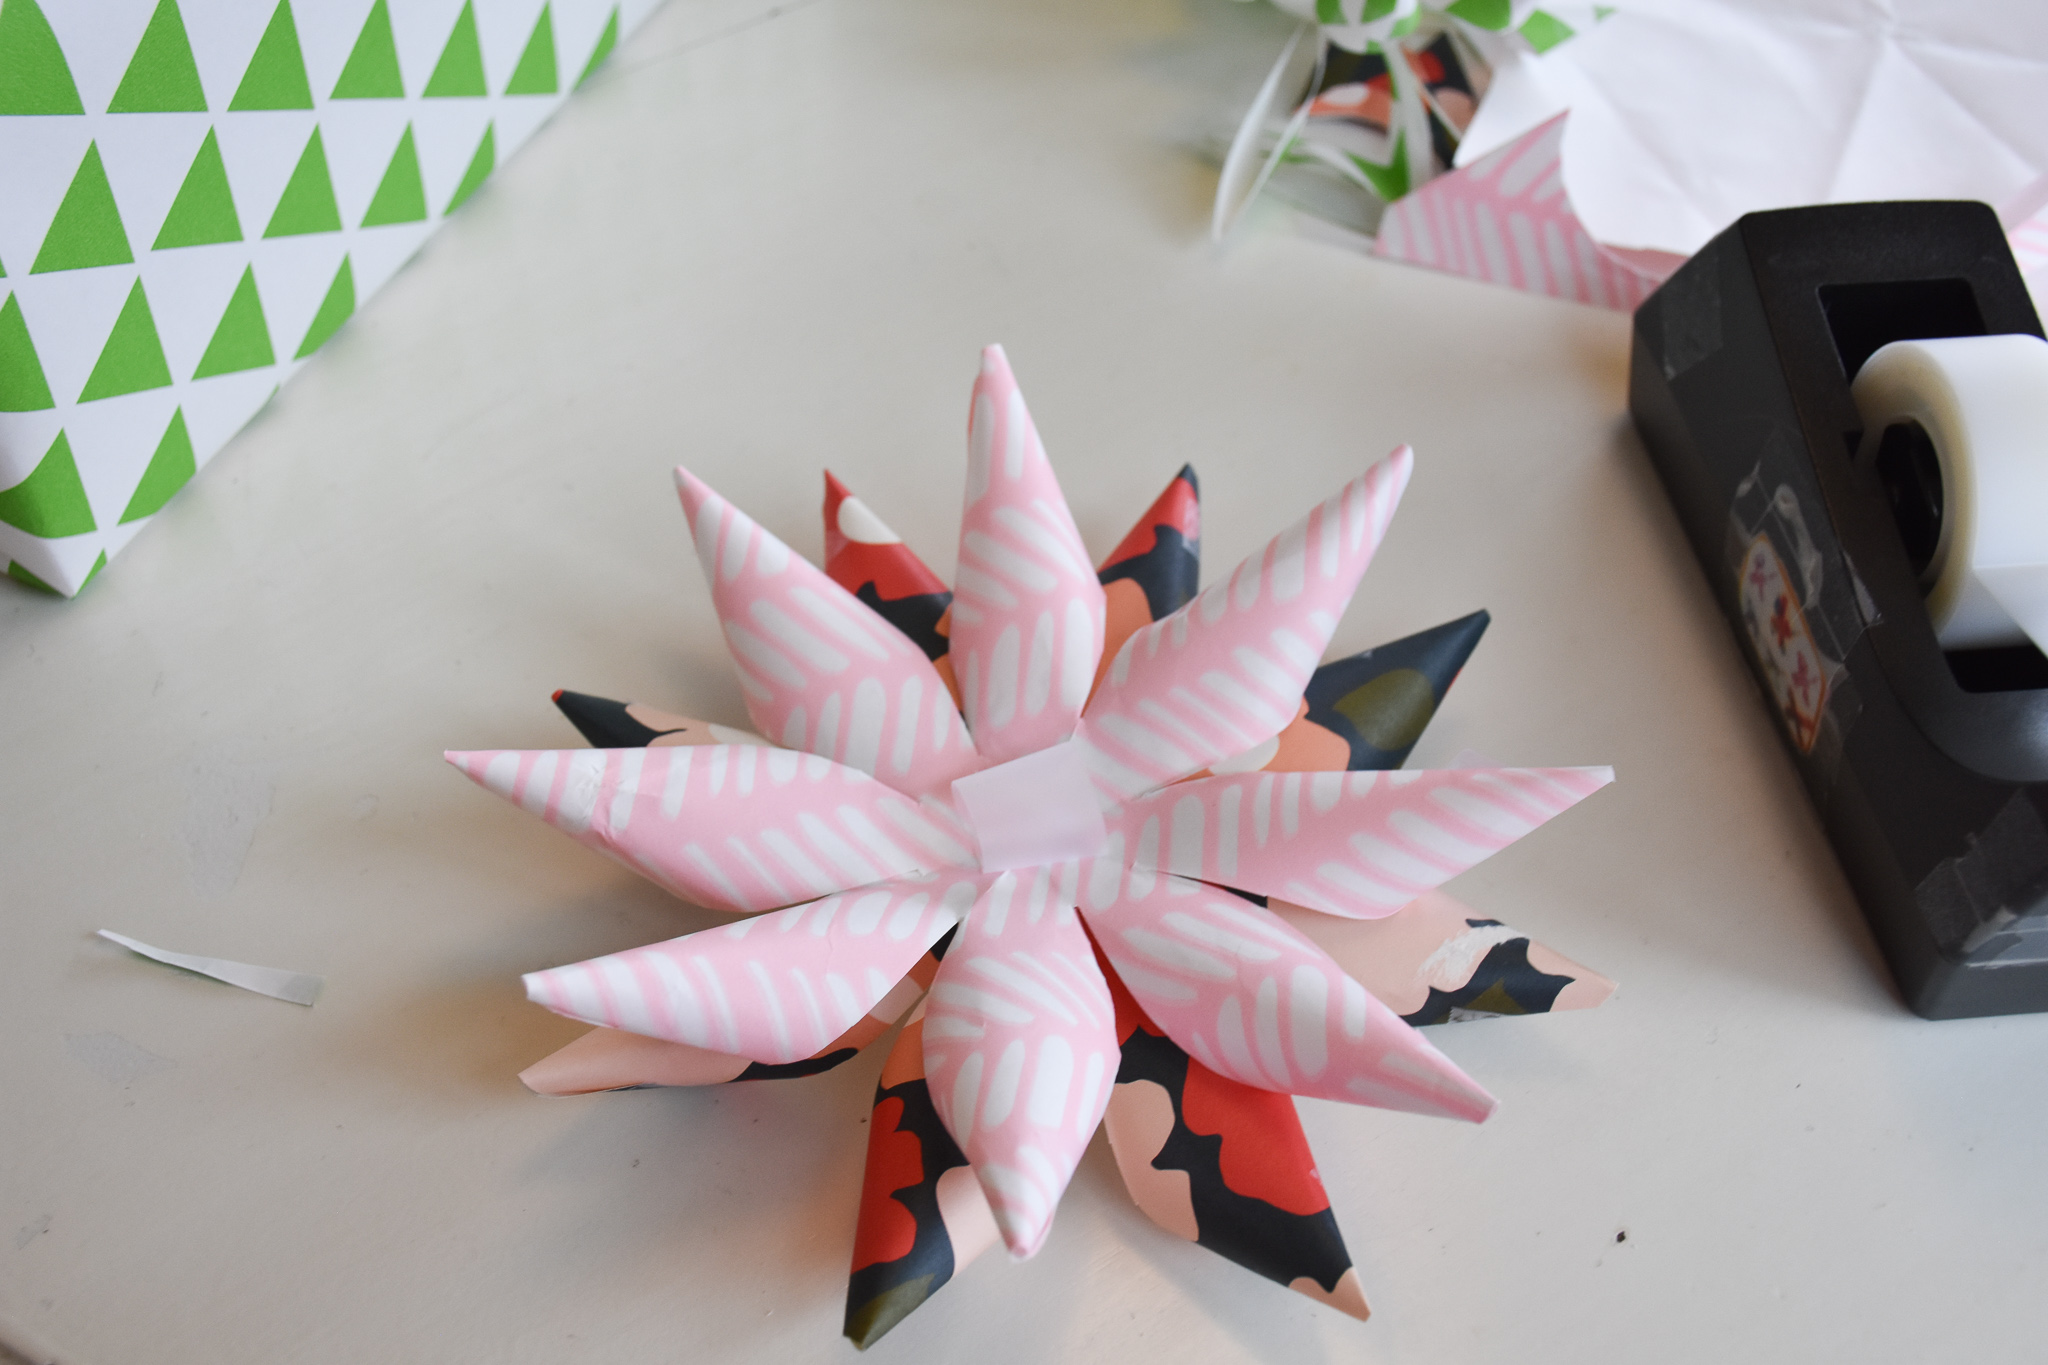
They looked like this together. You can now decide if you want to add another section, and what size you want it to be.
I decided I wanted one bow section in between these two, so I sized the square appropriately and repeated the steps again for my third section (steps not pictured – I added a pink section!).
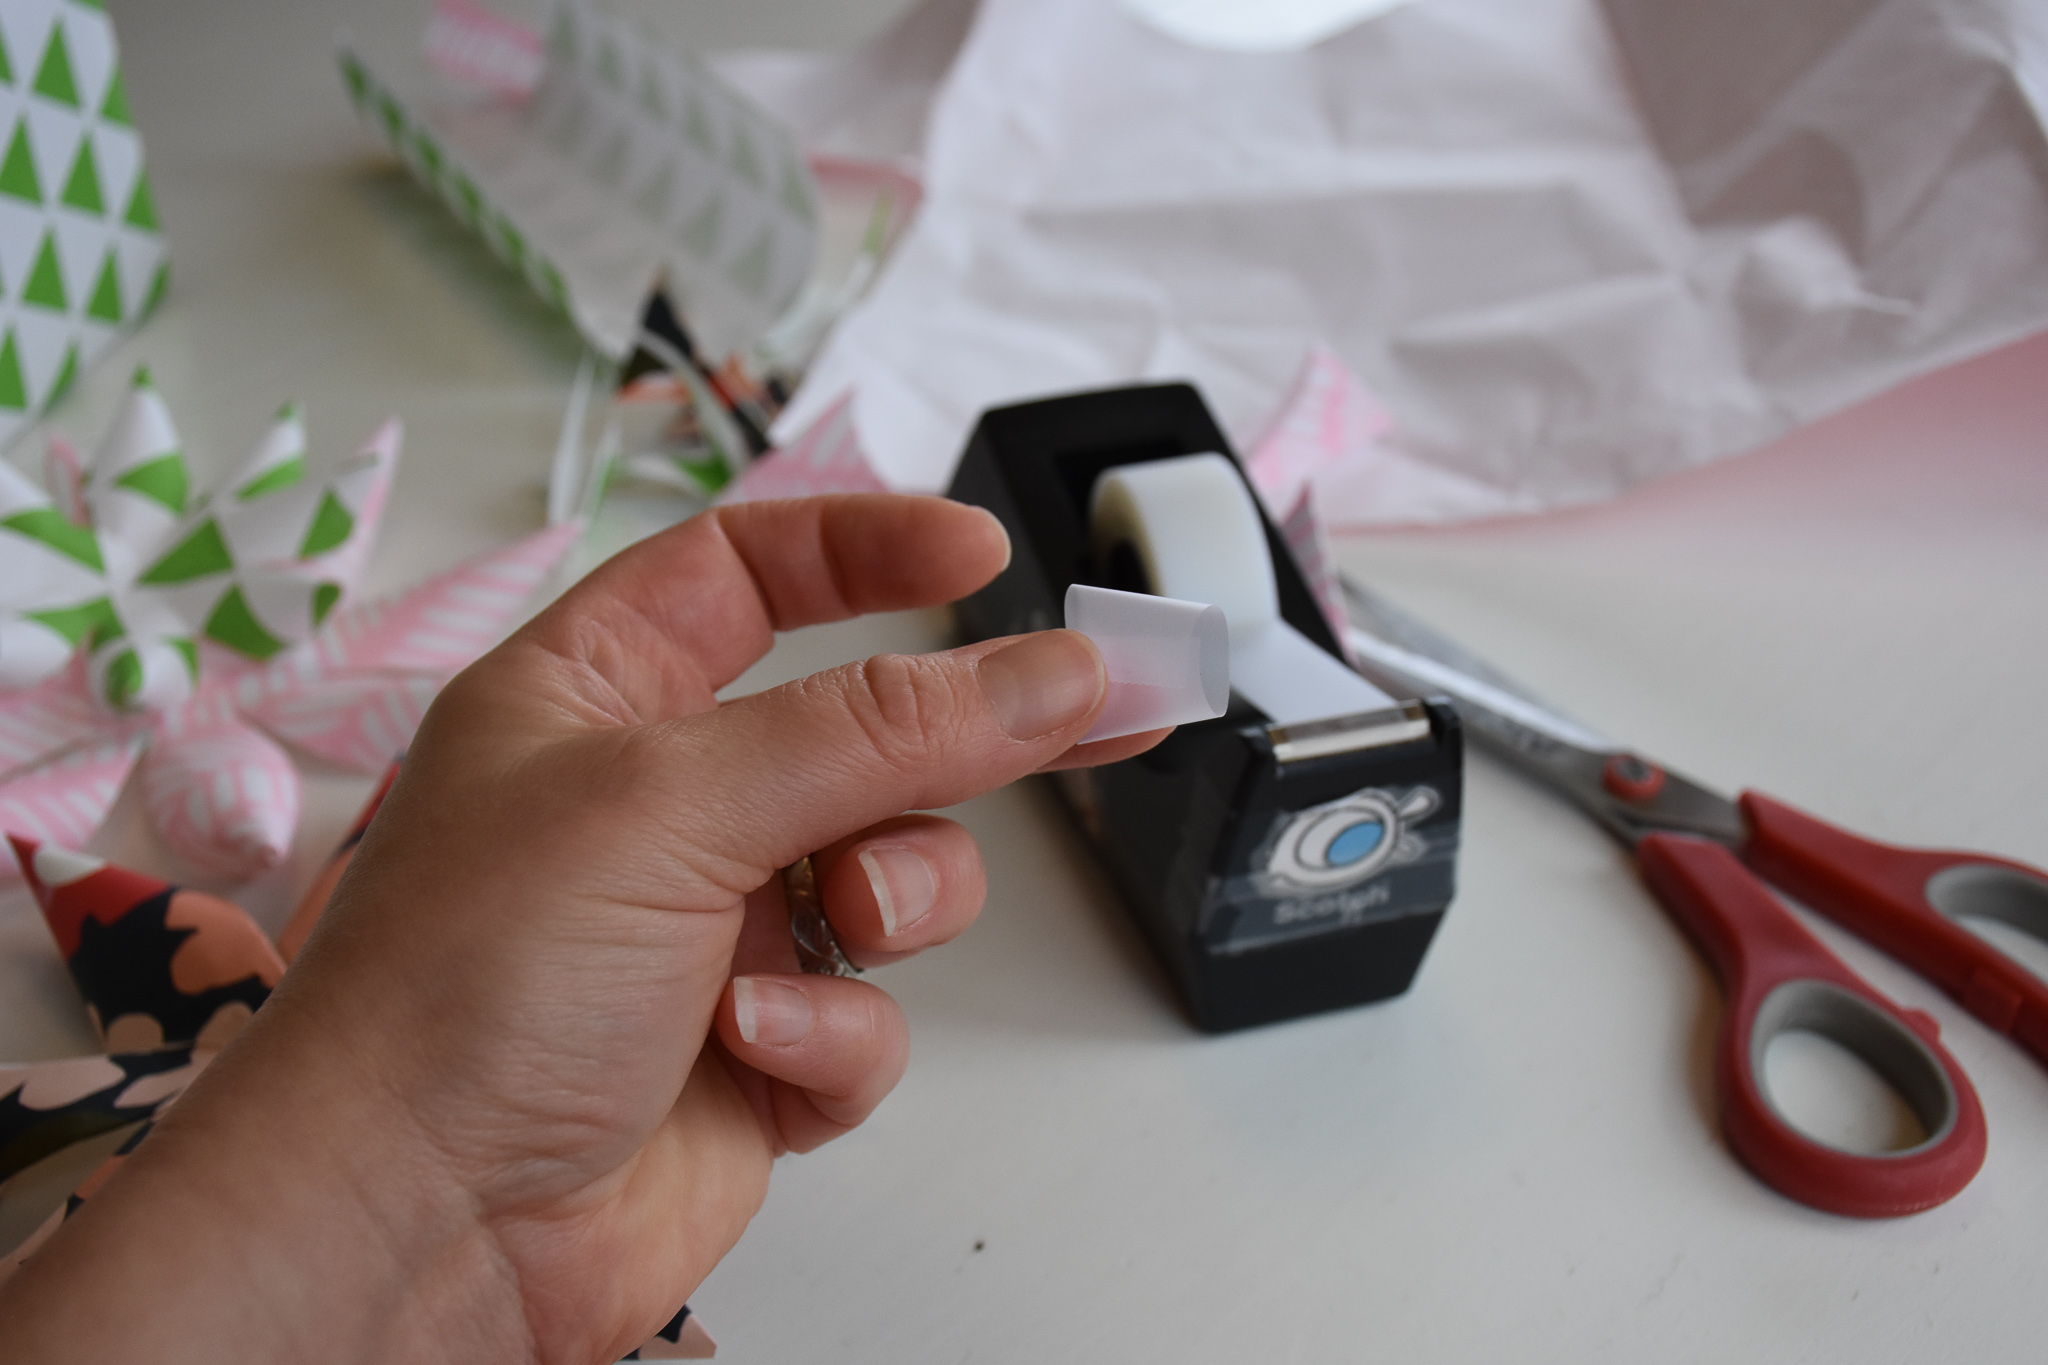
Now it’s time to assemble them! Make a tape loop.
And put it in the center of your bottom bow section.
Press your next section down on top of the loop, securing it in place.

Repeat with your remaining sections.
Once you’ve taped the sections together, flip the bow over and put a tape loop on the bottom.
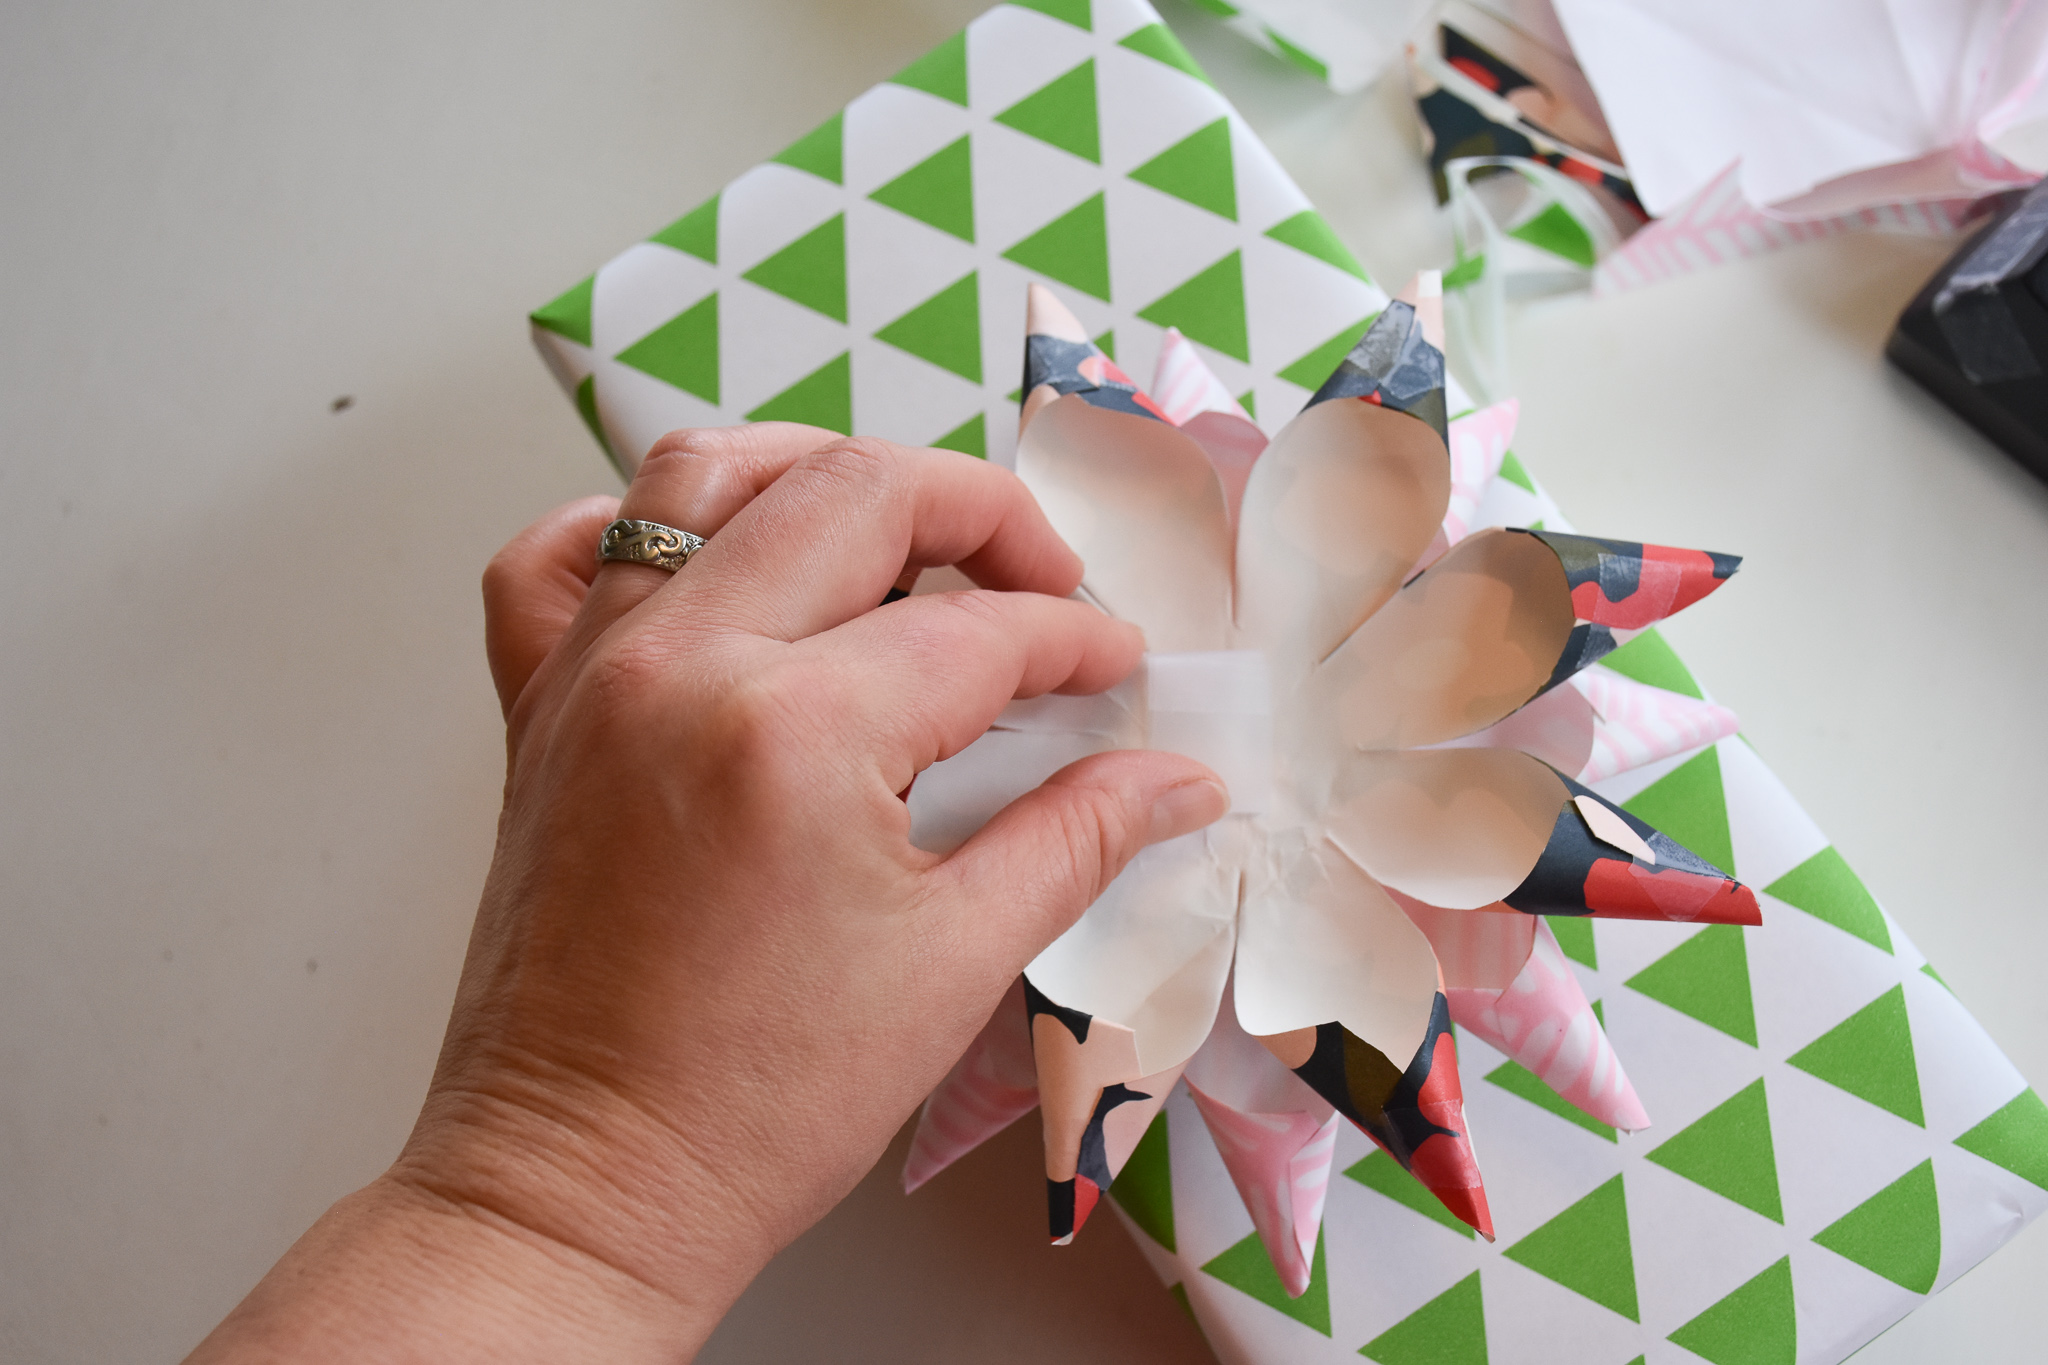
Press it on to your wrapped present.
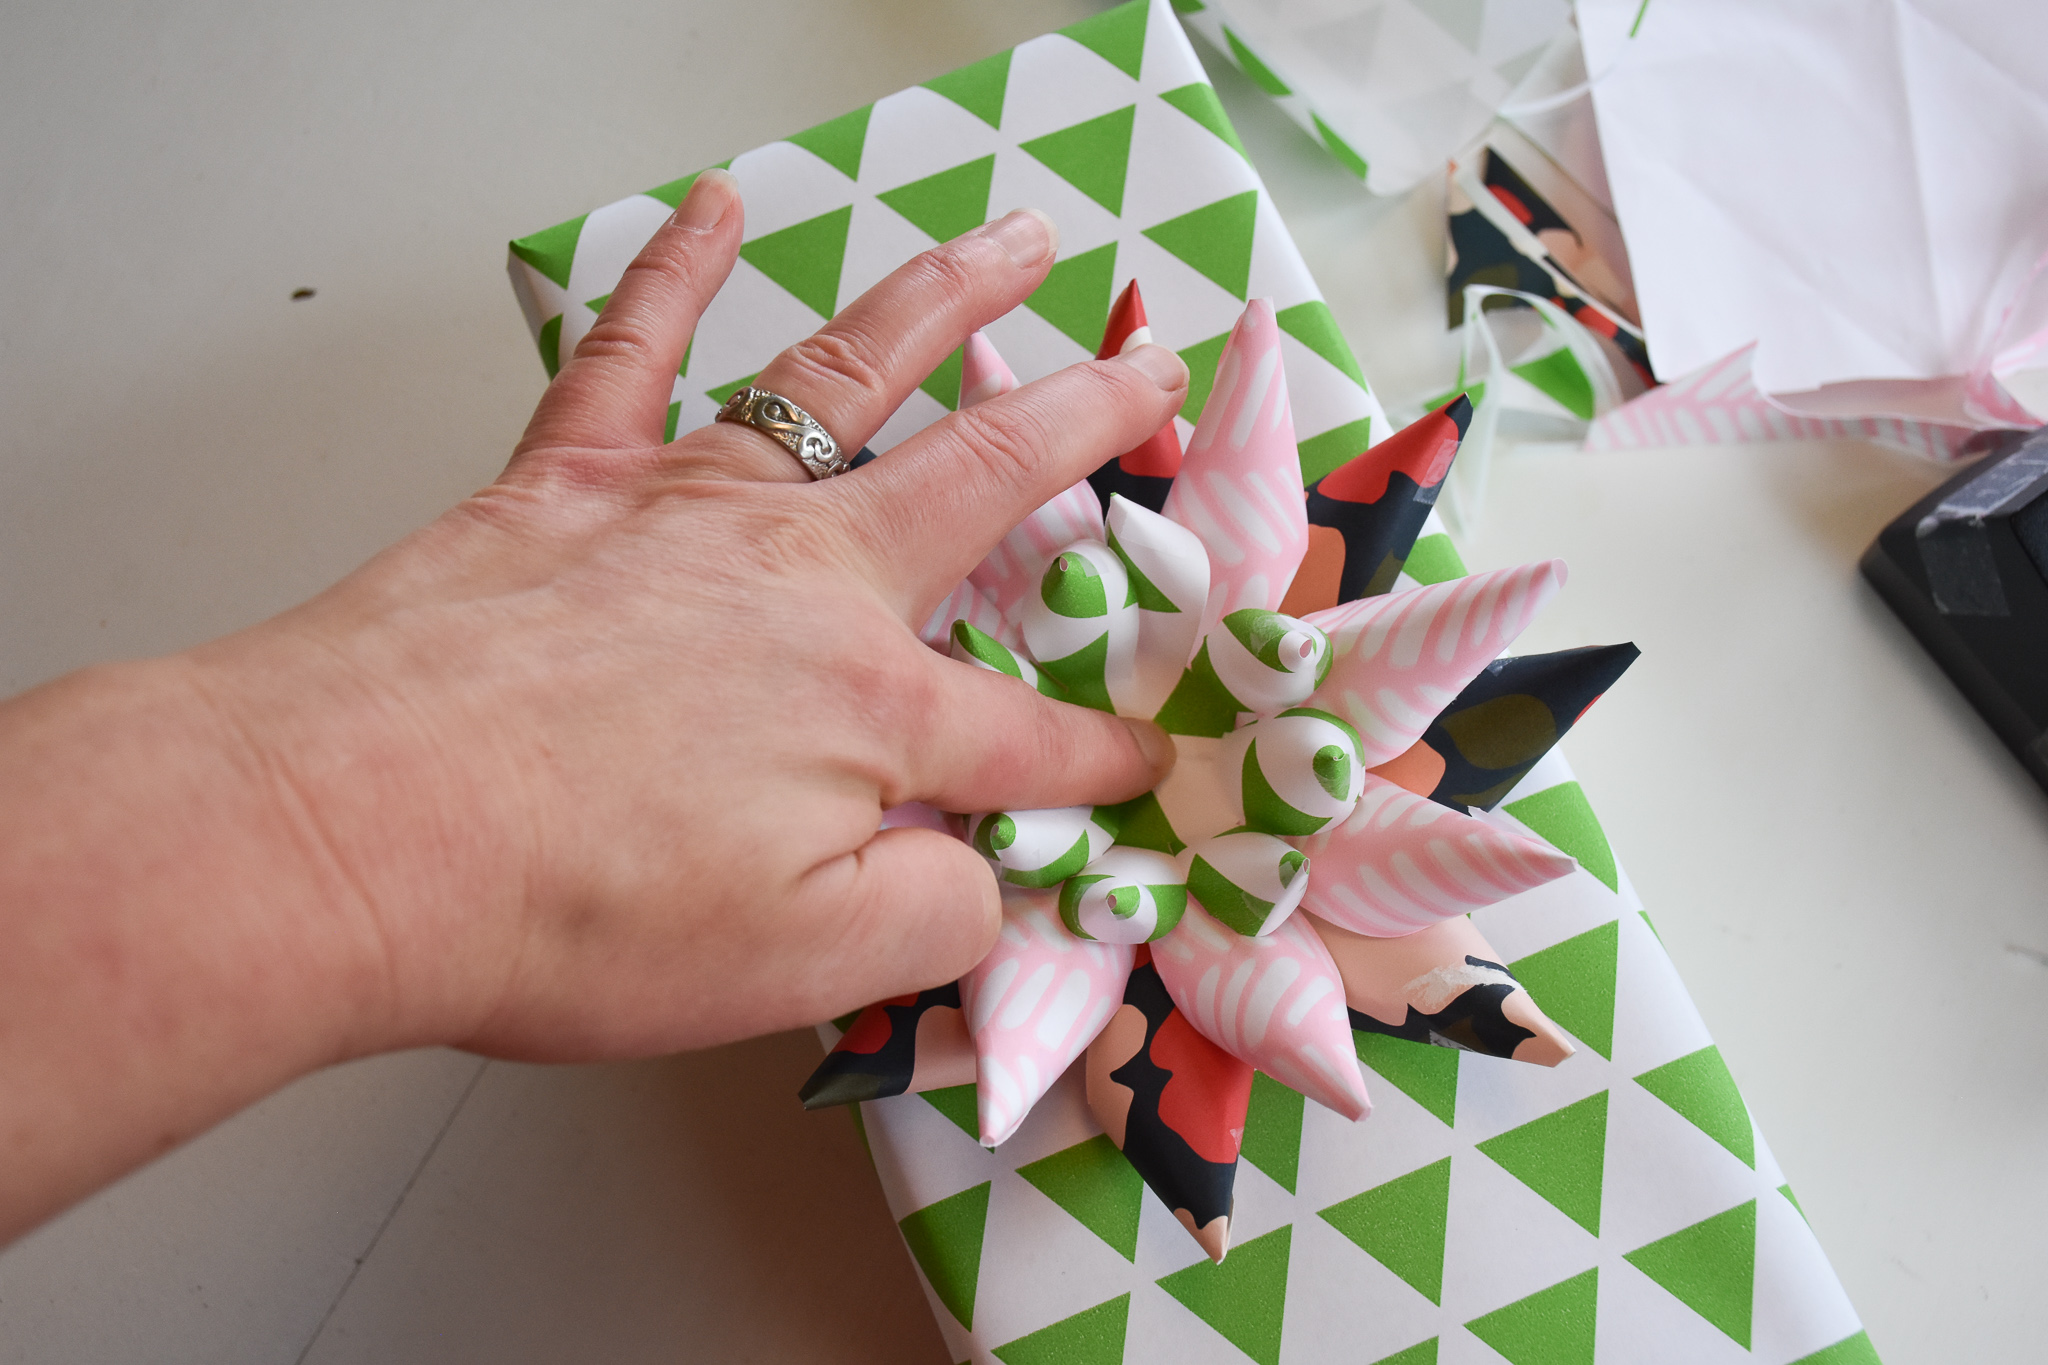
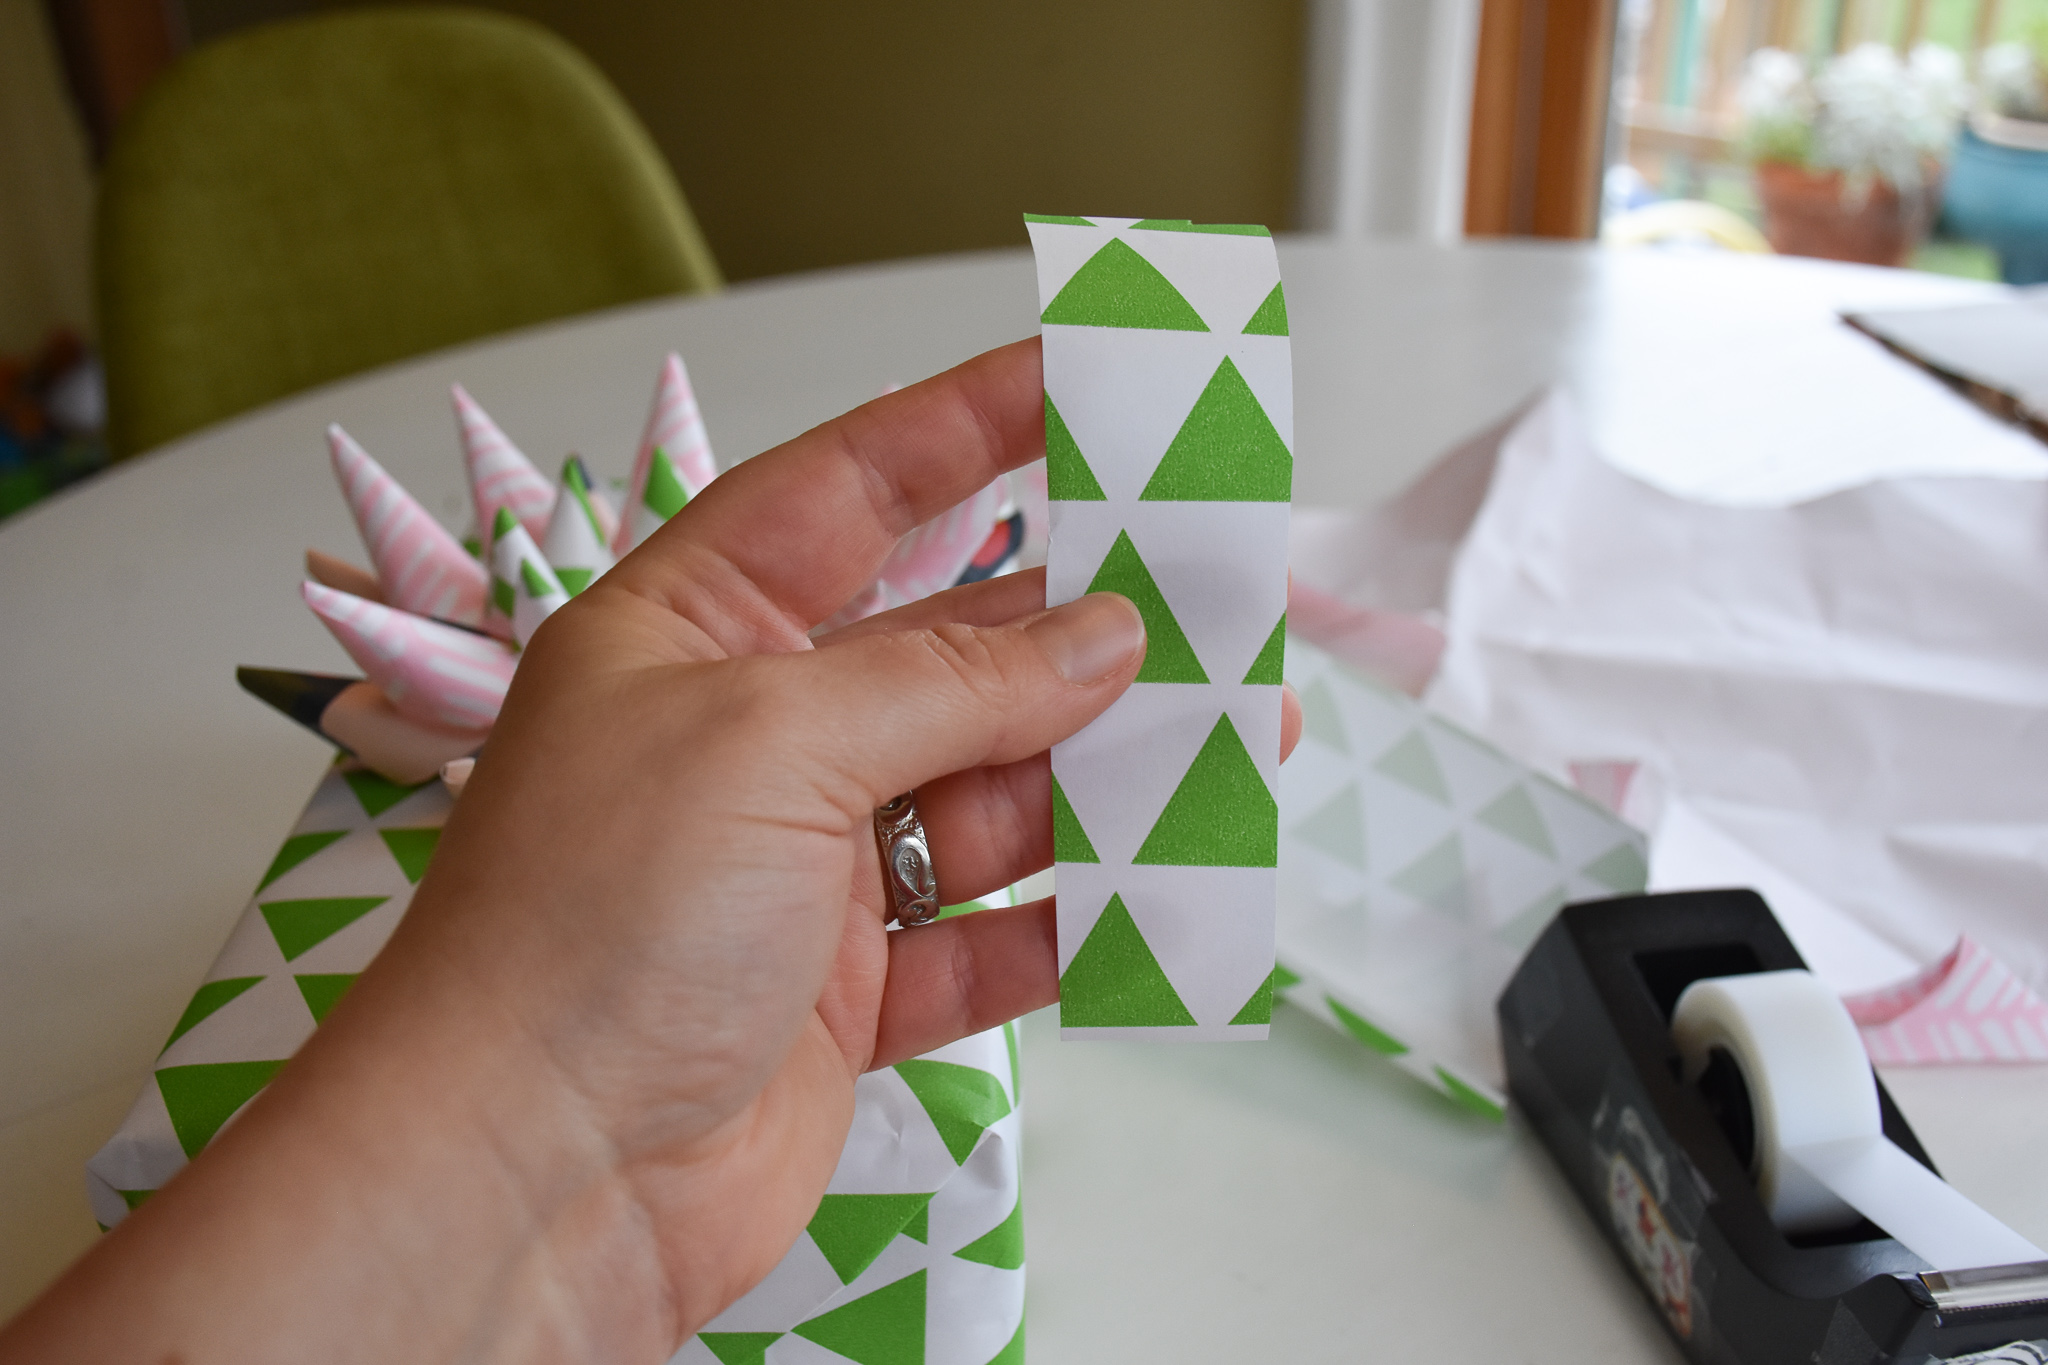
Now cut a small strip of paper for the finishing loop! You can decide which paper you want to use – I went with the same green as the top bow section.
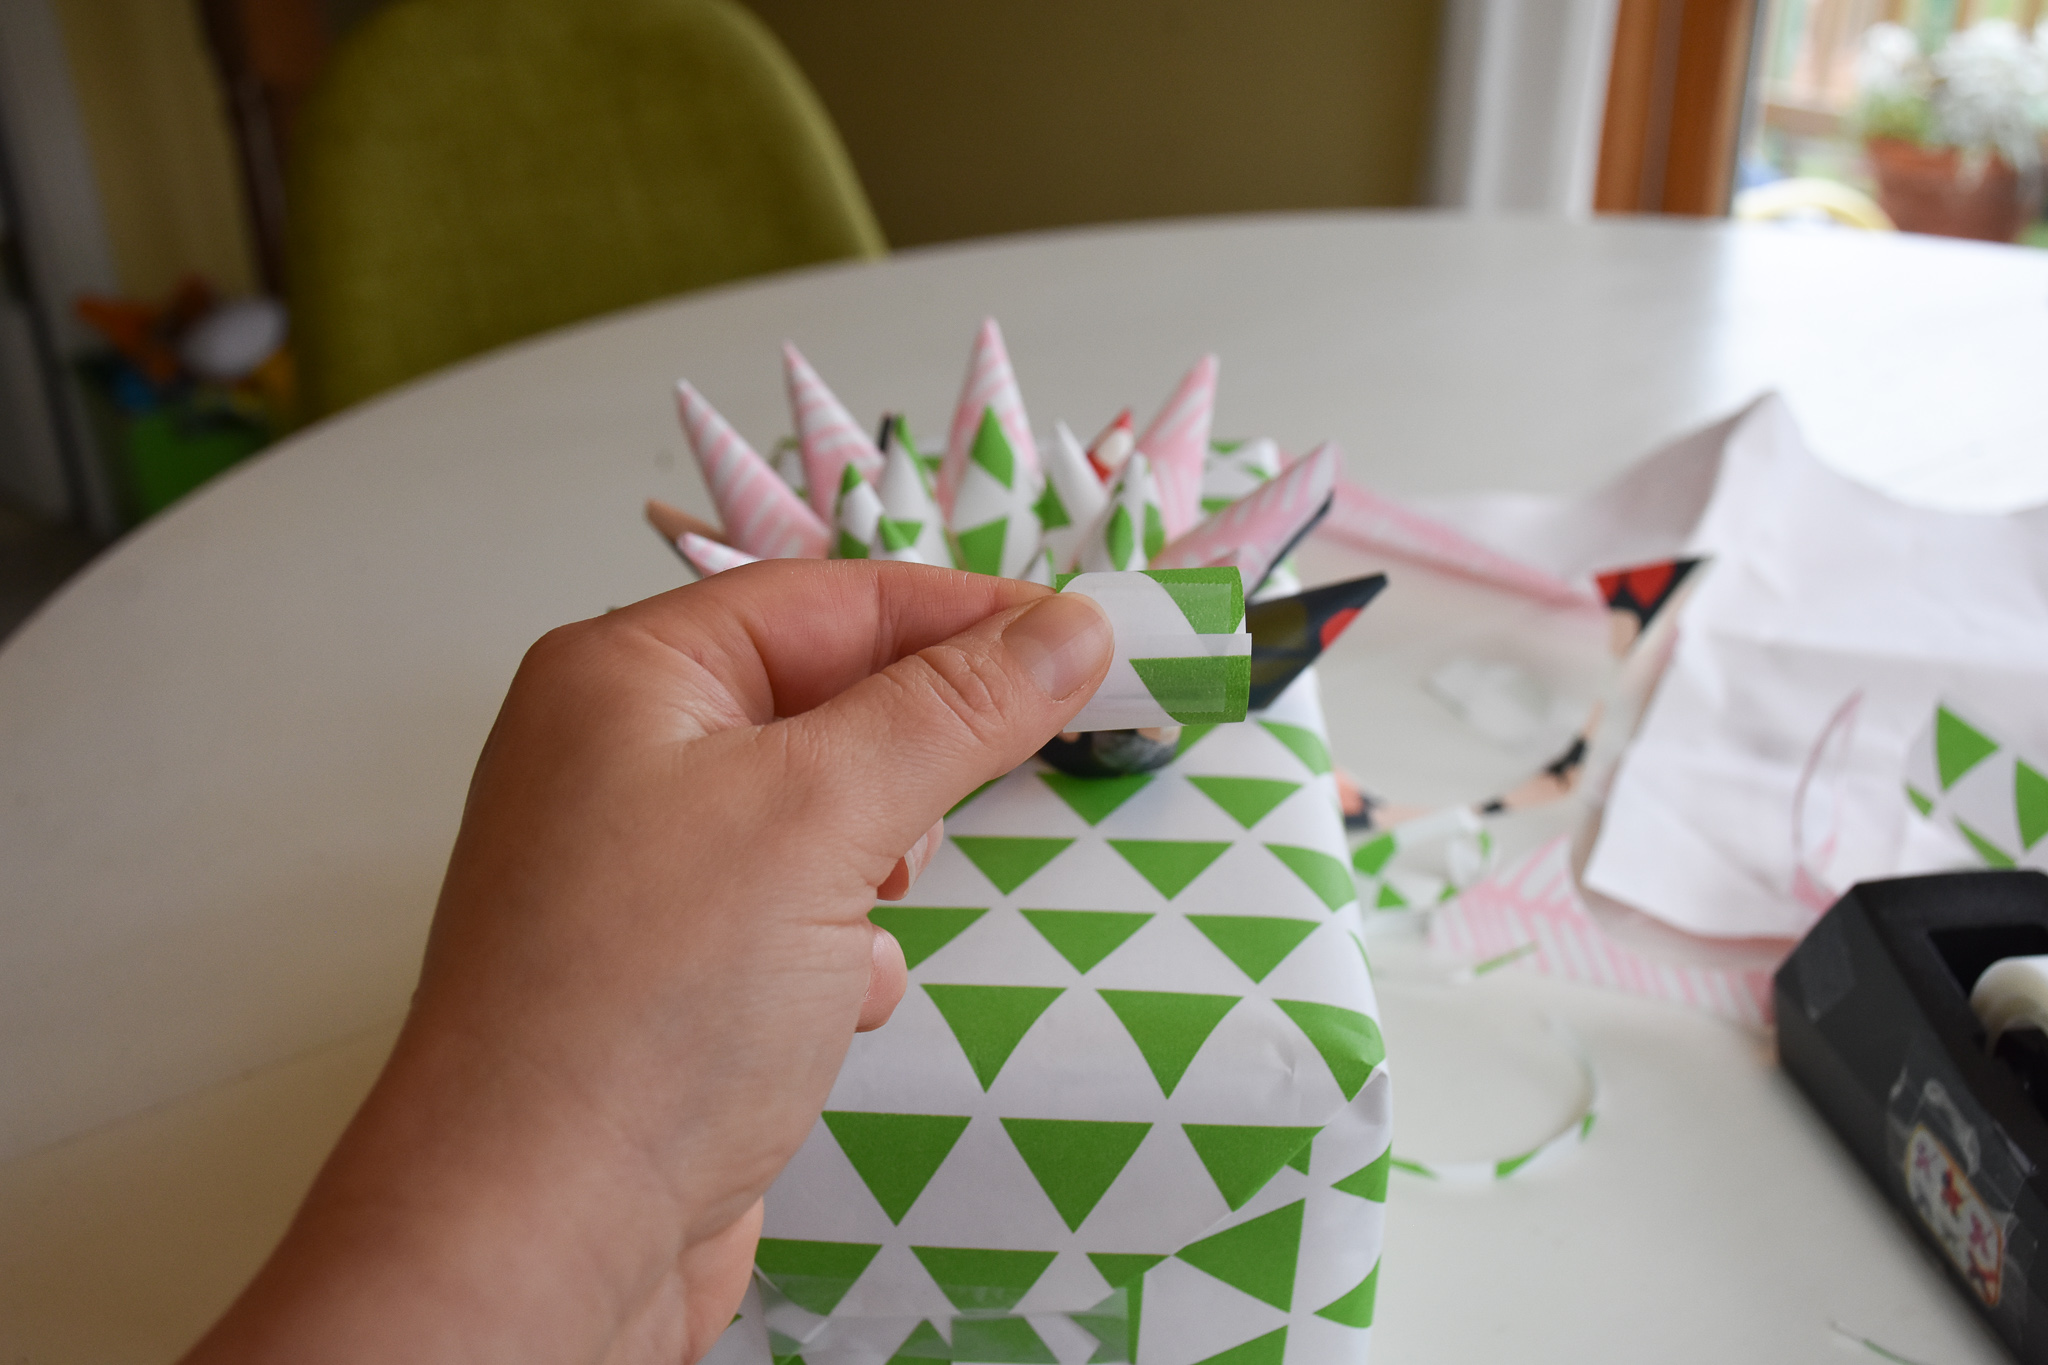
Tape it so it makes a paper ring. Then add a tape loop to the bottom of it (haha, is that enough loops?!), and press it in place in the middle of the bow.
And you’re done! This is sure to impress all your friends and loved ones! I know it did mine! Happy gifting! <3 – Aryn