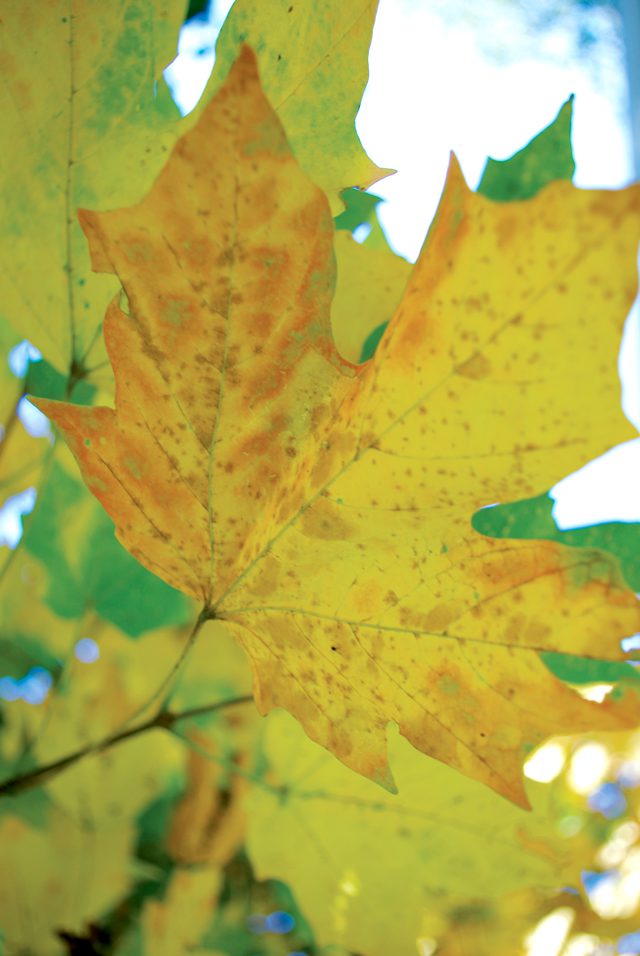
Why do leaves turn colors in the fall?
By Benji Nichols • Originally published in the Fall 2011 Inspire(d) Magazine
As you well know, we are lucky enough to live in a part of the country that gets to experience the brilliant fall foliage of deciduous trees. And as most know, the season for fall colors can vary greatly with any given year – but do you know why? And for that matter, why those crazy green leaves go wild colors in the first place? Let us explore…
First, there are three types of pigments found in leaves:
- Chlorophyll (green, necessary for photosynthesis)
- Carotenoids – or xanthophyll (yellow, orange, and brown)
- Anthocyanins (reds and purples)
These also help support other functions of the trees and their chemical reactions and systems. All three can be found in leaf cells through the growing period, but throughout the season, chlorophyll is continually made and broken down by the trees, giving leaves a green color. When the fall nights begin to get longer, chlorophyll production slows and eventually stops – since there is a less light to power photosynthesis (…that’s how a tree eats… wait for it…). Meanwhile, the carotenoids and anthocyanins are still present – have even increased as excess plant sugars exist with the slowing of photosynthesis – and they begin to show their colors.
Think of it like this: trees have two ways to receive nourishment during the growing season. First they sip up water and minerals through their roots in the ground. Second, they absorb carbon dioxide from the air. Both of these systems are necessary for the tree’s leaves to absorb the sun’s energy and make sugar (to eat!) from all of the goodness it absorbs (photosynthesis!). But as fall approaches, trees shut off or seal up their root lines in order to survive the winter. As that happens, chlorophyll (green!) dies off and allows the other pigments to show their colors (reds and yellows!). Eventually, these too lose their ability to survive and the leaves turn brown and fall from the tree.
Easy, right? But why then does fall foliage vary so much from year to year, you ask?
There are three factors that mostly control the ever-regal turning of the leaves.
First, the pigments above, which we’ve already covered. Second, the length of nights (or lack of light), and third, the weather (kind of, well, wait for it…). The calendar primarily shows when the length of days will start changing the leaves from lack of sunlight – and this really is the most predominant factor in the process. However, nice warm days help produce lots of sugars in the golden fall daylight, while crisp autumn nights (but not freezing!) keep the trees root veins slowly closing up for the winter, keeping more sugars in the leaves. There are lots of other factors like soil moisture, what the growing season conditions have been like, and what kind of nutrients the tree has access to. In general, a warm wet spring, pleasant summer weather, followed by light-filled fall days with crisp nights can produce the most brilliant autumn colors. But a warm snap in the fall, or an early freeze, or a big rain at the wrong moment can easily bring the big show to an end. After all, nature is beautiful, but certainly not predictable, and no two seasons are ever alike!
——————————-
Benji Nichols is in continual awe of just how super science can be. He has also been known to hug a tree now and again. Here’s to hoping for a great fall foliage season –big hugs all around!
Sources:
1.) USDA Forest Service
2.) University of Illinois Extension